Restore a rusty cast iron in one afternoon
Rust is not death. Rust is neglect, and neglect is reversible. Start at noon. Cook on it at seven.
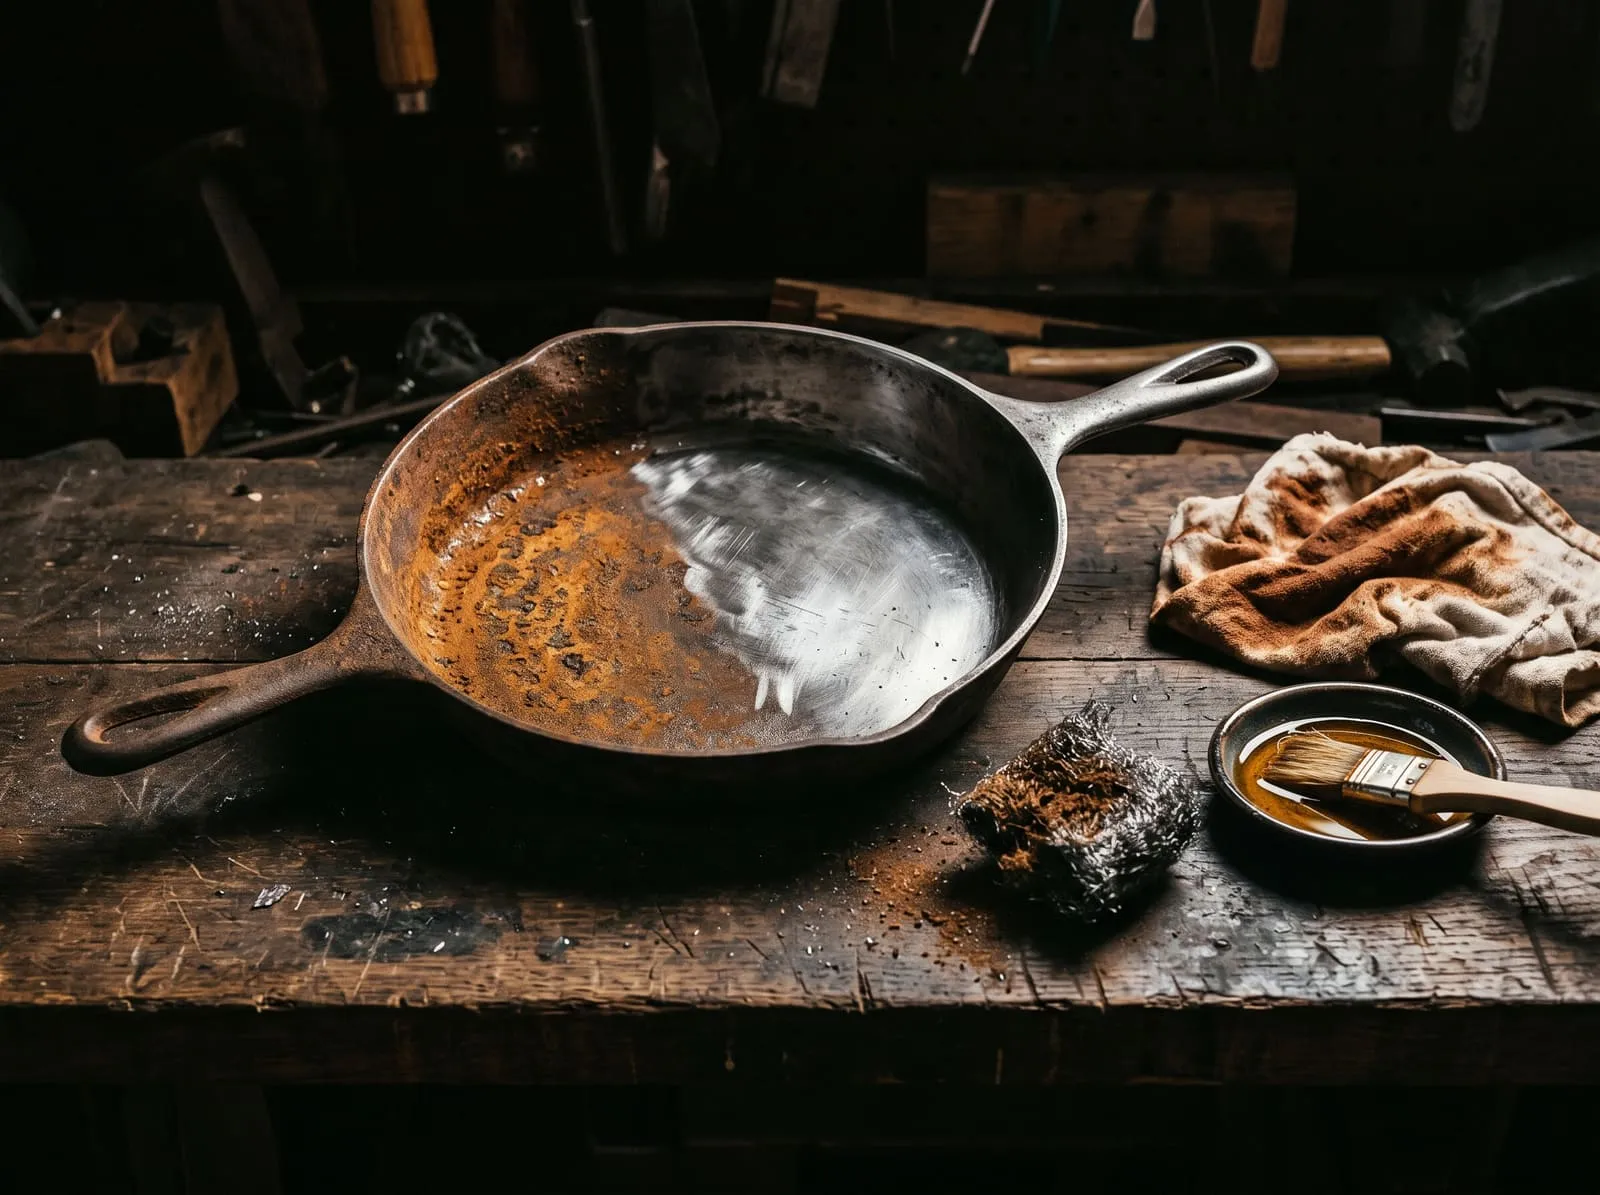
Rust is not death. Rust is neglect, and neglect is reversible. Start at noon. Cook on it at seven.
- Hands on: 75 min
- Total: 5 hrs
- Difficulty: Patient
- Outcome: Permanent
Someone has told you the pan is finished. They are wrong, and I would like a word with them. A cast iron skillet that has gone orange in a damp cupboard has not been damaged in any sense that matters. It has been oxidised on the surface — a thin bloom of iron oxide sitting on top of several kilos of solid metal that does not care. Underneath that orange is the same pan your grandmother would have recognised. It is waiting.
There is exactly one condition that ends a cast iron pan, and it is not rust. It is a crack, or a warp severe enough that the base rocks on a flat surface, or pitting so deep that the cooking surface has gone visibly cratered rather than merely rough. Turn the pan over. Run a finger across the base. Set it on the counter and press one edge. If it sits flat and it does not rock and there is no hairline running through the iron, the pan is fine and you are about to spend an afternoon proving it.
The pan is not asking for forgiveness. It is asking for four hours and a very small amount of oil.
What follows is not delicate work. It is scrubbing, then drying, then three rounds of baking. The hands-on portion is about seventy-five minutes and the rest is the oven doing chemistry while you do something else entirely. I want to be honest with you about the shape of the day, because most instructions for this are written as though it takes twenty minutes and then people abandon the job halfway through and blame the pan.
And I want to be honest about the other thing, too: the reason to do this is not thrift. A new pan costs less than most people's weekly coffee. The reason to do this is that a restored pan is yours in a way a boxed one is not, and that the surface you build over the next four hours will be better than the surface it came with. Bon. Now we begin.
— Gusto · The kitchen · a Saturday, noon
I. The kit
Six things · none of them exotic
- 1 rusted cast iron pan — flat-based, uncracked, however unpromising it looks
- coarse steel wool, several pads. You will chew through more than you expect. Buy twice what looks sensible.
- dish soap and hot water. Yes, soap. Modern dish soap is a detergent, not the lye that was in your great-aunt's soap, and it will not strip a cured seasoning. This particular piece of folklore has done more damage than rust ever has.
- 2 tbsp a neutral, high-smoke-point oil — grapeseed, canola, or plain vegetable shortening. You will use almost none of it.
- lint-free rags or a stack of paper towel. Several. They will come away black and that is the job working.
- 1 a baking sheet for the lower oven rack, to catch what drips
If your cupboard has none of this, the whole lot arrives in one box as a cast iron restoration kit — wool, scraper, seasoning oil, and a stiff brush together. The reason to buy it as a set is not convenience. It is that the single most common way this job fails is running out of abrasive at the halfway mark, putting the half-stripped pan down "for a minute," and coming back to find it has flash-rusted worse than when you started.
That link is an affiliate link. If you buy through it, HowTo: Food Edition earns a small commission and you pay exactly the same price. It does not change what I tell you to use — everything above works just as well out of the cupboard you already have.
II. The afternoon
Five stages · one strip, three bakes, one dinner
Scrub it back to grey. Hot water, a good squeeze of dish soap, and the steel wool. Work the whole cooking surface in straight passes, then the walls, then the outside, then the handle, then — and people always forget this — the underside of the base, where rust likes to hide against a damp shelf. You are finished when there is no orange anywhere and the pan is a uniform dull silver-grey, the colour of a pencil lead. Not shiny. Grey. This takes thirty to forty-five minutes on a badly gone pan and your forearm will have an opinion about it. If the rust has left the surface rough and pitted, that is fine — pitting is texture, not failure, and the seasoning will fill it. Rinse thoroughly.
Dry it on the burner, not on a rack. Towel it as dry as you can, then put it straight on a burner over medium heat for five to ten minutes. You will see the last of the water steam off the surface. Keep going for a minute past that. The pan should end up dry, warm, and faintly grey-brown. If you see any orange appear during this — and on a humid day you might — hit it with the wool again for thirty seconds and put it straight back on the heat. Do not walk away from the pan at this stage. This is the only part of the afternoon that punishes you for wandering off.
Oil it, then wipe it as though you have changed your mind. Heat the oven to 230°C / 450°F and slide a baking sheet onto the bottom rack. Put a teaspoon of oil into the warm pan and rub it over every surface with a rag — inside, outside, handle, base. Now take a clean rag and wipe all of it off. All of it. Wipe until the pan looks dry and you are convinced you have removed everything and ruined the step. You have not. There is a molecular film left behind and that film is the entire point. This is the instruction people refuse to follow, and it is the single reason most home re-seasonings come out sticky.
Bake it upside down for an hour, then leave it alone. Put the pan face-down on the middle rack, over the baking sheet. One hour at 230°C / 450°F. Then turn the oven off and let the pan cool inside it, all the way down — another hour or so. Upside down so that nothing pools; the cooling in the oven so the pan does not go from very hot to room-temperature air in one step. When you take it out, the surface will have gone from grey to a thin, even bronze-brown. That colour is the polymer forming. It is not a stain. It is the new floor of the pan.
Repeat stages three and four twice more. Oil, wipe it all off, bake, cool. Each round darkens the pan and thickens the polymer. After the third round the pan will be a deep brown-black with a low satin sheen and it will feel slick under a dry finger. That is a working surface. It is not the black mirror of a fifty-year-old pan and it should not be — that comes from cooking, not from the oven. You have built the foundation. The rest of the finish is dinner's job.
Cook something fatty on it tonight. Not eggs. Not tomatoes. Not fish. Bacon, sausages, chicken thighs skin-down, potatoes in a great deal of oil — something that will render fat and sit in it for twenty minutes. The first three or four meals in a freshly seasoned pan do more for the surface than a fourth trip through the oven ever would. Acid and delicate proteins come later, once the pan has a few dinners behind it. Start it on the easy work. C'est ça.
Why this works
On oxidation, cross-linking, and why thin beats thick.
Rust is iron that has met oxygen and water and formed hydrated iron oxide. It is a surface reaction and it is slow, which is why a pan that has sat forgotten for a decade in a dry cupboard is usually recoverable and a pan left for one winter in a damp shed is often worse. The rust does not eat inward at any speed that matters to a piece of metal five millimetres thick. When you scrub it off, you are not repairing the pan; you are simply removing an unwanted compound and exposing the iron that was underneath the whole time.
Seasoning is the opposite reaction, deliberately provoked. Heat a film of unsaturated oil past its smoke point with oxygen present, and the double bonds in the fatty acid chains break and re-form as bonds between chains. Chains link to chains, and chains link to the iron oxide surface itself. The product is a hard, insoluble, cross-linked polymer network — chemically much closer to a varnish than to a grease. This is why a properly seasoned pan does not wash off, does not go rancid, and does not need to be protected from soap.
The thickness rule follows directly from that mechanism. Cross-linking needs oxygen, and oxygen reaches the oil from the surface. A film thin enough that oxygen penetrates the whole depth cures uniformly into a hard layer. A visibly thick coat cures on top and stays liquid underneath, producing exactly the tacky, gummy, patchy finish that convinces people the technique does not work. It does work. They used four times too much oil. This is the single most common failure in the entire procedure, and it is also the easiest to fix: bake it again.
Three thin layers rather than one thick layer is the same logic applied across time. Each bake lays down a complete, fully cured sheet, and the next bake bonds to it. The result is a laminate — several thin hard layers rather than one soft thick one — and laminates are more durable than monoliths at every scale in engineering, including this one.
If this interests you — the same polymerisation is what builds a wok's patina, seals a carbon-steel crêpe pan, and is why you must never scour a good pan back to bare metal without a plan for the next four hours.
What will go wrong, and what to do
- It came out sticky. Too much oil. Put it back in at 230°C for another hour with nothing added. If it is still tacky after that, take the wool to it, strip that round back, and redo it with genuinely less oil. Forgive yourself. Then use a quarter of what you used.
- It has gone patchy and streaked. The wipe was uneven, or the pan was not properly dry when the oil went on. Cosmetic, not structural. The next two rounds will even it out and cooking will finish the job. Do not strip it for this.
- Orange came back overnight. Moisture is still getting in — the pan was put away warm and damp, or stored with the lid on. Store it dry, uncovered, with a folded towel between stacked pans. Wool the spots off and run one more round.
- The base rocks on the counter. This one I cannot help with. A warped pan will never heat evenly and no amount of seasoning addresses geometry. Keep it for the oven, where it does not matter, and stop trying to sear in it. Some things are genuinely finished. Very few. This is one.
Once the pan is back in service, give it work that suits a new surface: the spatchcocked skillet-roast chicken is seared skin-down in hot cast iron and leaves plenty of rendered fat behind. A rusty pan is rarely the only neglected tool in a kitchen, and the knife-sharpening verdicts apply the same diagnose-first approach to blades. Gusto's other repair and method columns are gathered on the resident chef's page.
Restoration by Gusto · a pan found orange in a cupboard, returned to service the same evening · bacon first, eggs a fortnight later.