How to refinish a thrifted chair (and make it look like you paid full price)
$12 chair, afternoon project, nobody needs to know where it came from. Sam walks you through six honest steps from thrift store to entryway in three to four hours, $20–35 in materials.

$12 chair. Afternoon project. Nobody needs to know where it came from. Six honest steps from thrift-store to entryway, with all the mistakes I've already made on your behalf.
- Time: 3–4 hrs + 24 hr cure
- Cost: $20–$35
- Skill: Easy
- Mess factor: ●○○ Light
- Updated: Spring '26
I found this chair at the Goodwill on a Tuesday. Twelve dollars. Solid teak — the actual heavy kind, not the IKEA-veneer-pretending kind. Tight joints. Surprisingly comfortable. And a finish so aggressively orange-shellac-1972 that I almost put it back.
I didn't put it back. I took it home. I refinished it in an afternoon for about thirty bucks in materials. It now lives by my front door, holds a planter on its seat, and twice in the last month somebody has asked me where I bought it.
Solid wood at every price point under a thousand dollars is dead. The chair you find at the thrift store from 1972 is more likely to have real joinery than the chair you'd buy new on the same budget.
That's the whole pitch for thrift-store furniture. The bones are good. The skin is wrong. Refinishing — not stripping, not refurbishing, not "restoring to original condition" — is the entire move. You leave the chair, you change its outfit, you move on with your life.
What follows is a complete six-step project in three to four hours of actual work, plus a 24-hour cure window before you sit on it. The hero of this article is a single product called Rust-Oleum Chalked Paint and I will be evangelizing for it.
§ 01 / Materials
What you actually need
Total budget: $20–$35 in materials, assuming you don't already own anything. The hero is one quart of chalked paint. Everything else is small.
- Rust-Oleum Chalked Paint, 1 quart — Color is up to you. Sage, charcoal, cream, terracotta, soft black. (×1)
- Sandpaper, 120 grit — For prep. Scuffs the existing finish. (×1 sheet)
- Sandpaper, 220 grit — Between coats. Knocks down brush marks. (×1 sheet)
- Foam brush — For spindles, carved details, edges. (×1)
- Small foam roller — For flat surfaces. Faster, smoother. Worth the extra $4. (×1)
- Clear topcoat (matte polycrylic OR clear wax) — Polycrylic is more durable; wax has more depth. Polycrylic for daily-use chairs. (×½ pint)
- Drop cloth (canvas, not plastic) — Canvas stays put. Plastic slides when you move the chair. (×1)
- Lint-free wiping cloth — For dust between coats. (×1)
The six steps
06 STEPS · ≈3 HRS ACTIVE · 24 HR CURE
Step 01 · Prep · 5 min
Clean the chair first.
Wipe it down with a damp cloth and let it dry completely. Any grease, dust, or thrift-store mystery residue will mess with how the paint sticks.
This step takes five minutes and people always skip it. Don't skip it. The chair has been sitting in someone's basement, then a warehouse, then a thrift store sales floor, then your trunk. Whatever's on it, you don't want it sealed under your paint.

Step 02 · Sand · 15 min
Sand lightly with 120 grit.
You're not stripping the whole finish — just scuffing it up so the paint has something to grab onto. Hit all the flat surfaces and go with the grain on wood. Wipe off the dust with a damp lint-free cloth when you're done.
The whole sand should take maybe fifteen minutes. The goal is to take the chair from glossy and slick to slightly hazy. If it still feels like glass after sanding, sand more.

Step 03 · Paint · 30 min + dry
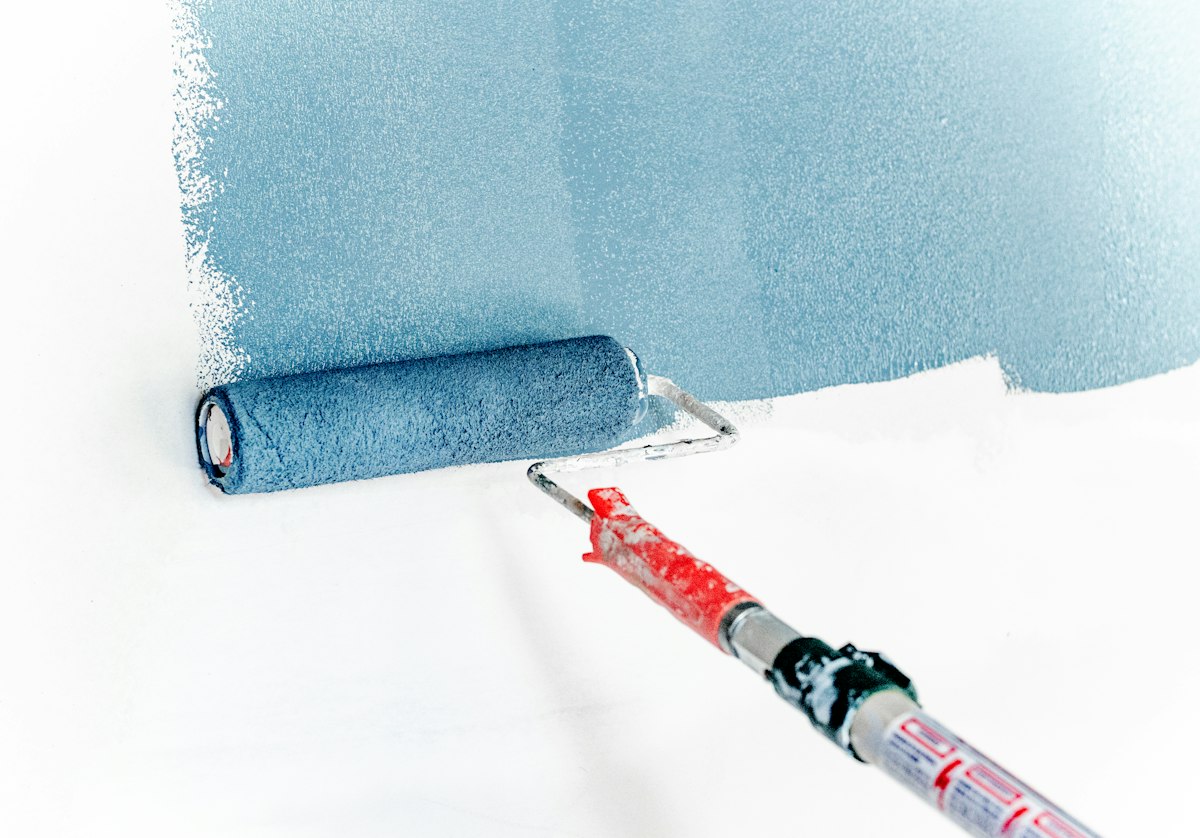
First coat — thin, ugly, fine.
Don't glob it on. Thin, even strokes. It's going to look terrible after the first coat and that's completely normal — chalked paint always does this. Streaky. Patchy. You'll see the original finish through it. This is correct.
Let it dry. Chalked paint dries in about thirty minutes, but I usually wait a full hour just to be safe. Resist the urge to fix uneven spots while it's wet. You'll fix them on coat two.
Step 04 · Sand · 5 min
Lightly sand again with 220 grit.
This is what makes the finish smooth instead of textured. Just a quick pass — you're knocking down any brush marks, not removing the paint. Wipe off the dust with the lint-free cloth.
Two-twenty grit is fine enough that you cannot mess this up unless you press hard with a power sander. By hand, you'll be fine.
Step 05 · Paint · 30 min + dry
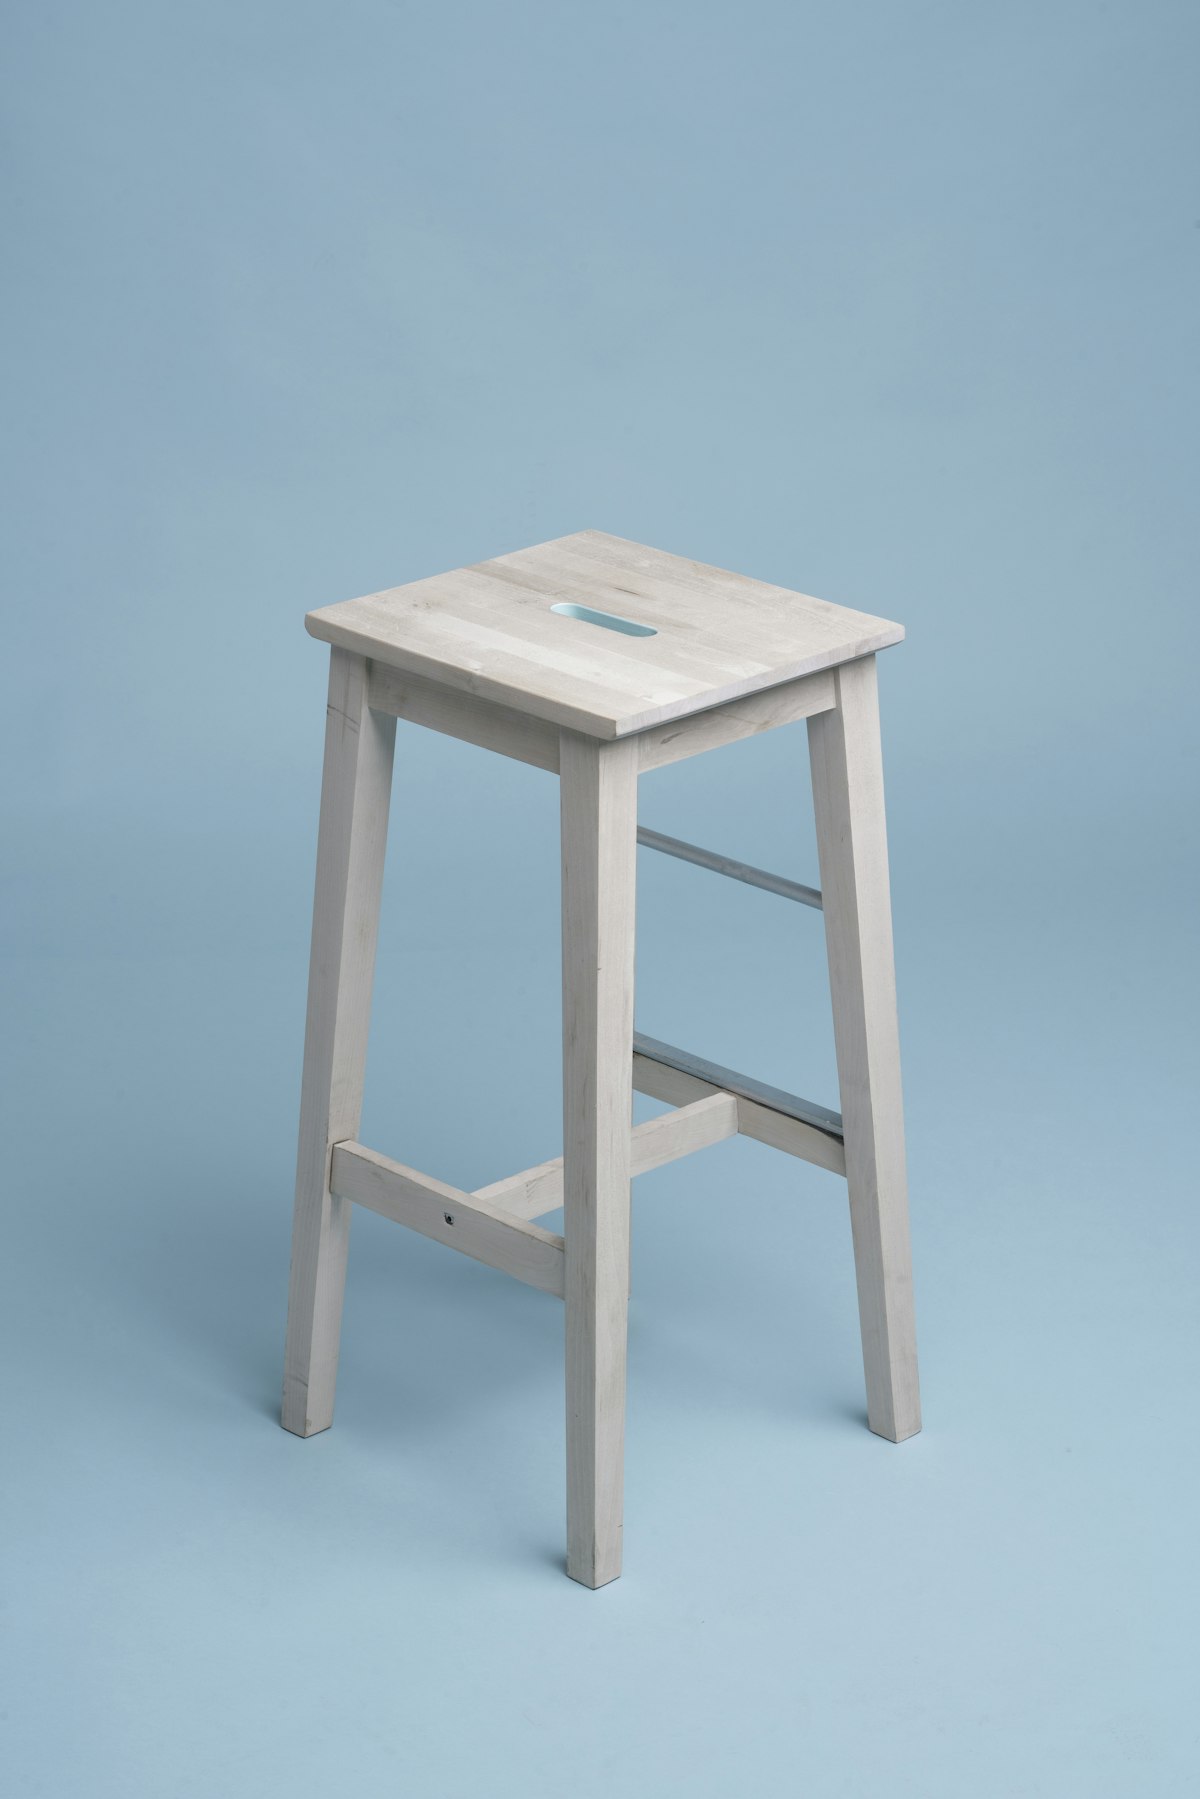
Second coat — this is where it starts working.
Same thin, even strokes. Most chairs only need two coats. If there are any spots still showing through after the second coat dries, do a third. No shame in a third coat. Better than a thick second one that drips.
Let it dry an hour minimum before sealing. The chair should now look finished, not paint-covered. If it still looks like a painted chair, you need another coat.
Step 06 · Seal · 15 min + 24 hr cure
Seal it. Then walk away.
Chalked paint scratches without a topcoat. Clear wax or matte polycrylic both work. Apply a thin layer with a clean foam brush, working with the grain. Let it cure for twenty-four hours before you actually use the chair.
This is the patience part. The chair is technically done after coat two — but if you sit in it before the sealer cures, you'll wear through the paint in two weeks. Twenty-four hours. Set a timer.

Sam's hot takes
Things I'm tired of seeing
"Distressing" a brand-new piece of furniture
If you bought it new, leave it alone. The whole reason distressed finishes work is that thrifted furniture comes pre-distressed by forty years of life. Sanding fake wear into a thing you bought yesterday is cosplay.
Skipping the topcoat to "save time"
The topcoat is the difference between a chair that survives a year and a chair that flakes by month three. Twenty-four hours of waiting is shorter than redoing the project.
Spray paint as a chalked-paint substitute
Different finish, different coverage, different durability. Spray paint is for metal and small parts. For wood furniture you'll touch every day, brushed-on chalked paint every time.
Picking a color that "matches your decor"
The chair is the accent. If it matches everything in the room, it disappears. Pick a color that fights the room a little. Sage in a warm room. Terracotta in a cool one. Charcoal anywhere.
What I'd do differently next time
The first chair I refinished, I tried to skip the sealer because I was tired of waiting. By month three, the seat had a worn-through patch where I sat. I had to sand the whole top down and start over on coats two and three. Don't be me. Twenty-four hours of waiting is shorter than redoing the project.
What I'd tell past me: buy the foam roller in addition to the foam brush. The brush handles the spindles and the carved details, the roller handles the flat surfaces in a quarter of the time and leaves a smoother finish. Six bucks well spent.
And I'd pick a louder color sooner. The first chair was cream. It's a fine chair, but it disappears against the wall. The second one was sage. The third was terracotta. The terracotta one is the one that actually shows up in photos. The chair is the accent. Let it be the accent.
Once the chair is done, give it a job: a lamp at shoulder height and a small table within reach turn it into a listening corner. If the wall behind it now looks tired next to the fresh paint, the order of operations for painting a room covers the prep that matters. And if the next thrift find is a dresser with real surface damage, the starter tool list explains when a random orbit sander has earned its place.
That's it. Go find a chair.
If you tried this and it worked — or it didn't — I want to hear about it. Photo of the before and after, what you changed, what you'd do differently. I read everything that comes in.
— Sam