Anyone can tell which wall you did first.
Painting isn't a skill, it's an order of operations — and four of the six moves happen before the tin comes open. Sam's sequence for a room that still looks right in morning light.
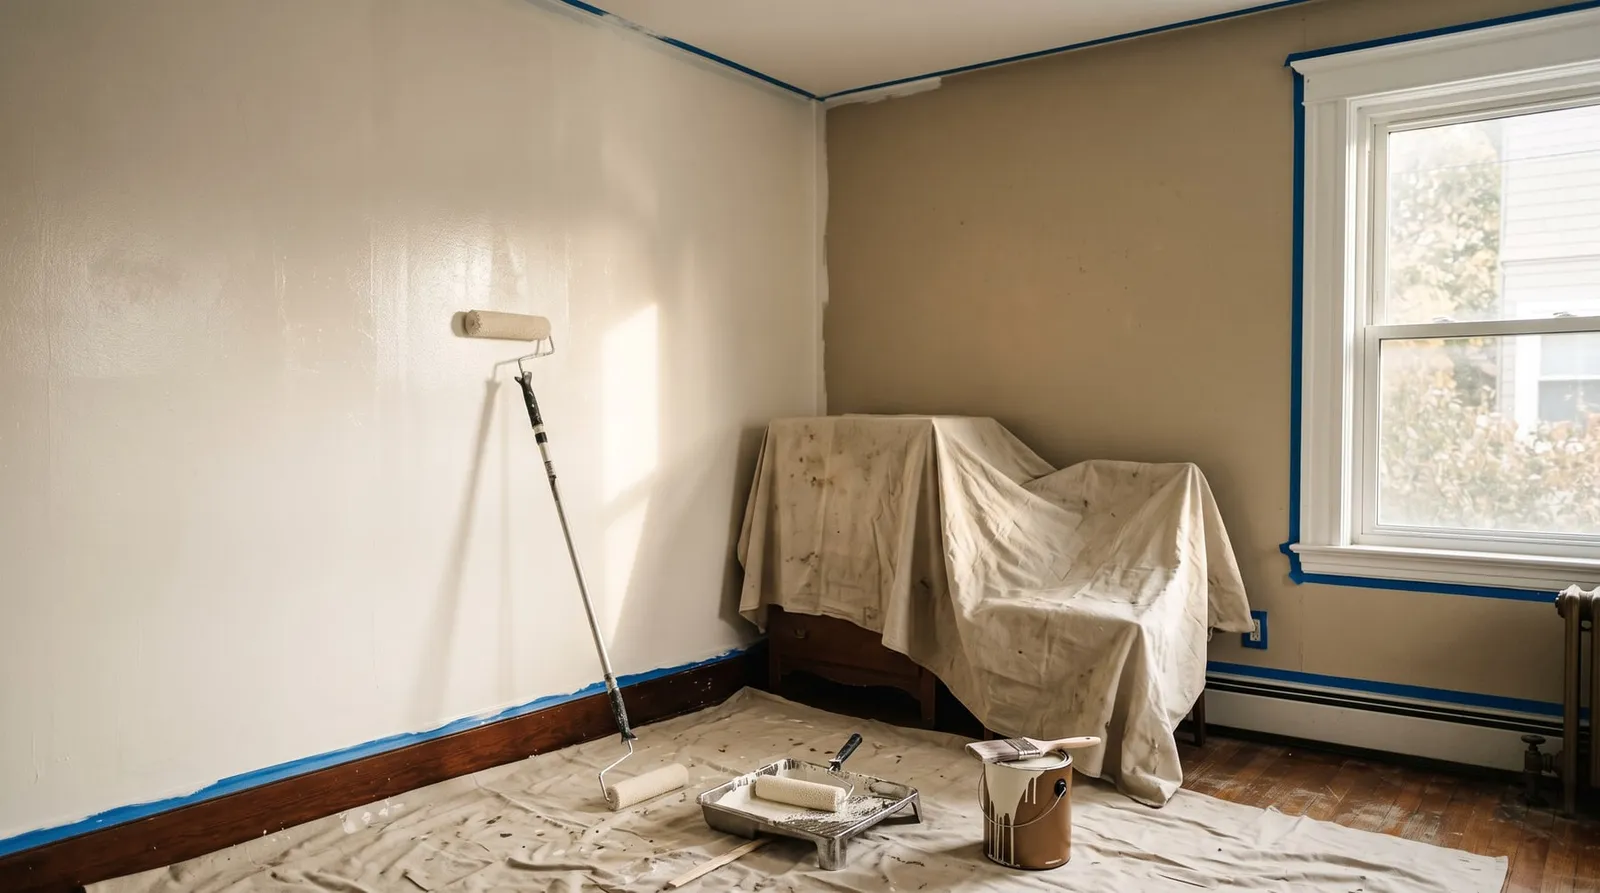
painting isn't a skill. it's an order of operations. do it out of order and it shows from the doorway.
- coats. one coat is a primer wearing a confident expression: 2
- square feet a gallon covers per coat — measure before you buy: 350–400
- wall at a time: cut it in, roll it, then move: 1
- Updated: Aug '26
the first room i ever painted looked fine at four in the afternoon and terrible at nine the next morning. same paint, same walls, same me. what changed was the light. the sun came in low and lit up every roller edge i'd let dry, every nail hole i hadn't filled, and a two-inch band all the way round the ceiling where the brushwork sat at a different sheen to the rolled part. i'd painted that room twice and it looked like i'd painted it once, in a hurry, in the dark.
nobody can see your technique. everybody can see your order.
so here's the order. it's six moves, it never changes, and four of them happen before the tin comes open. that ratio is the whole article — if you take nothing else, take the ratio.
Paint doesn't hide things. It points at them.
this is the part everyone wants to skip and it is the entire difference between a room that looks decorated and a room that looks painted. a fresh coat is a wet, even, slightly shiny surface, and a wet even slightly shiny surface is the best possible way to draw attention to a dent, a lump of old blu-tack, or a greasy patch above the radiator. it does not cover them. it lights them.
Grease is the invisible one. walls near a kitchen, near a hallway light switch, behind where a sofa sits — they carry a film you can't see and paint can't grip. sugar soap or a mild detergent, a rinse, and let it dry properly. if you skip this, the paint will look fine for a fortnight and then start letting go in exactly the spots that get touched.
Move everything out, not to the middle. the middle of the room is where you need to stand with a pole. if it genuinely can't leave, it gets a sheet — but a room emptied properly gets painted in half the time, and that's before you count what you save not edging around a wardrobe.
Buy the paint after you measure. a gallon covers roughly 350 to 400 square feet per coat. walls only: multiply the room's perimeter by the ceiling height, then don't bother subtracting the windows — the offcut is your touch-up supply and you will want it. running out mid-wall is the one mistake on this list you cannot fix later, because a new tin, even the same colour, can mix a shade off.
Six moves. Four of them are dry.
06 MOVES | WASH, FILL, TAPE, CUT IN, ROLL, COAT TWO
Step 01 · The night before | wash
Wash the walls, then leave them alone.
top to bottom, warm water and a little detergent, then a clean-water pass to take the detergent back off. pay attention to the strip above the skirting, the arc around every light switch, and anything within reach of a cooker.
then stop for the night. a wall that feels dry to the back of your hand can still be damp inside, and paint over damp is paint that peels in a year. this is why washing is the night-before job and not the morning-of job.
Step 02 · Still the night before | fill
Every hole you can see now, you'll see forever.
filler into every nail hole, screw hole and dent, slightly proud of the surface, because it shrinks as it dries. when it's hard, knock it back flush with a fine sanding sponge and feel it with your fingertips rather than looking at it — your hand finds ridges your eye won't until the paint is on.
then get the dust off. a dry brush, then a barely-damp cloth. sanding dust under fresh paint gives you a gritty wall you can feel every time you walk past it for the next decade.
Step 03 · First thing | tape
Tape the trim. Don't tape the ceiling.
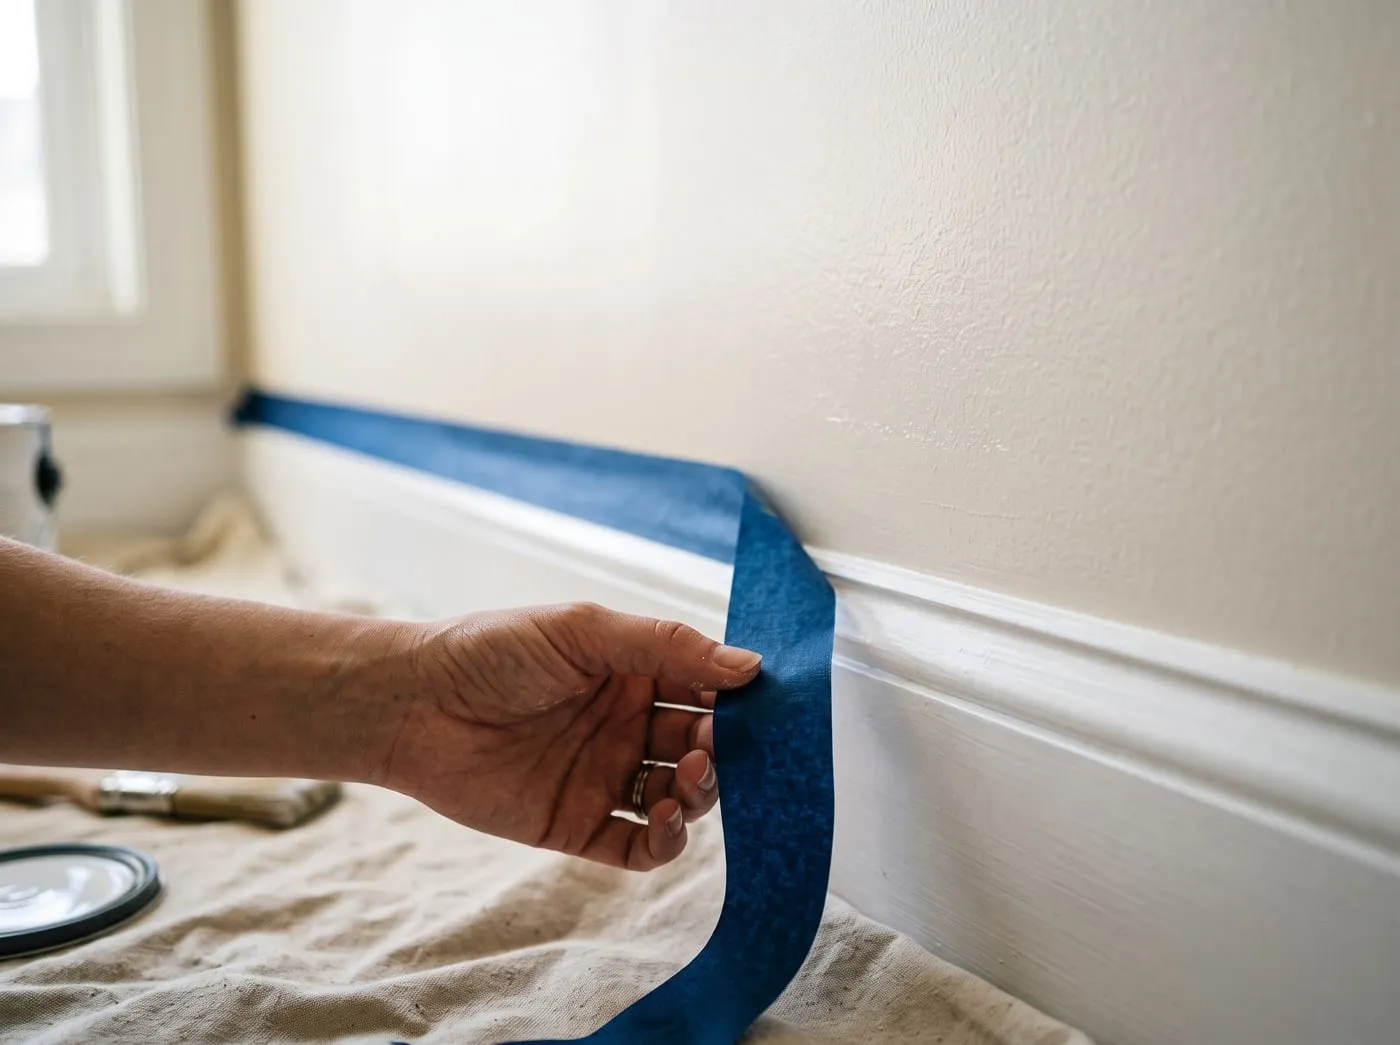
skirting, architrave, window frames, socket plates — tape it, and press the edge down hard with a filling knife or your thumbnail. an unsealed tape edge is a paint tunnel. that's most of the bleed people blame on the tape itself.
the ceiling line is different. taping a ceiling takes an hour, it bleeds anyway because the join between wall and ceiling is never actually straight, and it gives you a line that follows the tape rather than the room. cut it freehand with a brush. it's a five-minute skill and it looks better than tape does on its best day.
Step 04 · Hour one | cut in
Cut in one wall. Then roll that wall.
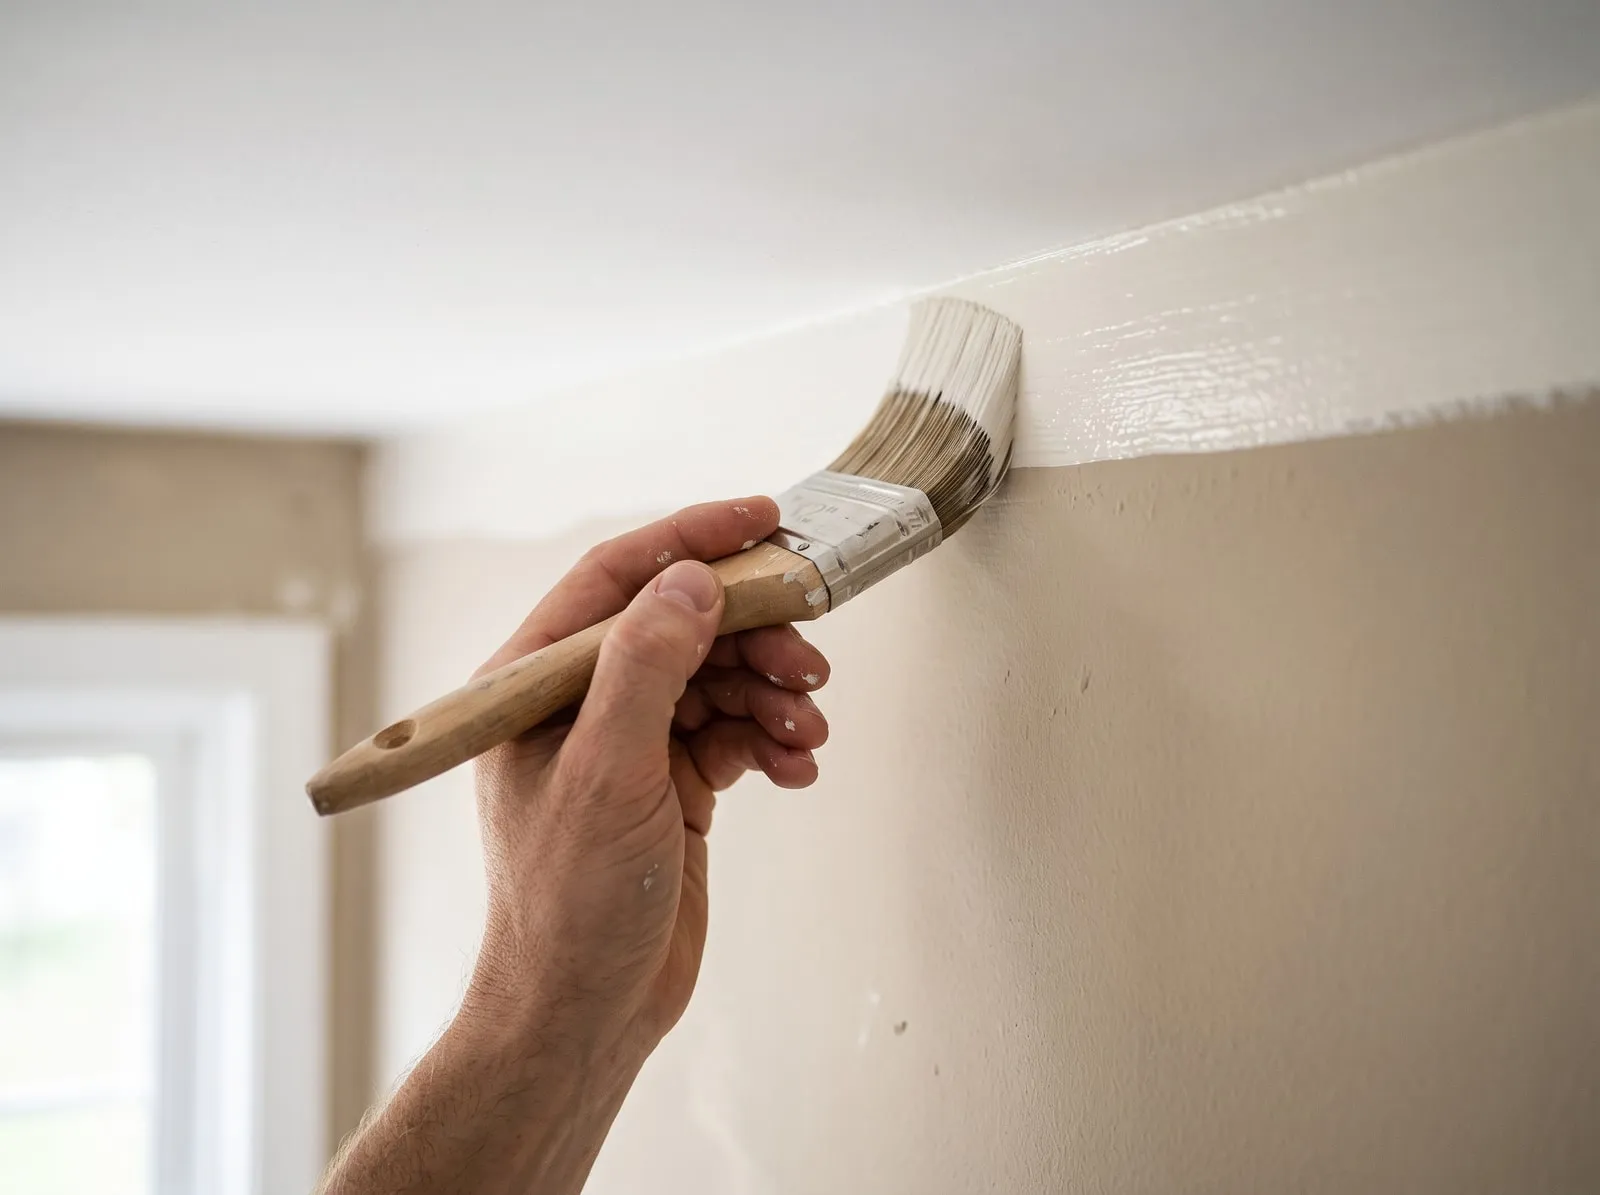
an angled sash brush, two or two and a half inches. load it about a third up the bristles and tap it against the inside of the tin rather than dragging it over the rim — a dragged brush comes out half empty and then you press, and pressing is what makes a wobbly line.
lay a band two or three inches wide along the ceiling, down the internal corners, and around the trim. hold the brush at a shallow angle and let the tip do it. and here's the part people get wrong: cut in one wall, then roll that wall before you cut in the next one. cutting in the whole room first feels efficient and it is the single most common way to end up with a picture frame round every wall.
Step 05 · Hour two | roll
Roll into the cut-in while it's still wet.
this is the whole reason for the one-wall-at-a-time rule. brushed paint and rolled paint dry to slightly different textures, and if the brushed band has already gone off before the roller reaches it, the two sit side by side forever — that's the picture-frame effect, and it's the thing that makes a room read as amateur from the doorway.
nap depth: three-eighths of an inch for a smooth wall, thicker only if there's real texture to get into. work in sections about three feet wide, roll right up into the wet brushed band so they merge, and don't press — a roller that needs pressure is a roller that needs reloading.
finish each section with one light pass from ceiling to floor, roller barely touching, no reloading. that last pass is what evens out the direction of everything underneath it.
Step 06 · Same afternoon | coat two
Second coat, then pull the tape while it gives.
check the tin for its recoat time and respect it. going back in early doesn't speed anything up — it drags the first coat around and leaves a patchy mess that needs a third coat to bury. and while you're waiting: no touch-ups. a brush dabbed onto a half-dry rolled wall leaves a mark with a different sheen that becomes permanent and extremely visible at nine the next morning.
tape comes off while the paint still gives slightly under a fingernail — not soaking, not cured. pull it back on itself at a low angle, slowly. if it's already gone hard, don't yank: score along the edge with a blade first, or you'll take a strip of your new wall off with it.
then wait for morning light before you decide how it went. and if a patch does need fixing, re-roll the entire wall rather than spotting it. sheen doesn't blend.
Sam's verdicts
Worth it, and not.
Worth it: a good angled sash brush
the cheapest upgrade with the biggest visible difference. a decent brush holds its shape and holds its load, and a brush that holds its load cuts a straight line for you.
Worth it: an extension pole
it isn't about reaching high. it's about rolling with your whole arm instead of your wrist, which is what makes the pressure even down a whole wall.
Worth it: testing the colour on the actual wall
a chip in a shop is lit by a shop. paint a patch on the wall it's going on, look at it morning and night, and give it two days before you commit to twelve litres of it.
Not worth it: taping the ceiling line
an hour of your life for a line that bleeds anyway and follows the tape rather than the room. cut it freehand.
Not worth it: the cheapest roller sleeve
it sheds. you'll find the fibres set into the wall in the morning light, and the only fix at that point is sanding them out and doing the coat again.
Not worth it: painting the ceiling last
ceiling first, always. spatter falls, and you'd rather it fell on a wall you haven't done yet.
spend on the brush and the roller sleeve, and be as cheap as you like about everything else. an angled sash brush, a three-eighths nap sleeve, a pole, tape, a canvas drop cloth, a sanding sponge and filler — that's the entire list, and the two that matter are the two that touch the wall.
painting kit essentials →some links on this page are affiliate links — if you buy through one, we earn a commission at no extra cost to you.
Slow at the start. Then suspiciously fast.
a room done properly is one boring evening of washing and filling followed by an afternoon that goes better than you expected. do it the other way round and you get a quick afternoon followed by a year of noticing.
the same order works overhead, with more ladder: painting exposed attic rafters adds a shellac primer for knots and a two-day schedule. once the walls have cured, a gallery wall built on paper templates lets you put things back without peppering new paint with test holes. and if what goes back up is heavy, find the stud first.
— sam