How to paint exposed attic rafters
Sam shows how to prep, prime, and paint exposed attic rafters so the ceiling looks intentional instead of unfinished.
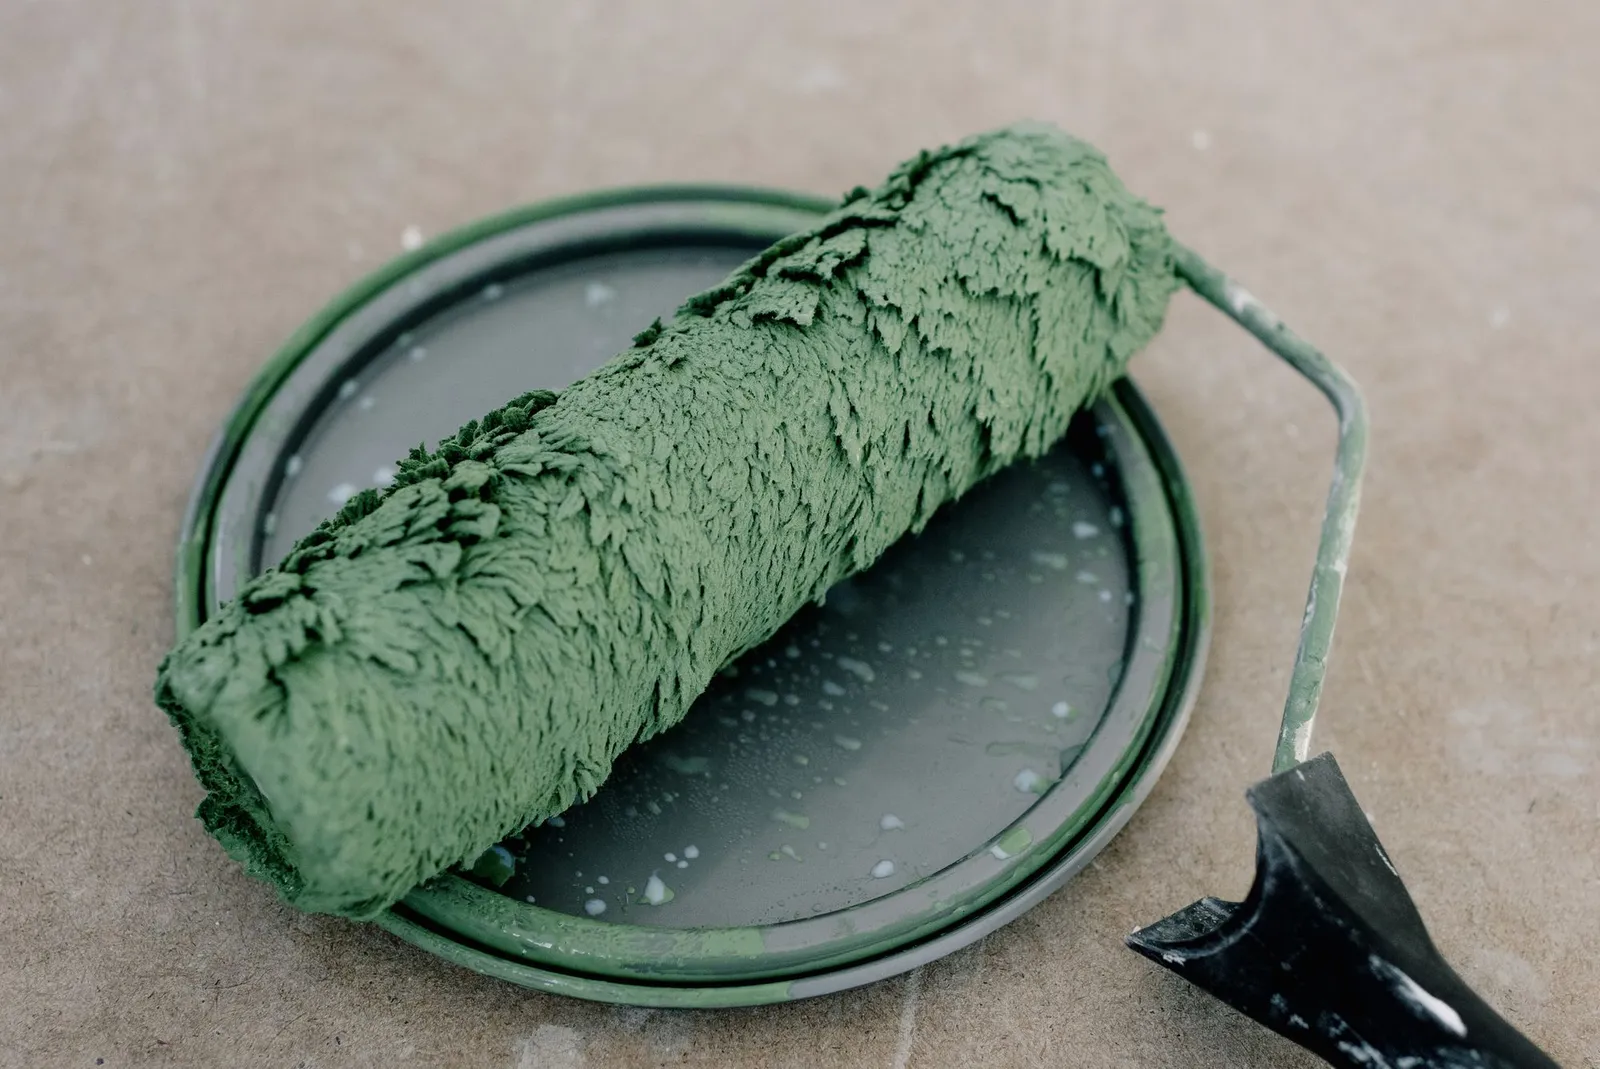
The ceiling you've been ignoring is actually the best design move in the room. Prep the wood, seal the knots, point the roller the right way, and let the rafters look like a decision.
- Time: 2 days
- Cost: $80-$220
- Skill: Awkward but doable
- Mess factor: Overhead paint
- Updated: Spring '26
There's a version of this project where you spend a weekend up a ladder, end up with paint in your hair, and wonder why you started.
There's another version where you step back on Sunday afternoon and genuinely think your attic looks better than your living room. The difference is almost entirely prep. And knowing which direction to point the roller.
Painted rafters make the architecture look like a choice. That is the whole magic trick.
Exposed rafters are the bones of the room. Dark paint can make them feel intentional and draw the eye up. White or cream can bounce light and clean the whole ceiling up. What does not work is pretending they are not there.
01 / Before the ladder
What you actually need
Get this all in one trip. Nothing ruins momentum like standing halfway up a ladder and realizing the painter's tape is still in the car.
- TSP cleaner or degreasing wood cleaner — Attic grime is real, and paint does not stick to grime. (1)
- Stiff-bristle brush — For dust, cobwebs, rough wood, and old residue. (1)
- 80-grit sandpaper — For knots, rough patches, and old drips. (Pack)
- Shellac-based primer — This is the step people skip and regret. (1 gal)
- Drop cloths and painter's tape — More than you think. The ceiling is directly above everything. (A lot)
- Brush, small roller, and extension pole — Brush the corners. Roll the faces. Save your shoulders. (Set)
- Respirator — Not just a dust mask. You are working overhead in an enclosed space. (1)
The five moves
05 MOVES | 2 DAYS TOTAL
Step 01 · Inspect | 20 min
Go up there with a flashlight first.
Rafters are raw wood. That means porous, dusty, possibly oily from age, and almost certainly not primed. Knots bleed. Dust lifts. Old sealer causes adhesion problems you will not see until the paint starts peeling in strips.
Also look between the rafters. Insulation batts, old wiring, HVAC runs, and loose blown-in insulation all affect how you mask and how careful you need to be.
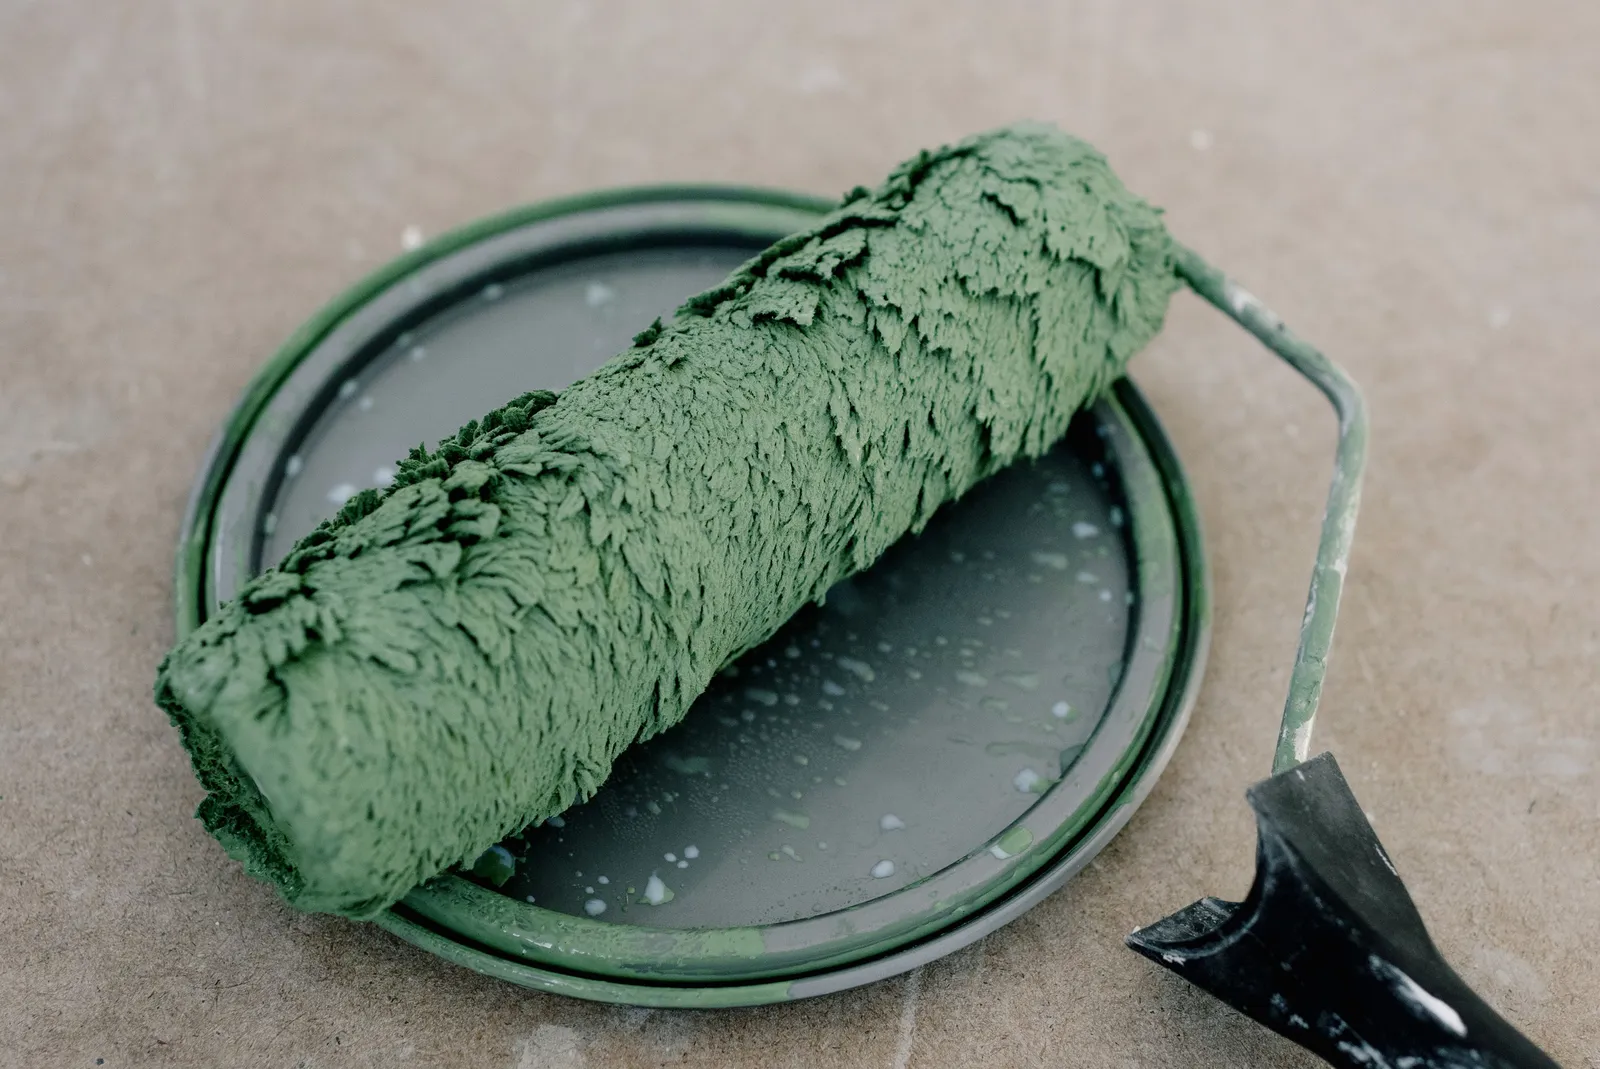
Step 02 · Clean + sand | 2-3 hrs
Clean everything, then sand the trouble.
Mix TSP with water according to the label, scrub the rafters down with a stiff brush, and let them dry completely. Dust, cobwebs, and years of attic grime need to come off before paint gets anywhere near this room.
Sand knots, rough patches, old drips, and anything that will create a bump or bleed-through. You do not need to sand every inch. You do need to sand the problem spots.

Step 03 · Prime | 1-2 hrs
Prime with shellac.
Roll or brush shellac-based primer over every surface you are painting. This is the step people skip and regret. Shellac seals knots so they do not bleed yellow through your topcoat.
It also gives the paint something to grip on old or porous wood. One coat is usually enough, and shellac dries fast, often under an hour.
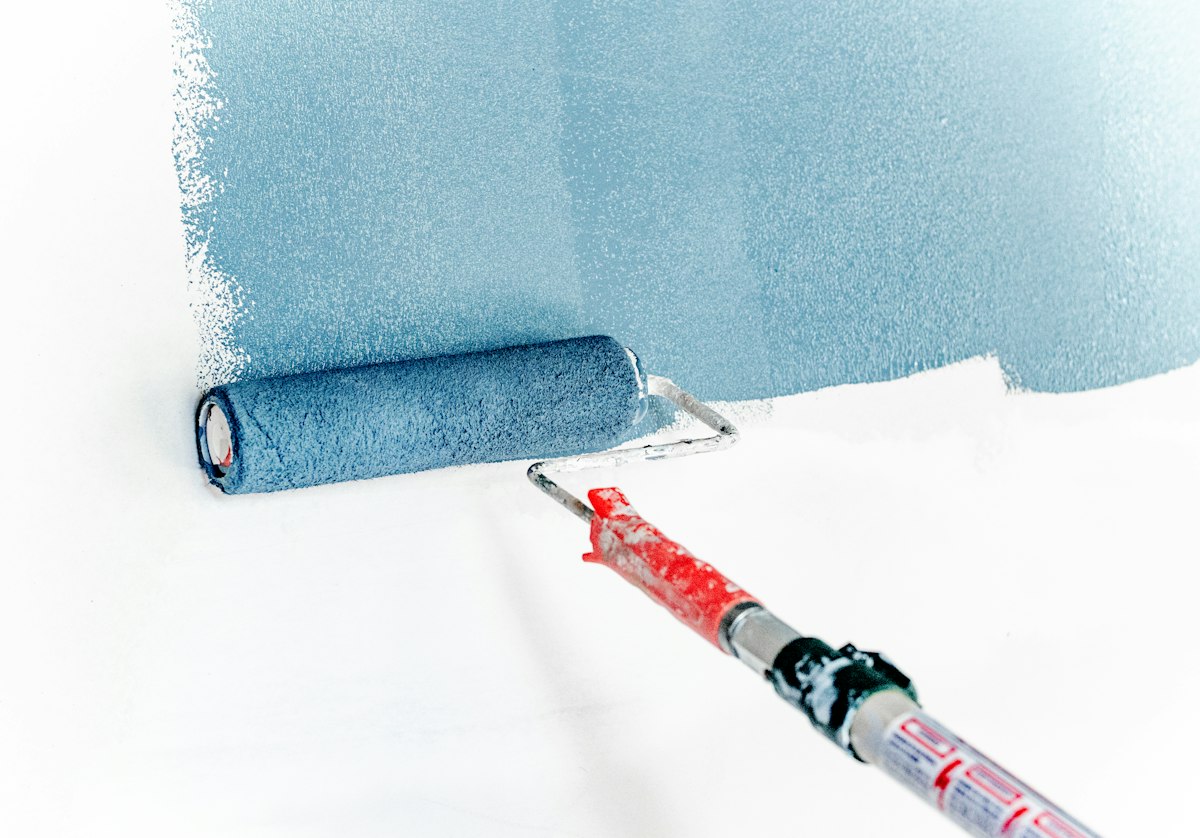
Step 04 · Mask | 45 min
Mask everything you are not painting.
Tape off surfaces that meet the rafters: subfloor, drywall, trim, and anything else with a clean edge. If there are fixtures, pull them down or bag them.
Do this before you open the topcoat. Once paint is open, your patience gets worse. Mask while you still care.

Step 05 · Paint | 2 coats
Brush tight spots first. Roll flat faces second.
Get into all the corners with a brush: where rafters meet the ridge beam, where they meet wall plates, anywhere a roller cannot reach. Then roll the flat faces with a small roller and an extension pole.
Work in sections. Start with the ridge beam, then work down and outward. Wet paint drips, so go top to bottom. Plan for two coats. The first coat will look patchy. It always does.
Sam's hot takes
Things I'm tired of seeing
Skipping primer because "it's just attic wood"
Raw attic wood is exactly why you need primer. Knots and old stains are very committed to ruining your topcoat.
Choosing mid-gray
Mid-gray always looks like a mistake up there. Go dark enough that it feels intentional, or go light enough that the room brightens.
Using shiny paint overhead
Rafters already have shadow and shape. They do not need to reflect every lamp in the room.
Trying to finish in one day
You will skip the dry time or skip the primer. Both choices show up later, and neither is cute.
Budget two days
It takes longer than you think. Not because it is hard, but because you are painting in three dimensions in an awkward space, and everything takes more time when you have to reposition a ladder every few feet.
One day for prep and prime. One day for your two finish coats. If you rush it into a single day, you will either skip the prime or rush the dry time between coats, and both of those show up later.
Also: wear old clothes. Overhead painting is a full-contact sport.
The brush-then-roller rhythm is the same one used for painting a room: work a section at a time and roll into the brushed edges while they are still wet. If sanding between coats is new to you, refinishing a thrifted chair is a smaller, sit-down place to practise it before you take it overhead. More weekend-sized projects are on HowTo Home.
When it's done, the room changes.
Painted rafters make an attic feel like a room instead of an afterthought. Give the paint a few days to fully cure before putting furniture back or hanging anything. Then step back and let yourself feel good about it. You earned it.
- Sam