Floating shelves look hard. They're not.
Sam shows how to install floating shelves with studs, the right bracket, predrilled holes, and a finish that looks intentional.

No visible brackets. No complicated hardware. Just a wall that finally looks like you meant it. Find the studs, buy the right bracket, finish the shelf first, and do not rush the last step.
- Time: One afternoon
- Cost: $35-$160
- Skill: Beginner-plus
- Mess factor: Dust + drilling
- Updated: Spring '26
Floating shelves have a reputation they do not deserve.
People see them in design photos and assume there is some contractor secret involved: hidden blocking, special anchors, a level of precision beyond a regular Saturday afternoon. There is not. The whole trick is about three things: finding your studs, buying the right bracket, and not rushing the last step.
If you have ever hung a picture frame, you have enough experience to do this. It is the same idea, just heavier.
That is it. That is the secret. The shelf looks magic from the front, but the wall is doing the work behind it.
01 / Hardware store
What you actually need
Mark your studs before you shop. The distance between studs decides what bracket and shelf length actually work for your wall.
- Stud finder or strong magnet — A magnet finds the drywall screws that usually mark studs. (1)
- Hidden bracket or visible brackets — Hidden for the design-photo look; visible for the more forgiving first run. (Set)
- 1x10 or 1x12 board — Pine is cheap. Poplar paints well. Oak and walnut cost more and weigh more. (Cut)
- Level — Four-foot if you have it, two-foot minimum. (1)
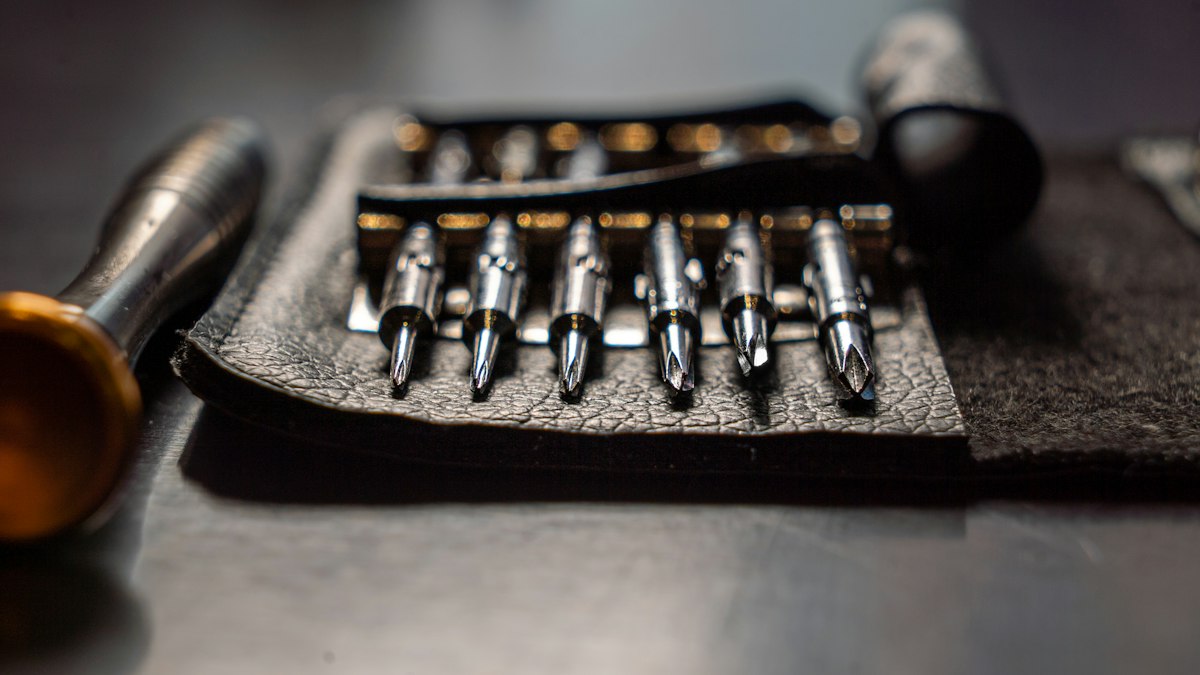
- Drill and bits — Predrilling keeps drywall clean and screws seated. (Set)
- 2.5-inch or 3-inch screws — Long enough to get at least 1.5 inches into the stud. (Pack)
- Sandpaper, paint, or stain — Finish the shelf before it goes up. (Enough)
The five moves
05 MOVES | ONE AFTERNOON ACTIVE
Step 01 · Find | 15 min
Mark every stud in the target zone.
Walk over to the wall and knock. Hollow is drywall with nothing behind it. Solid is where a stud is. Run a stud finder if you have one. If you do not, a strong magnet will find the drywall screws that mark where studs are.
Mark every stud with tape. Studs are usually 16 inches apart, but do not design the shelf around usually. Measure the wall you actually have.
Step 02 · Choose | 20 min
Pick your bracket route.
Route one is the hidden bracket system: metal rods or a plate screw into studs, and the shelf slides over so nothing shows from the front or sides. This is the clean design-photo version.
Route two is a traditional bracket with a wood shelf on top. The bracket is visible underneath, but it is faster, more forgiving, and easier to adjust as you go. For a first project, route two is the move.
Step 03 · Finish | 1-2 hrs active
Finish the shelf before it touches the wall.
Sand the board before anything else. Start with 120-grit to knock down rough spots, then go over it with 220-grit until it feels smooth. Wipe the dust with a damp cloth and let it dry.
Paint or stain it now. Two coats. If you are painting, a light sand between coats makes the final surface look like it came from a store instead of the lumber aisle.

Step 04 · Hang | 45 min
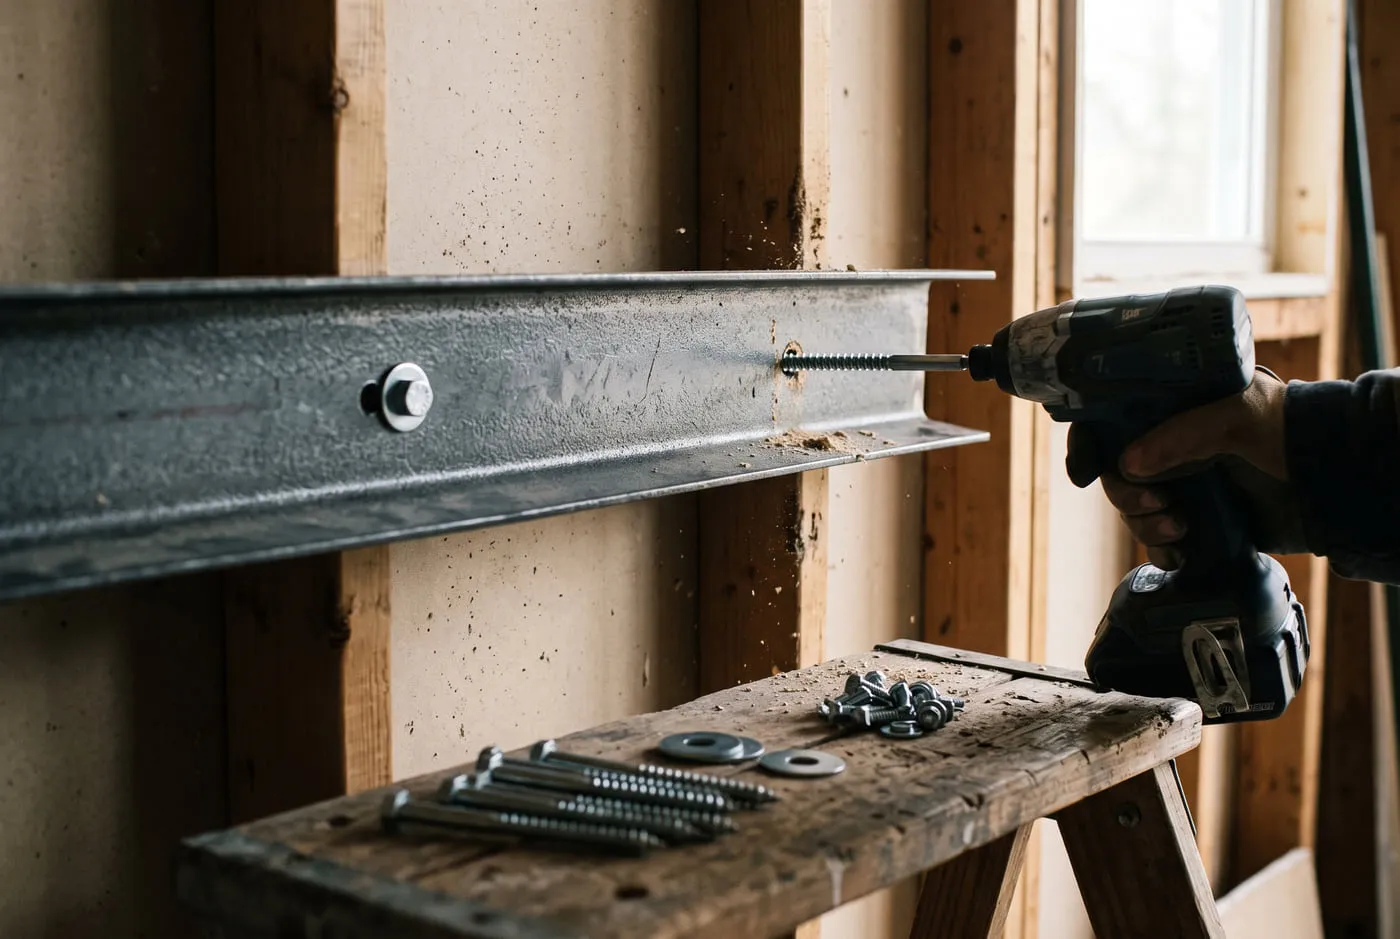
Predrill, level, then tighten.
Hold the bracket where you want the shelf. Mark through the bracket holes. Set it aside and check the marks. If at least two screws land on studs, proceed. If not, shift the bracket.
Predrill slowly. Set both screws snug, check level, then tighten the rest of the way. A bracket that goes in at a slight angle is miserable to fix after the fact.
Step 05 · Finish | 20 min
Shim, caulk, then style it.
Almost no wall is perfectly flat. If the shelf rocks or there is a gap where the back edge meets the wall, do not panic. A thin shim behind the bracket fixes the rock. A small bead of paintable caulk closes the gap.
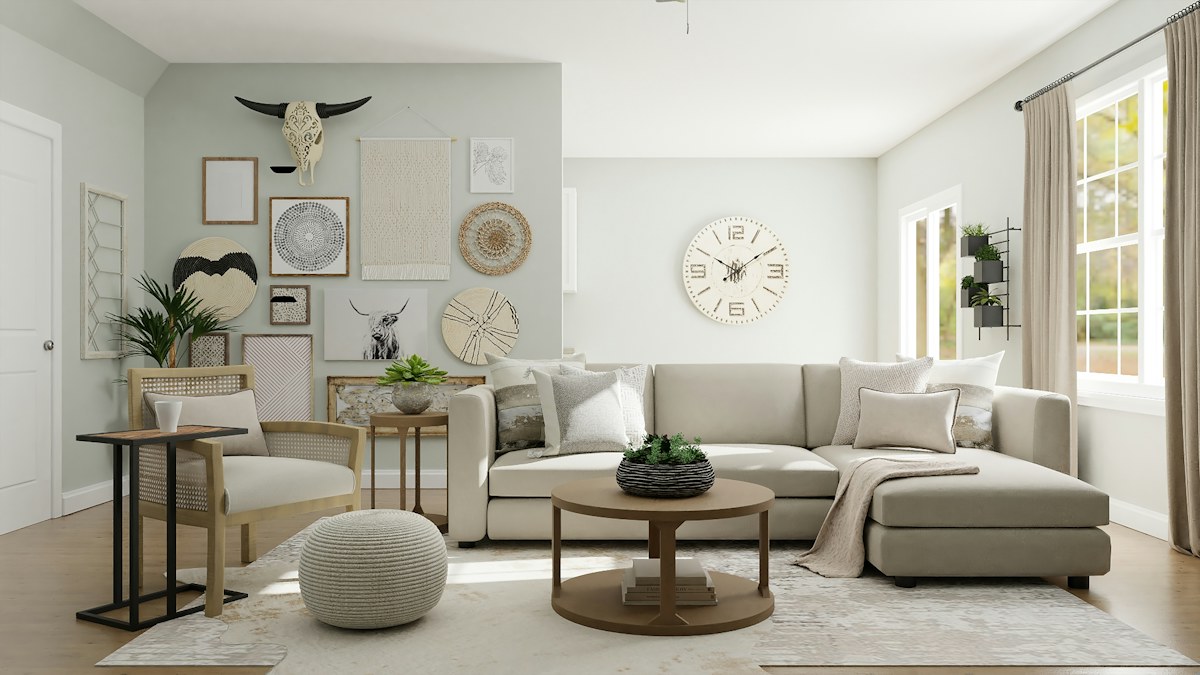
Style with heavy things in the middle and lighter things toward the ends. Books and ceramics are fine. A fish tank is not. Odd numbers look better than even ones, and empty space counts as design.
Sam's hot takes
Things I'm tired of seeing
Buying the shelf before finding studs
The wall decides what fits. Measure the studs first, then buy hardware that actually lands where it needs to.
Trusting drywall anchors with books
A candle, maybe. Books, plants, ceramics, or anything breakable? Studs. Every time.
Using short screws
The screw has to pass through bracket and drywall and still bite into wood. Half the failures are just tiny screws pretending to be structural.
Crowding the shelf the second it goes up
You installed negative space too. Let it breathe before you turn it into a storage ledge.
The wall is not flat.
Almost no wall is. If your shelf rocks slightly or there is a gap at one end, do not read that as failure. A thin shim behind the bracket on the low side fixes the rock.
A small bead of paintable caulk along the back edge closes the gap and makes the shelf look intentional. These are not tricks. They are finishes. Every professional carpenter uses them. Now you do too.
It is level. It looks good.
It took you an afternoon. The wall finally looks like you meant it, and the shelf is ready for books, ceramics, plants, or exactly one object with too much confidence.
Hanging a mirror instead of a shelf? Hanging something heavy on your own uses the same stud-first logic, with toggle bolts for the spots where no stud lands. If the shelf is going into a garage, or the wall might be steel-framed, the garage wall storage guide shows how a magnet tells wood from steel. And if you do not own a drill yet, the three-tool starter list begins with the one this project needs.
- Sam