Barrier Cream Techniques for Even Self-Tan
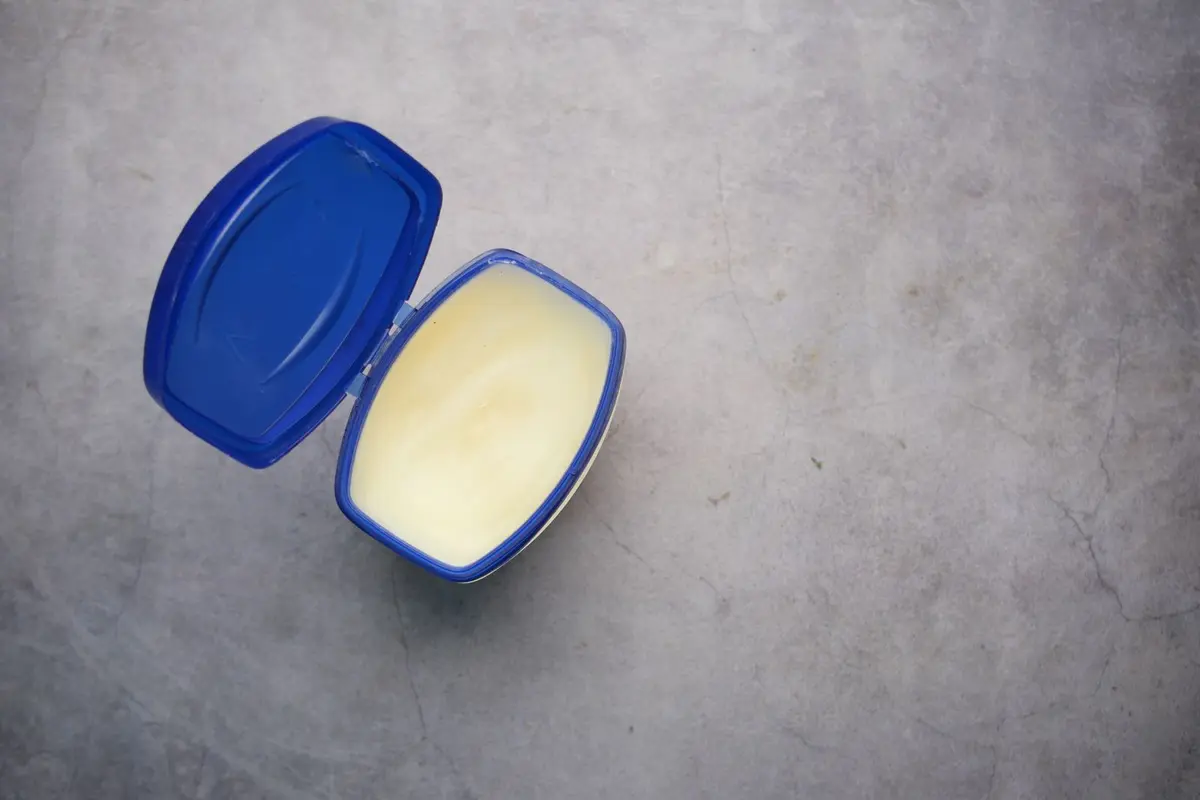
Self-tan pigment often migrates toward areas of high skin density or repetitive motion, such as knees, elbows, and ankles. This results in uneven, dark patches that draw unwanted attention to the joints. Applying a barrier cream creates a temporary buffer between the skin and the tanning agent.
The goal is to inhibit, not block, the absorption of the tanning agent in these specific zones. Proper execution requires a light touch and precise placement before the primary tanning product is applied.
- Difficulty
- Beginner
- Total time
- 15 minutes
- Cost
- Low
- Cadence
- Apply before tanning
Ingredients
- Glycerin: Provides a light hydration layer to prevent over-absorption.
- Dimethicone: Helps form a breathable, non-greasy film on the skin.
Tools List
- Fragrance-free barrier lotion
- Cotton swabs
- Tanning application mitt
- Soft buffing brush
Step by step
Clean and dry the skin
Ensure your skin is free of oils, lotions, and residual perfumes. Use a mild, pH-balanced cleanser and pat the skin completely dry with a clean towel. Residual moisture can cause the barrier cream to slip, defeating its purpose.
Tip: Wait ten minutes after showering to ensure skin is dry.Apply the barrier cream
Select a fragrance-free, water-based or light oil-based lotion. Apply a thin layer specifically to the joint creases, including the interior of the elbow and the kneecap. Do not over-apply; a pea-sized amount is sufficient for both knees or both elbows.
Tip: Use a cotton swab for precision.Buff the perimeter
Use a clean, dry cloth to lightly buff the edges of the barrier cream. You want the cream to sit only in the deepest part of the crease and the roughest skin of the joint. Blurring the edges ensures a natural transition between the tanned skin and the protected joint.
Tip: Avoid spreading the cream to surrounding smooth skin.Apply tanning product
Apply your tanning agent to the rest of your limbs as normal. When you reach the joints, use the residual amount of product remaining on your mitt to lightly swipe over the barrier-coated area. Do not load the mitt with fresh product for these zones.
Tip: Light pressure is key.Final blend
Take a clean, dry brush or a soft mitt and gently sweep over the joint to ensure no tanning product has pooled. Ensure the color looks seamless from the calf to the ankle, and the forearm to the wrist. Allow the product to set according to the manufacturer instructions.
Tip: Use a buffing motion.
Trouble
What if the tan does not show up on the joint at all?
You applied too much barrier cream. In the future, buff the cream down further with a dry cloth before applying the tanning agent.
Can I use petroleum jelly?
Petroleum jelly is often too heavy and can create a complete block, resulting in an unnatural white patch. Opt for a standard, non-scented face or body lotion instead.
Should I apply the barrier cream to the tops of the feet?
The tops of the feet are prone to collecting excess pigment, but they do not require a barrier cream. Instead, wipe the area with a damp cloth immediately after tanning application.
How do I fix a dark streak in the crease of my elbow?
If the tan is still developing, immediately use a dry, rough towel to exfoliate the area gently. If the tan has already fully set, focus on gradual exfoliation over the next two days.
The goal of a barrier is to dilute the tan, not to prevent it entirely.
Consistency in pressure matters more than the specific brand of lotion used.
See also: self-tan prep and application, smoothing rough knees and elbows and maintaining a tan while swimming.