A Guide to Patch Testing Self-Tanner
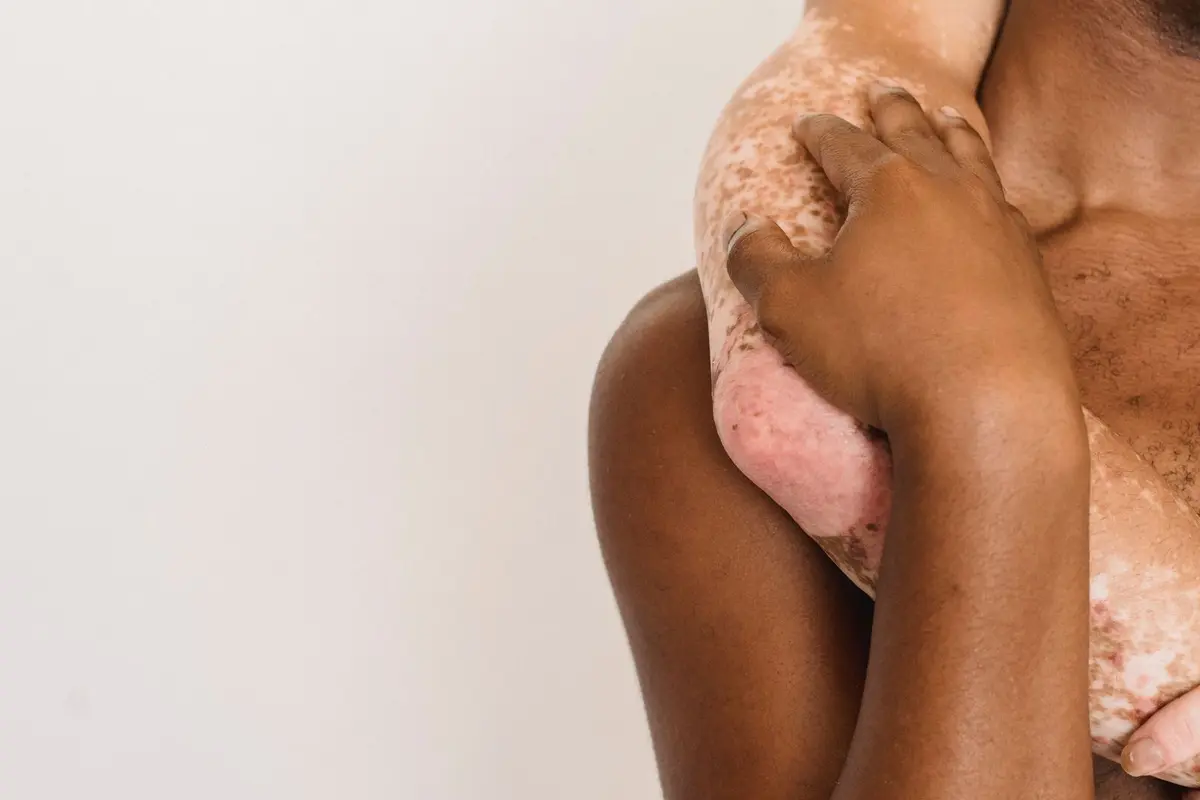
Before applying a self-tanning product to large areas of the body, it is practical to perform a patch test. This process lets you evaluate how the formulation interacts with your specific skin tone over time. A twenty-four-hour observation period allows for a complete color development cycle.
Selecting the interior of the wrist provides a discrete location that mimics the texture and tone of the rest of the body. This guide details the methodology for an accurate test.
- Difficulty
- Beginner
- Total time
- 24 hours
- Cost
- Negligible
- Cadence
- Single occurrence
Ingredients
- DHA: The active compound responsible for skin darkening.
Tools List
- Lint-free towel
Step by step
Clean the surface
Clean your inner wrist with mild soap and water to remove any residual lotion, oil, or deodorant. Pat the skin completely dry with a lint-free towel. Ensuring a clean surface is essential for the product to adhere properly to the skin cells.
Tip: Do not exfoliate the test site immediately before applying the product.Apply the product
Dispense a pea-sized amount of the self-tanning product onto your finger. Apply a thin, even layer to the center of your inner wrist, covering an area roughly the size of a coin. Do not rub the product in aggressively; a smooth, consistent application yields the most accurate color read.
Tip: Use a cotton swab if you prefer more control over the application area.Allow for initial absorption
Keep your wrist exposed to the air for at least five minutes or until the product feels dry to the touch. Avoid letting the product come into contact with clothing or watch bands during this time. Allowing it to set prevents smearing.
Tip: Wear a short-sleeved shirt to ensure the area remains undisturbed.Observe the color cycle
Leave the product on the skin for a full twenty-four hours to witness the complete development of the color. Go about your normal daily activities, including showering, but avoid scrubbing the specific patch on your wrist. Observing how the color deepens over the day reveals the final pigment result.
Tip: Take a photograph at the 8-hour and 24-hour marks for comparison.Examine the final result
Inspect the patch after the twenty-four-hour duration. Note the depth of the color, the undertone of the tan, and how it fades compared to your natural skin color. This is the indicator of how the product will perform on your entire body.
Tip: View the result in natural, indirect daylight for the most accuracy.
Trouble
What if the color is too light?
If the color is insufficient, you may choose to layer the product twice on your next full-body attempt. Ensure the first layer is completely dry before adding the second.
The product left a ring around the edge of the patch.
This occurs due to uneven application. Use a buffing mitt or a dry sponge to blend the edges of the product outward during your full-body application.
The patch turned orange after twenty-four hours.
This indicates the specific formula does not align with your natural skin undertones. You may need a product with a different base, such as one designed for cooler or olive skin tones.
Does water affect the test?
Yes, water can influence the development. Avoid swimming or excessive sweating during the twenty-four-hour test window to see the true potential of the pigment.
A twenty-four-hour observation period allows for a complete color development cycle.
Consistency is the primary factor in an effective test.
Related: self-tan prep and application, self-tan and does a hot shower fade self-tan faster.