Smoothing Knees, Elbows, and Ankles for Self-Tan
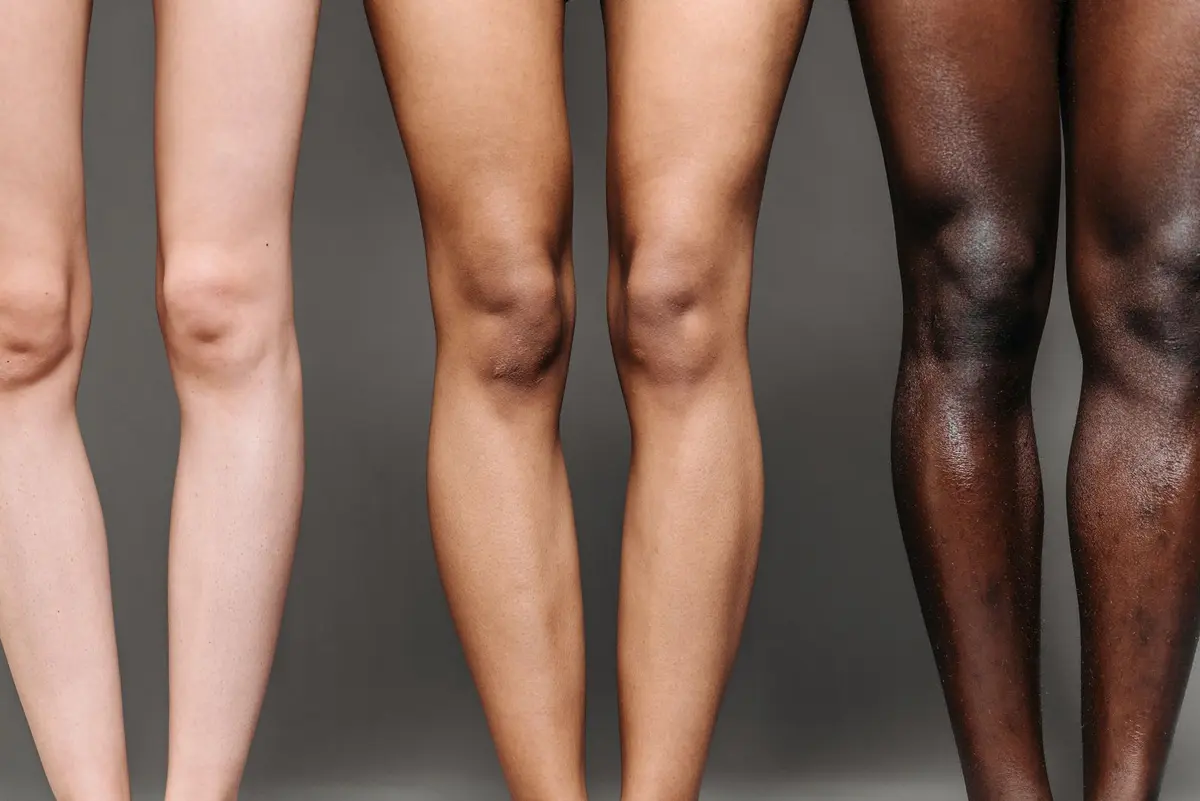
Self-tanner tends to accumulate in the coarse, dense skin found at the joints. Knees, elbows, and ankles are naturally drier and more porous than the surrounding limbs, causing them to absorb more pigment than intended.
This imbalance results in a darker, patchy appearance that is difficult to correct once the color has developed. Success in self-tanning relies entirely on managing this texture differential before the product is applied.
By smoothing the skin and applying a targeted barrier, you can ensure a seamless transition from the limb to the joint. Follow this method to ensure even color distribution across your entire body.
- Difficulty
- Beginner
- Total time
- 20 minutes
- Cost
- Low
- Cadence
- Weekly maintenance
Ingredients
- Oil-free moisturizer: Creates a necessary buffer without blocking color entirely.
Tools List
- Tanning mitt
- Oil-free moisturizer
- Soft-bristle makeup brush
- Exfoliating cloth
Step by step
Surface exfoliation
Use a dry washcloth or a sugar-based scrub to remove dead skin cells from the joints. Focus on the circular creases of the knees and the points of the elbows. Ensure the skin is completely dry after this process, as residual water can cause the tanning product to streak upon contact.
Tip: Do not over-scrub, as irritation can cause uneven pigment absorption.Barrier application
Apply a thin, consistent layer of an oil-free moisturizer to the knees, elbows, and ankles. You want a product that blocks the tanning agent from soaking into the deeper layers of skin. Avoid heavy petroleum-based products, as they may prevent the self-tanner from adhering entirely.
Tip: Use a light hand to keep the barrier confined to the joint.Product distribution
Apply your self-tanner to the main limbs first, stopping short of the joints. Use the remaining product left on your tanning mitt to lightly blend over the knees, elbows, and ankles. This ensures the layer on the joint is significantly thinner than the layer on the surrounding skin.
Tip: A little goes a long way on these absorbent areas.Precision feathering
Take a clean, dry makeup brush and lightly buff the edges where the joint meets the limb. This motion creates a soft gradient rather than a sharp line. Check for any excess accumulation in the natural creases and dab those areas with a dry cloth.
Tip: Keep the brush strokes circular and light.Drying cycle
Allow the area to dry completely before any clothing comes into contact with the skin. Movement should be kept to a minimum to prevent the tanner from creasing in the joints. Stay upright until the surface feels entirely set.
Tip: Use a fan if the air is humid.
Trouble
Why do my ankles always look orange?
Ankles have thin, dry skin that drinks up tanning agents. Apply a thicker barrier next time and use less product on the brush.
Can I use body oil to prime these areas?
Oil is too effective a barrier and will likely prevent the tanner from taking hold, leaving a pale ring. Stick to water-based, oil-free moisturizers.
What if I miss a spot during blending?
If you notice a gap after the color develops, use a cotton swab to lightly touch up the specific area with a tiny amount of tanner. Do not scrub the skin.
How long should I wait before applying tan?
Ensure your moisturizer has fully absorbed into the skin and is no longer tacky. This usually takes about five minutes.
A thin barrier is the difference between a natural glow and a patchy finish.
The goal is to trick the eye, not to paint the skin.
More: smoothing rough knees and elbows, self-tan prep and application and self-tan.