Timing Your Exfoliation for Even Self-Tan Removal
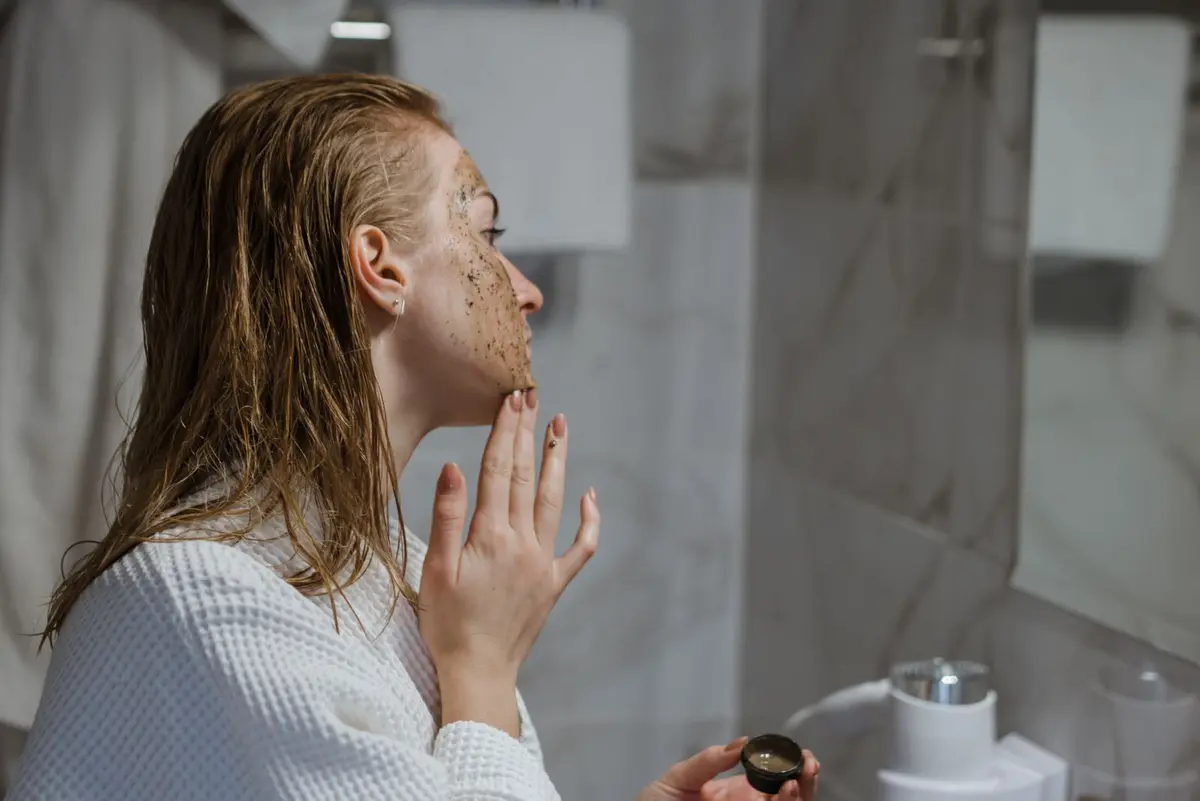
The longevity of a sunless tan relies entirely on the condition of the skin before application. As the formula begins to fade unevenly, residual pigments gather in areas with higher cellular turnover or dryness, resulting in a patchy appearance. Removing these remnants requires a measured approach rather than aggressive scrubbing, which can disrupt the skin barrier.
Exfoliation serves as the reset button for your body care routine. By targeting the specific timing of the removal process, you ensure that fresh color layers over a clean canvas, preventing the common pitfalls of streaks and darkened pores.
- Difficulty
- Beginner
- Total time
- 20 minutes
- Cost
- Low
- Cadence
- Once per weekly cycle
Ingredients
- Fine-grain sugar: Provides gentle physical abrasion without scratching.
Tools List
- Synthetic fiber exfoliating mitt
Step by step
Begin with a dry surface
Before entering the shower, assess your skin to identify areas where the pigment has concentrated. Use a dry cloth or mitt to gently buff these darker patches. Working on dry skin allows for better grip and precision when removing stubborn remnants of previous applications.
Tip: Limit dry buffing to only the most uneven areas.Softening in warm water
Enter a warm shower and saturate your skin for several minutes. The steam and temperature help to soften the outer layer of dead skin cells and loosen the remaining self-tan product. Do not use hot water, as this can lead to unnecessary dryness that complicates later application.
Tip: Use lukewarm water only.Uniform physical exfoliation
Apply a mild, non-oil-based physical scrub or use a textured cloth across your limbs using circular motions. Apply steady, moderate pressure without dragging the skin. Focus on joints like elbows, ankles, and knees, as these areas naturally accumulate more product.
Tip: Maintain consistent pressure throughout.Rinsing and inspection
Rinse thoroughly, ensuring all granular particles from your scrub are removed. Run your palms over your skin to feel for any remaining rough patches or residual pigment. If you detect uneven texture, repeat the buffing process on those specific zones only.
Tip: Avoid heavy body washes at this stage.Neutralizing and drying
Pat your skin dry with a clean towel instead of rubbing, which can irritate the skin. Allow your skin to return to its natural temperature before considering the next steps of your routine. Ensure the skin is completely dry and free of moisture before applying any new product.
Tip: Wait at least one hour before re-tanning.
Trouble
Why is the tan still appearing streaky after exfoliating?
You may be missing specific areas that have high texture, such as the back of the heels or the inner wrist. Focus on these overlooked zones with a dedicated cloth to ensure complete removal.
Can I use an oil-based scrub?
Oil-based scrubs leave a film on the skin that acts as a barrier to new tanning products. Stick to water-soluble or soap-based scrubs for the best results.
How often should I perform this deep removal?
Once every seven to ten days is sufficient. Over-exfoliation weakens the skin and makes the tan appear faded or dull.
Is it necessary to exfoliate every time I re-tan?
Yes. A light buffing ensures the new layer of tan adheres to fresh cells, which provides the most natural color development and prevents build-up.
Even application depends entirely on the removal of the previous layer.
Consistency is the only secret to professional-looking results at home.
See also: extending a tan, does a hot shower fade self-tan faster and smoothing rough knees and elbows.