Your gallery wall is crooked and everyone is too polite to say so.
Gallery walls go crooked because people level each frame to itself instead of to one reference line. Paper templates, a centre line, and the hook maths that puts the nail in the right place. By Sam.
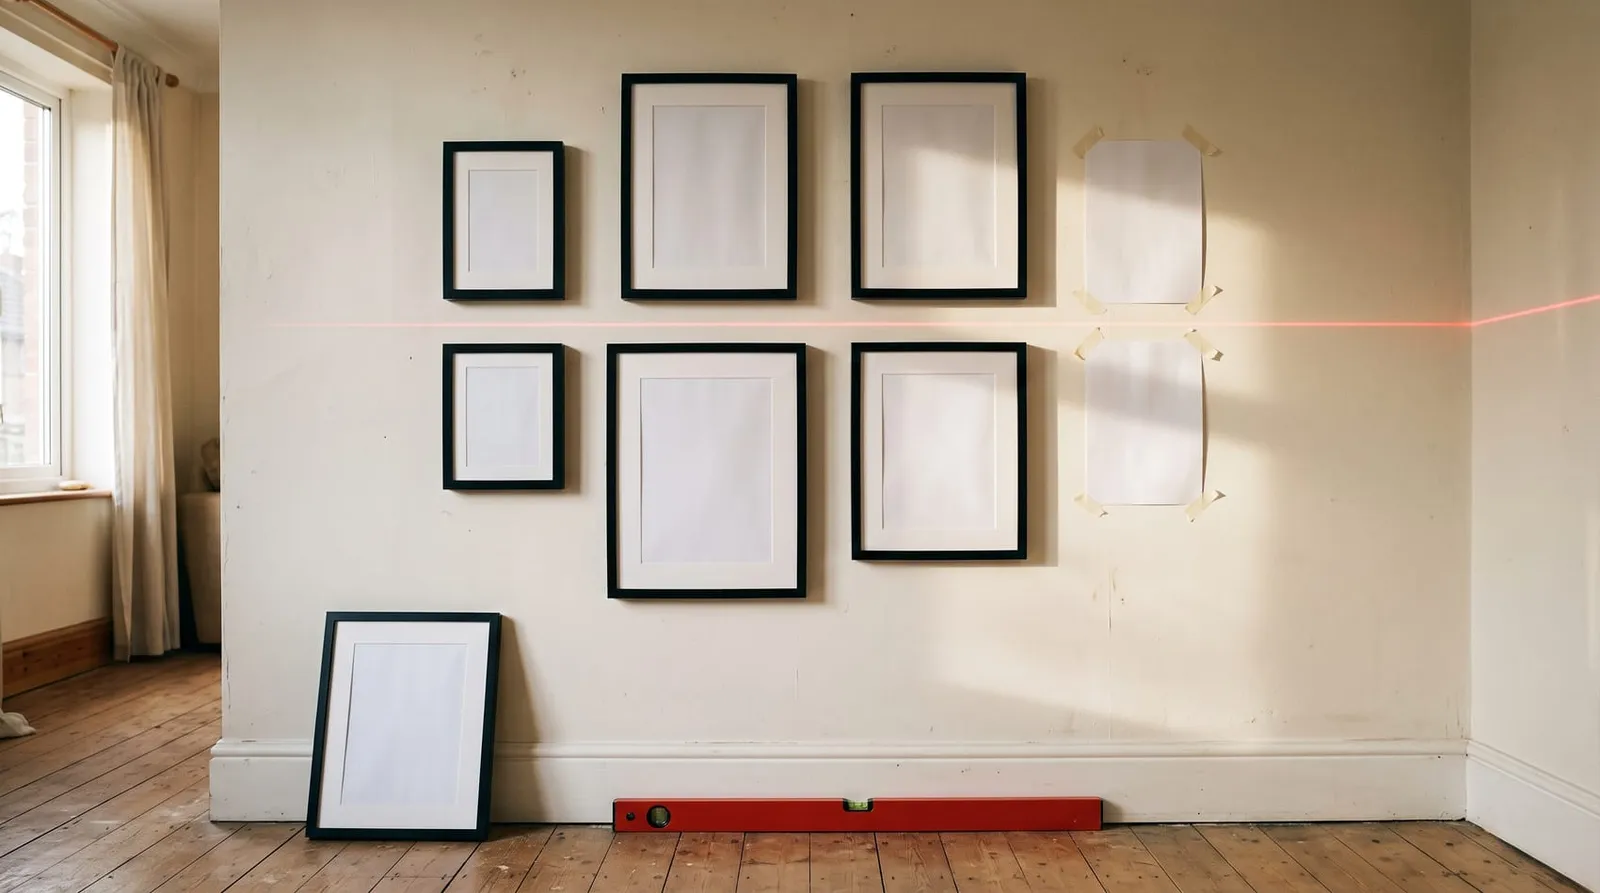
it's not that you can't hang a picture. it's that you levelled nine of them, one at a time, against each other.
- reference line the whole arrangement answers to: 1
- gap between frames — and the same gap everywhere: 2–3 in
- holes drilled until the paper has been up for a day: 0
- Updated: Aug '26
here's the thing nobody says out loud: a gallery wall can have every single frame perfectly level and still look wrong. i've seen it. i've made it. i stood back, checked each one with a spirit level, confirmed each one was level, and the wall still looked like it had been assembled during a mild earthquake.
arrangements don't read as crooked because of tilt. they read as crooked because the gaps are uneven and there's no line for your eye to rest on.
levelling a frame only tells you that that frame isn't tilted. it says nothing about whether it's in the right place relative to the other eight. so the fix isn't a better level. it's a reference line, and about forty minutes of not drilling anything.
00 / The kit, most of which you own
The cheapest item is the important one
it's the paper. everything else on this list is a convenience; the paper is the method. a roll of kraft or a stack of newsprint is what turns nine irreversible decisions into nine reversible ones.
a cross-line laser makes the reference line effortless and stays put while both your hands are busy, which is genuinely why those things earn their space. a long spirit level and a chalk line get you the same result with more walking.
- kraft paper or newsprint — the single most valuable item here, and the cheapest. (01)
- low-tack painter's tape — not masking tape. unless you enjoy touching up paint. (02)
- a cross-line laser, or a level and chalk line — you need one horizontal that stays there while your hands are full. (03)
- stud finder, hooks and anchors — rated for what you're actually hanging, not for what you hope it weighs. (04)
- adhesive bumpers — four for a dollar, and the reason it's still straight in march. (05)
Floor, paper, line, drop.
04 MOVES | AND ONLY THE LAST ONE USES A DRILL
Step 01 · Layout | on the floor
Build it on the floor, at wall scale.
tape out the wall's usable width and height on the floor. not roughly — actually measure the wall, actually mark it on the carpet. then arrange the frames inside that outline until it looks right.
the floor beats the wall for this because you can move things a hundred times for free, and because you can look down on it, which is a far more honest view than standing three feet away squinting.
keep the gaps consistent — two to three inches is where most arrangements land — and keep them consistent everywhere, including corners and diagonals. uneven gaps are what the eye reads as "crooked" even when nothing is tilted at all. when it looks right, photograph it from directly above. that photo is your plan.
Step 02 · Templates | paper first
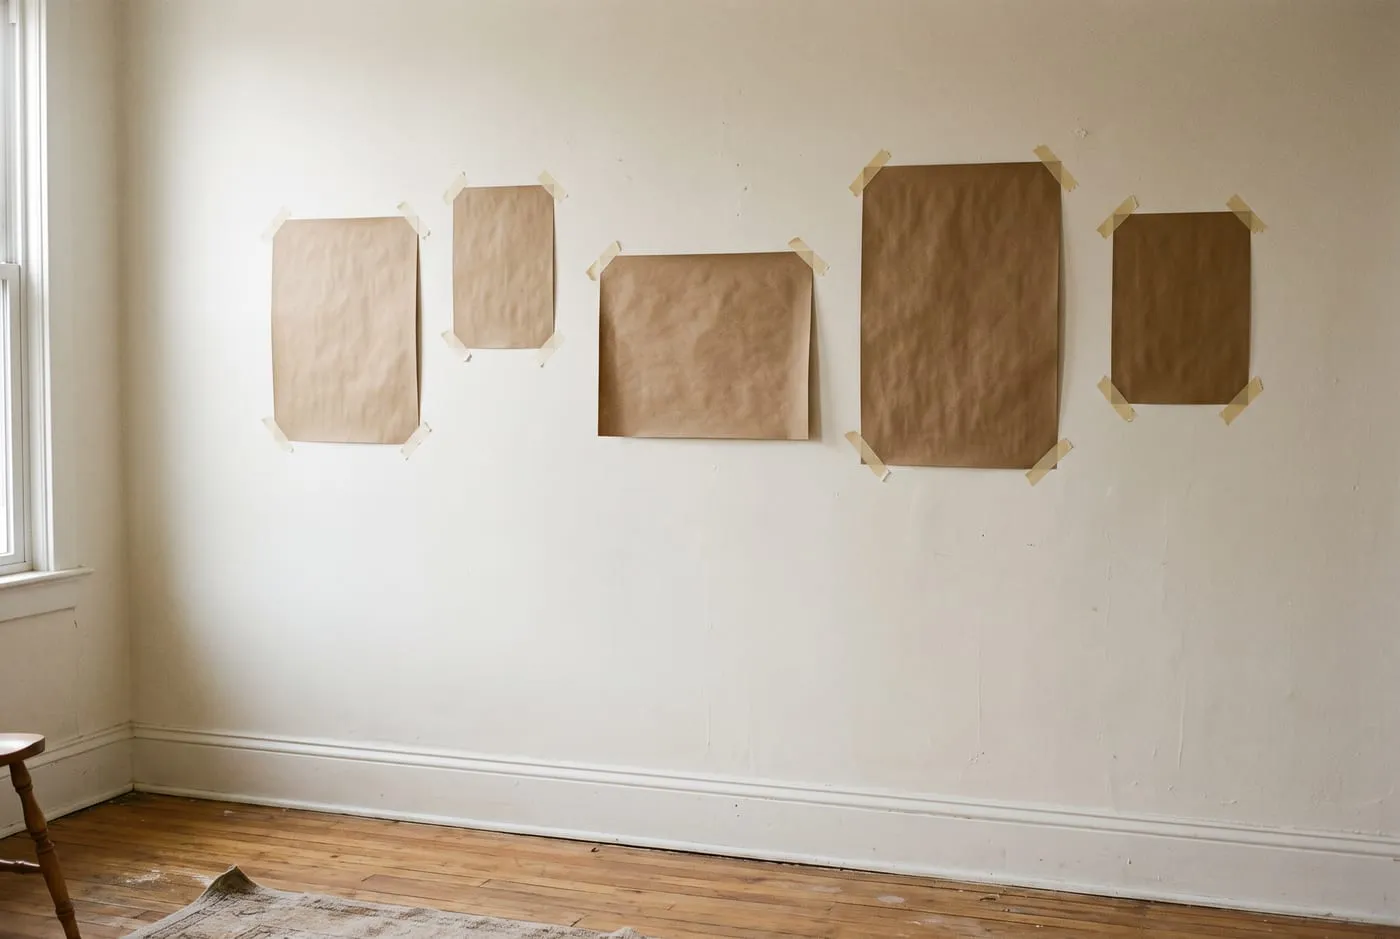
Paper templates, and a day of living with them.
draw round every frame on kraft paper and cut the shapes out. mark the hanging point on each template — more on that measurement in a moment.
tape the templates up in the arrangement from your photo. then walk away and leave them there for a day.
this feels like an unnecessary step and it's the step that saves you. paper on a wall tells you things the floor can't: that the group sits too high, that it drifts left of the sofa, that it fights with the light switch, that the big one should be a row down. you'll move at least two of them.
Step 03 · The line | one, for everything
One reference line for the whole group.
this is the actual technique, and it's what separates a gallery wall from a collection of individually level pictures.
pick one horizontal that runs through the arrangement. galleries conventionally set the centre of a hang somewhere around fifty-seven to sixty inches from the floor — roughly average eye level — which is a good starting point, though a wall above a sofa wants the group anchored to the furniture rather than to a number.
then put that line on the wall and relate every frame to it: tops aligned to it, bottoms aligned to it, or the line running through the centres of a row. not to its neighbour. a wall where each frame is levelled against the one beside it accumulates error across the group, and by frame nine you're an inch out and you can see it without being able to say why.
Step 04 · The drop | and the wall behind it
The drop is the measurement nobody takes.
the classic failure: you mark where the top of the frame goes, put the hook there, hang the picture, and it sits an inch and a half lower than planned.
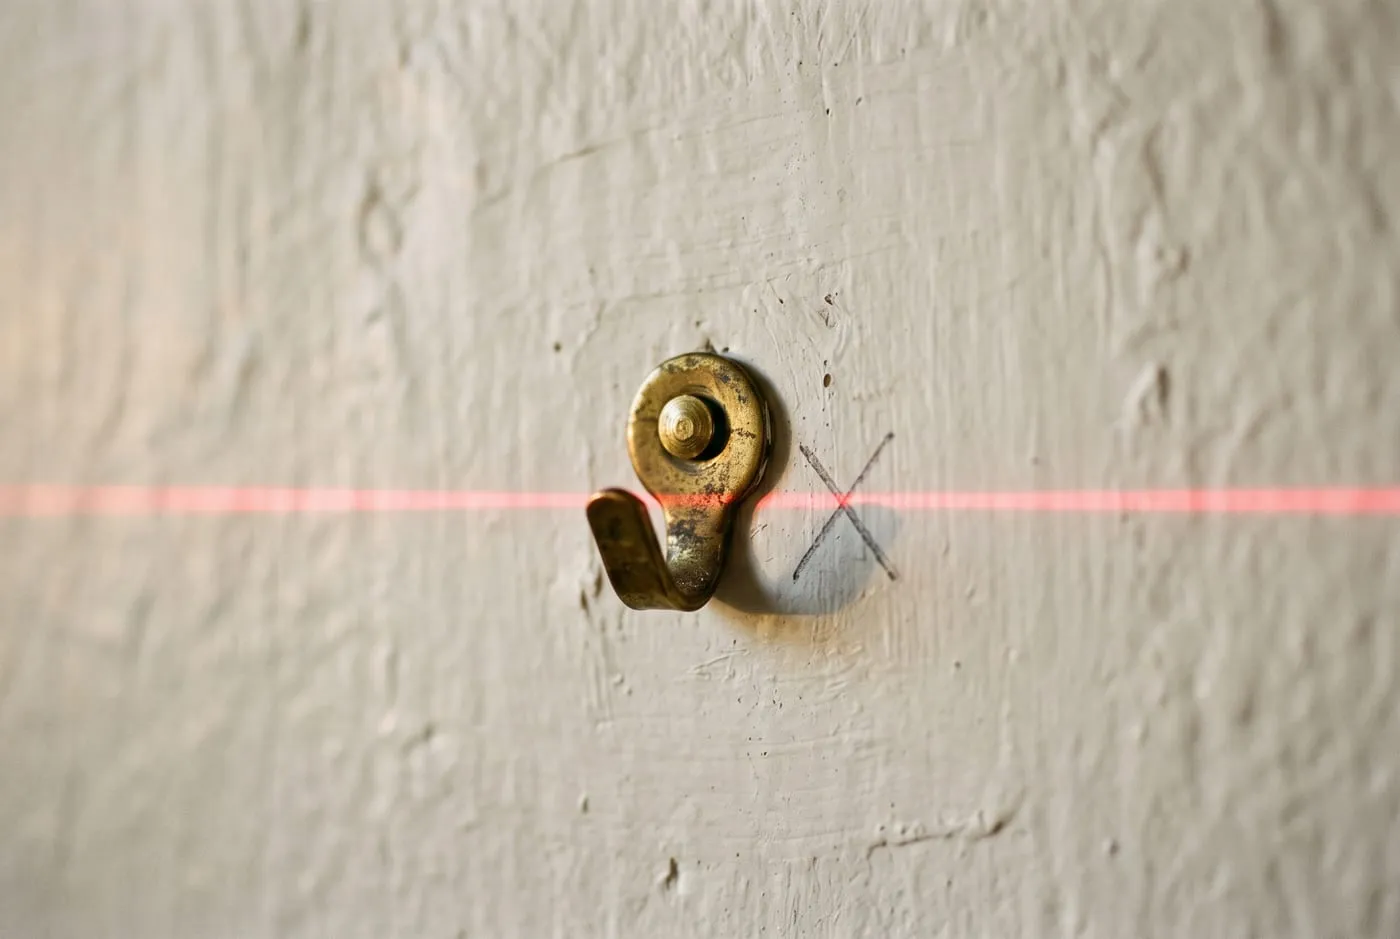
that gap is the drop. hook the wire with a finger and pull it taut toward the top of the frame, the way it'll sit under its own weight, then measure from the taut wire to the top edge. that number — usually an inch to three — is how far below your top-edge mark the hook goes. do it per frame; wires are cut to different lengths and stretch differently.
then hardware, matched to weight and wall: picture hooks into drywall for light frames, proper anchors for heavier ones, masonry fixings for brick, and a stud wherever the layout lets you hit one. on anything wide, use two hooks set well apart instead of one in the middle — a single hook lets the frame rotate, and it will, every time somebody closes a door. bumpers on the bottom corners.
You don't have to start over.
Bumpers first. a frame that keeps tilting is usually pivoting on one hook. an adhesive bumper on each bottom corner adds friction and very often fixes the entire complaint for about a dollar.
Then a second hook. add one a hand's width from the first, on the same line. two points can't rotate. it's a smaller hole than moving the frame is.
Then, only if you must, move it. and before you do — put the paper templates back up and check whether it's actually that frame. quite often the one you dislike is fine, and the one next to it is the problem.
And if it's the old holes that bother you. fill them slightly proud, sand flush, touch up — the fill-and-sand routine from painting a room works the same on three nail holes as on a whole wall. if one piece is a heavy mirror rather than a frame, hang that one on its own terms, into a stud or a rated toggle, and let the paper template decide where. and if you want to rearrange without drilling at all, a floating shelf gives frames a ledge to lean on.
you can absolutely do this with a spirit level and a chalk line. what a cross-line laser buys you is a horizontal that stays on the wall while both of your hands are holding a frame — and self-levelling, so the line is right even when the shelf you set it on isn't.
laser levels →some links on this page are affiliate links — if you buy through one, we earn a commission at no extra cost to you.
Not a hanging skill. A layout and one line.
a gallery wall is a floor layout, a day of paper, and one horizontal everything answers to. and if it's still crooked after all that, nobody's going to say anything — which is what makes it worse.
— sam