Brow Gel Versus Pencil: The Practical Comparison
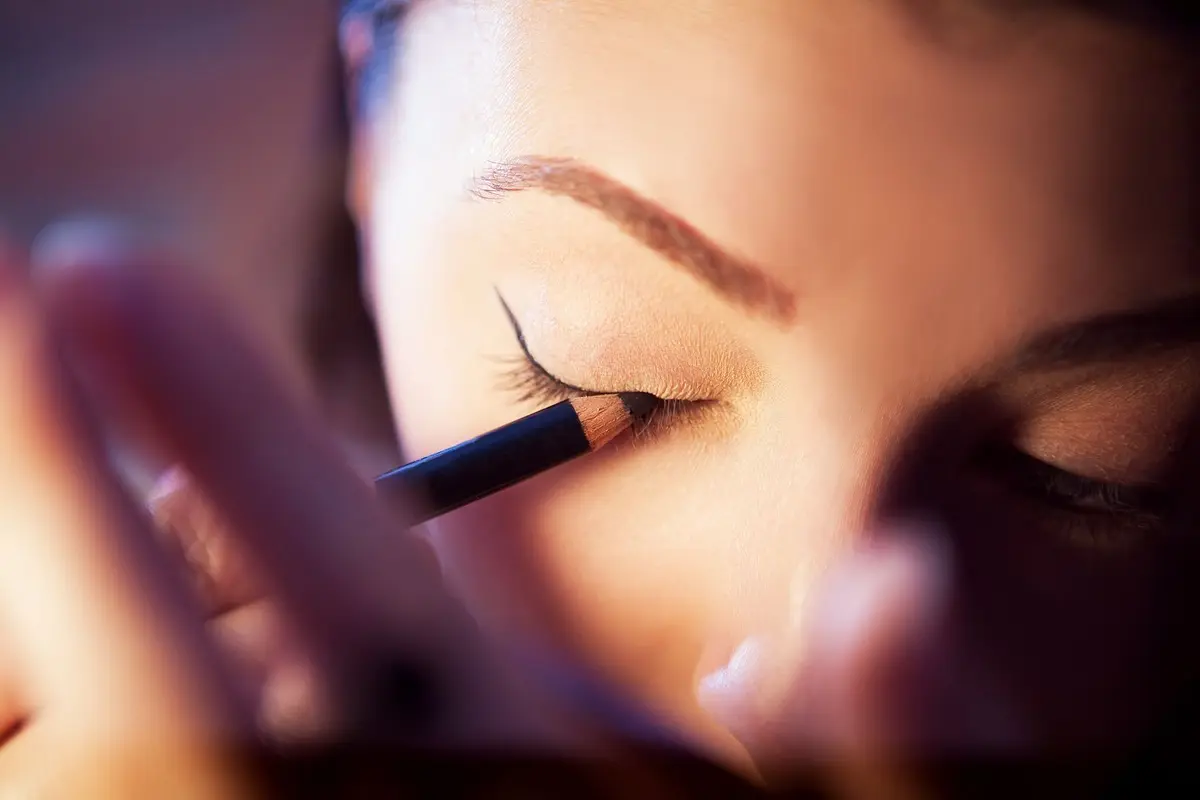
The daily brow routine often defaults to the pencil, a tool designed for structural precision and the imitation of individual hair strokes. Tinted brow gels, conversely, rely on fiber-depositing formulas to coat existing hair and subtly tint the underlying skin. Choosing between them—or deciding if one can replace the other—depends entirely on the density of your natural brow hair.
This guide examines the mechanics of the brow gel and clarifies when it is sufficient to carry your look alone. If your primary goal is speed, the transition from pencil to gel is achievable for most users.
- Difficulty
- Beginner
- Total time
- 5 minutes
- Cost
- Low to medium
- Cadence
- Daily maintenance
Ingredients
- Synthetic fibers: Provides the illusion of thicker hair density.
- Film-formers: Ensures the pigment stays in place throughout the day.
Tools List
Step by step
Prepare the brow surface
Clean the area of any residual oil or moisturizer to ensure the product adheres to the hair cuticle. Brush the brow hairs downward with a clean spoolie to reveal the skin underneath. This allows you to assess where the pigment needs to settle.
Tip: Use a translucent powder to mattify the skin if it is prone to oiliness.Apply against the grain
Wipe the excess gel from the applicator wand onto the edge of the tube. Apply the tint starting from the tail and moving toward the inner corner, brushing against the direction of hair growth. This coats both sides of the hair shaft for a fuller appearance.
Tip: Do not overload the brush to avoid clumping.Define the shape
Once the hairs are coated, use the tip of the wand to brush the hairs upward and outward following your natural arch. Use light pressure to prevent depositing excess product onto the skin. The goal is to lift the brow to open the eye area.
Tip: Use the very tip of the applicator to nudge hairs into place.Final grooming
Check for any uneven spots or clumps of product. If you have gone outside the natural perimeter of the brow, use a clean, dry cotton swab to sweep away mistakes before the formula sets. Allow the product to dry completely for one minute without touching it.
Tip: A firm setting gel is ideal for maintaining the shape throughout the day.
Trouble
My brow gel looks clumpy.
You are likely applying too much pressure or using too much product. Wipe the wand thoroughly on the tube opening before use, and use a light, feathery motion.
The color is too dark for my complexion.
Choose a shade that is one tone lighter than your hair color. Brow gels often deposit more pigment on the skin than expected, so err on the side of lighter tones.
Can I use gel over a pencil?
Yes, but keep it minimal. The pencil provides the base shape, and the gel adds texture and hold. Use a lighter hand with both products to avoid a heavy look.
My gel smears by midday.
Ensure your skin is free of heavy creams before application. If you have oily skin, a thin layer of translucent powder before the gel will act as a primer and prevent migration.
A pencil provides architecture, but a gel provides the appearance of volume through density.
Focus on your hair texture before choosing your tool. It saves time.
See also: hair-stroke technique with a brow pencil, shape your brows and brows.