Defining Brows with Hair-Stroke Pencil Technique
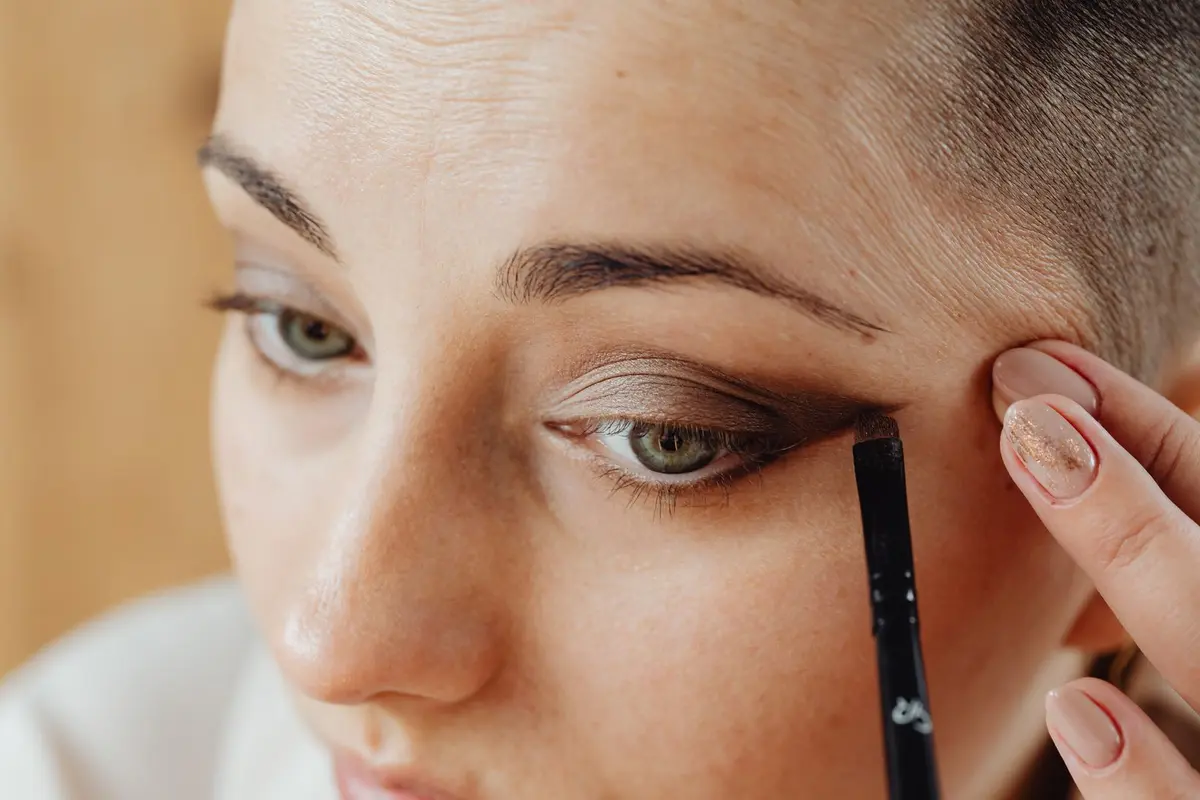
Over-drawing the eyebrow often leads to a heavy or artificial appearance. The hair-stroke technique shifts the focus from filling in a shape to creating an imitation of individual brow hairs, resulting in a balanced and refined arch. This process requires a steady hand and a fine-tipped pencil.
The objective is to fill sparse areas by following the natural grain of your brow growth. By observing the direction of your hair and mirroring it, you maintain a structural integrity that appears authentic.
- Difficulty
- Beginner
- Total time
- 10 minutes
- Cost
- Low
- Cadence
- Daily or as needed
Ingredients
- Waxes and pigments: Balanced to grip the skin without sliding
Tools List
- Fine-tipped retractable brow pencil
- Clean spoolie brush
- Cotton swabs
Step by step
Map the anchor points
Begin by brushing your brow hairs upward using a clean spoolie to visualize the natural architecture. Use the tip of the pencil to mark the start, the high point of the arch, and the tail. Keep these points light so they can be blended or removed if necessary.
Tip: Align the pencil vertically against the nose to find the start point.Initiate the front strokes
Starting at the inner edge of the brow, apply light, flicking motions upward. Ensure the pressure is light at the beginning and end of each stroke to create a tapered look. Do not connect the strokes into a solid line.
Tip: The flicking motion should mimic the speed of a ticking clock.Trace the tail and arch
Transition your stroke direction toward the outer corner of the eye, following the downward angle of your natural hair growth. Keep the pressure consistent with the front, focusing on the sparse gaps. Maintain a light hand to avoid creating a dark silhouette.
Tip: Work from the middle outward to prevent front-heavy brows.Integrate the pigment
Use the spoolie to gently comb through the hair one final time. This softens the edges of the pencil marks and blends the pigment with the natural brow hair. The goal is to make the distinction between pencil and hair invisible.
Tip: Only brush in the direction of hair growth.Final check
Step back from the mirror to observe the symmetry between both brows. If one side is more saturated, use the spoolie to remove excess product. Verify that the head of the brow remains the lightest point of the entire shape.
Tip: Check the brow under natural lighting if possible.
Trouble
My strokes look like dark blocks instead of hairs.
You are applying too much pressure or using a pencil that is too soft. Reduce the force of your flicking motion and ensure the pencil tip is sharp.
The strokes keep blurring together.
This happens when you over-blend or use an oily brow product. Allow your skincare to absorb completely before starting and use a light touch with the spoolie.
How do I fix a mistake?
Use a clean, dry cotton swab to lift the pigment off the skin. Avoid using water or oil, as these will smudge the product further.
The front of my brow looks too intense.
This is a common issue. Use the spoolie to brush the front hairs upward and outward, removing most of the product until only a faint trace remains.
A light hand is the difference between a natural brow and an artificial one.
Practice on the back of your hand before moving to your face.
More brow help: the brow guides, Shape your brows and eye looks.