A Guide to Ombre Brow Application
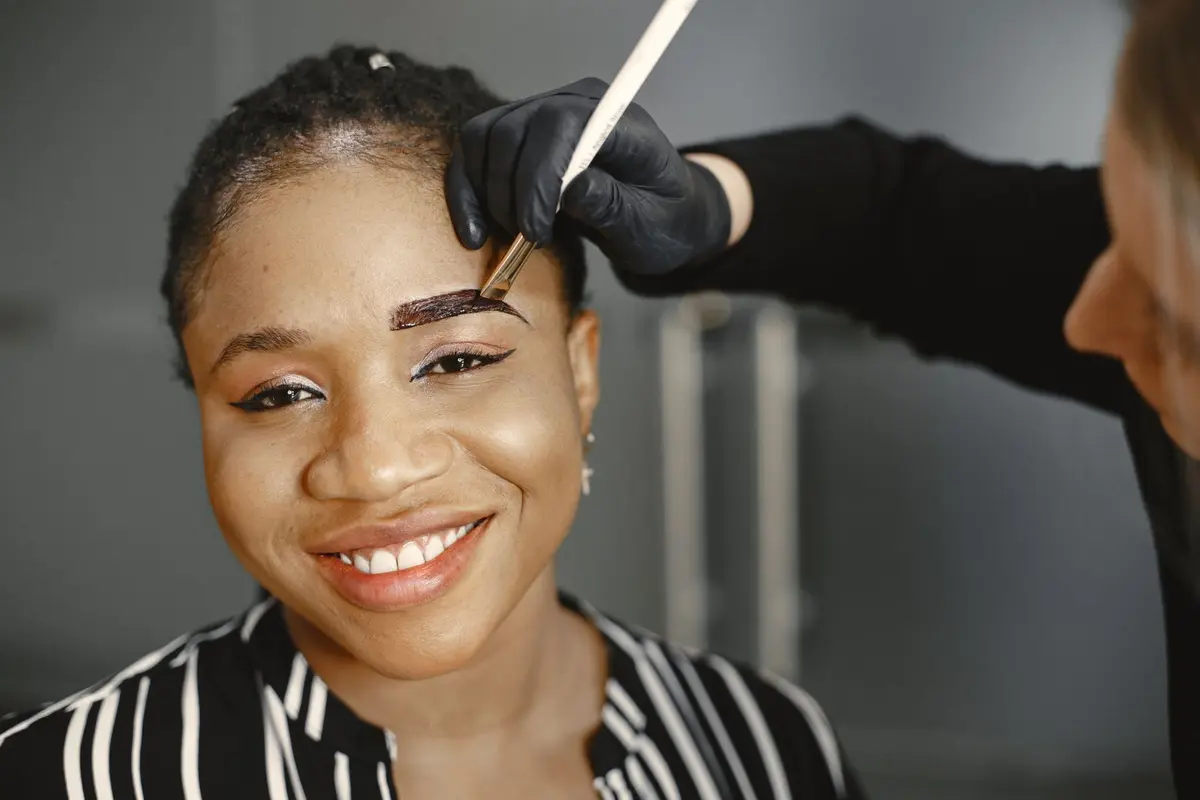
The ombre brow relies on a simple principle of light and shadow. By maintaining a lighter concentration of product near the bridge of the nose and increasing density toward the outer arch, you create a soft, intentional appearance. This avoids the flat, stamped look often associated with overly saturated brow products.
Mastering this technique requires only a steady hand and the correct orientation of your spoolie. The goal is a seamless transition rather than a visible line of demarcation.
- Difficulty
- Beginner
- Total time
- 15 minutes
- Cost
- Low
- Cadence
- Daily or as needed
Ingredients
- Waxes: Provides structure and hold for brow hair.
- Pigments: Delivers depth to sparse areas.
Tools List
Step by step
Map your anchor points
Begin by brushing your brow hairs upward with a clean spoolie to reveal the natural shape. Locate the start, the peak, and the end point of your brow. Use a thin pencil to lightly mark these positions so you have a roadmap to follow during the filling process.
Tip: Use a light-colored pencil for mapping that can be blended away easily.Fill the tail first
Start at the tail of the brow, where you want the highest saturation of pigment. Use short, light strokes to trace the bottom edge and fill in sparse areas toward the arch. Ensure the color remains darkest here as this provides the base of your gradient.
Tip: Keep your pressure consistent to avoid patchy spots in the tail.Transition to the arch
Move toward the middle of the brow, reducing the amount of pressure you apply to your tool. Begin to flick the product upward in the direction of hair growth to mimic texture. The color should naturally start to appear softer as you work away from the tail.
Tip: Step back from the mirror periodically to check for symmetry.Diffuse the front
With the remaining product on your brush, lightly feather color into the inner corner near the nose. Use vertical, upward strokes to keep the head of the brow looking airy and natural. Avoid adding fresh product here, as the residue on your brush is sufficient for a soft transition.
Tip: If the front looks too dark, brush through it with a clean spoolie to remove excess.Lock the shape
Apply a clear brow gel to set the hairs in place. Brush in an upward motion toward the tail to secure the gradient effect you created. This final step prevents smudging and maintains the structure of your work throughout the day.
Tip: Wipe the excess gel off the wand before application to avoid clumps.
Trouble
The front of my brow looks too boxy. How do I fix this?
Take a clean spoolie brush and gently comb through the inner corner of the brow. The friction will lift excess pigment and diffuse the edges, resulting in a more natural, feathered appearance.
How do I choose the right product color?
Select a shade that matches the deepest tone of your natural hair. If you are between two shades, choose the lighter one to allow for buildable coverage.
My gradient looks like two distinct colors.
This usually happens when there is a lack of blending between the tail and the head. Use a spoolie to pull the pigment from the dark tail into the lighter middle section to bridge the gap.
Is it possible to do an ombre brow with a pencil?
Yes. Apply slightly more pressure at the tail and reduce the pressure significantly as you move toward the front. Keep the pencil sharp for precision work.
The goal is a seamless transition rather than a visible line of demarcation.
Work with a light touch. You can always add more, but removing product ruins the finish.
Related: hair-stroke technique with a brow pencil, selecting brow pigment for dark skin and brows.