Selecting Brow Pigment for Dark Skin
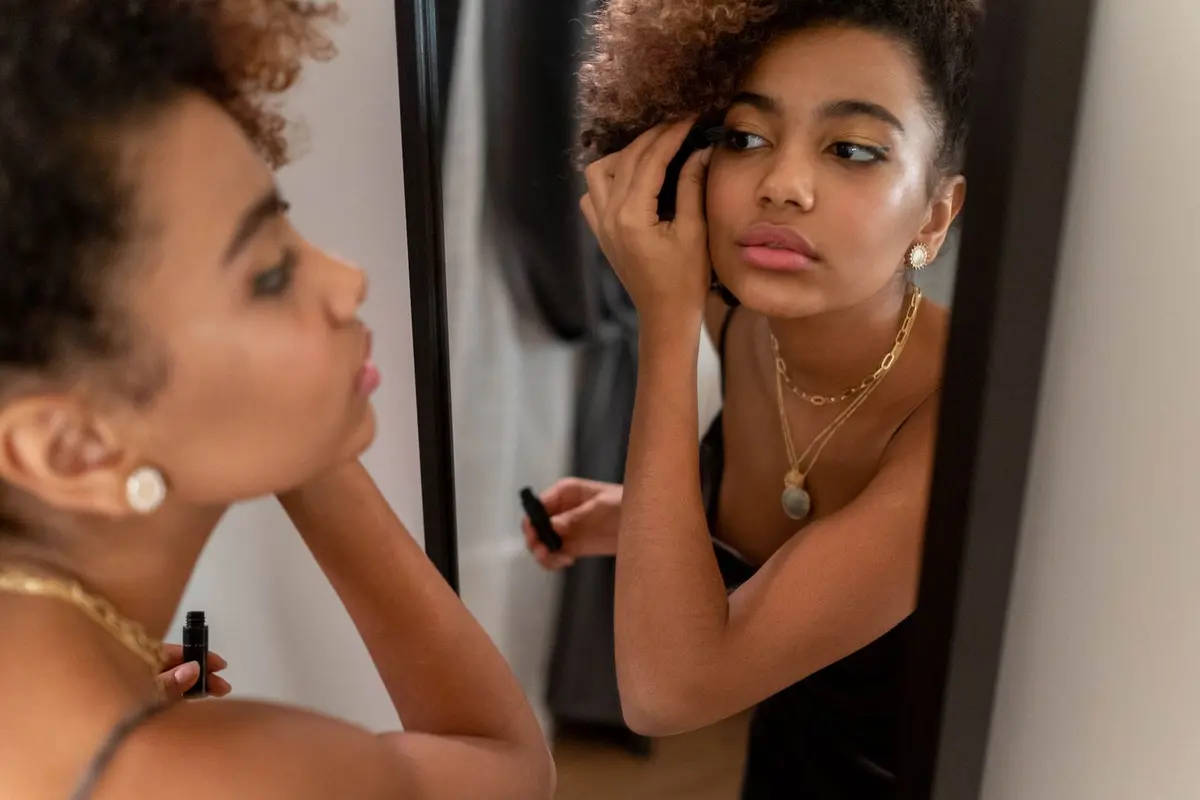
Most cosmetic counters present brow products based on hair color alone, which often results in an ashy or overly grey appearance on darker skin tones. To achieve a cohesive result, you must evaluate the undertone of your complexion in natural light. The objective is to find a pigment that bridges the gap between your hair texture and the warmth or coolness of your skin.
Correct selection prevents the common error of using a flat black pencil that lacks dimension. Instead, focus on shades that mimic the subtle variation found in natural hair growth.
- Difficulty
- Beginner
- Total time
- 15 minutes
- Cost
- Moderate
- Cadence
- As needed
Ingredients
- Synthetic wax: Provides structure and longevity without caking
- Iron oxides: Primary pigments that provide realistic, non-reflective color
Tools List
- High-quality angled brow brush
- Firm spoolie brush
- Brow pencil or pomade in two shades
Step by step
Identify your undertone
Stand before a mirror in broad daylight without artificial lighting. Examine the skin directly beneath the arch of the brow. If you see golden, peach, or olive tones, your skin is warm; if you see blue, purple, or deep crimson tones, your skin is cool.
Tip: Use a white sheet of paper behind your head to emphasize your skin tone.Select the appropriate pigment
For warm skin, seek pencils or gels described as deep espresso or warm chocolate. For cool skin, choose deep, muted charcoals or dark brown shades that lean toward a neutral base. Avoid products that are purely black, as they often contain synthetic dyes that cast a blue reflection.
Tip: Swatch the product on your inner wrist first to check the base tone.Define the structure
Begin by filling in the sparse areas of the tail of the brow using short, upward strokes. Mimic the direction of natural hair growth to avoid a blocked appearance. Keep the pressure light to maintain a translucent quality that lets skin show through.
Tip: Work in small sections to prevent over-application.Blend for transition
Using a clean spoolie brush, sweep through the pigment in an upward motion toward the front of the brow. This removes excess product and ensures the pigment integrates with the hair fiber. The front of the brow should appear lighter and softer than the tail.
Tip: Rotate the spoolie as you move to pick up excess pigment.Set the brow
Lock the shape in place with a clear or tinted setting gel. A clear gel is sufficient if you have sufficient hair density. A tinted gel helps fill in any remaining gaps while keeping the hair in a fixed position for the duration of the day.
Tip: Do not skip the setting step if your skin produces natural oils.
Trouble
Why does my brow color turn red throughout the day?
This happens when the pigment is too warm for your skin. Try a neutral brown to neutralize the excess oxidation.
Can I use a liquid liner for my brows?
No. Liquid liners are designed for the eyelid and will result in a harsh, opaque line that lacks the necessary texture for a natural-looking brow.
My brow pencil feels hard and skips on my skin.
This indicates the product is too cold or dry. Warm the tip of the pencil between your fingertips for a few seconds before application.
Is it better to match my roots or my skin?
Always match the pigment to your natural hair color while ensuring the undertone complements your skin. Matching the skin tone too closely will make the brow invisible.
True definition comes from matching the pigment to the skin's warmth, not just the hair's darkness.
Focus on the undertone as much as the depth. Dark skin absorbs light, so a flat matte pigment will often look heavy.
Next steps for brows: the other brow guides, Shape your brows and eye looks.