Mapping Your Brow Architecture
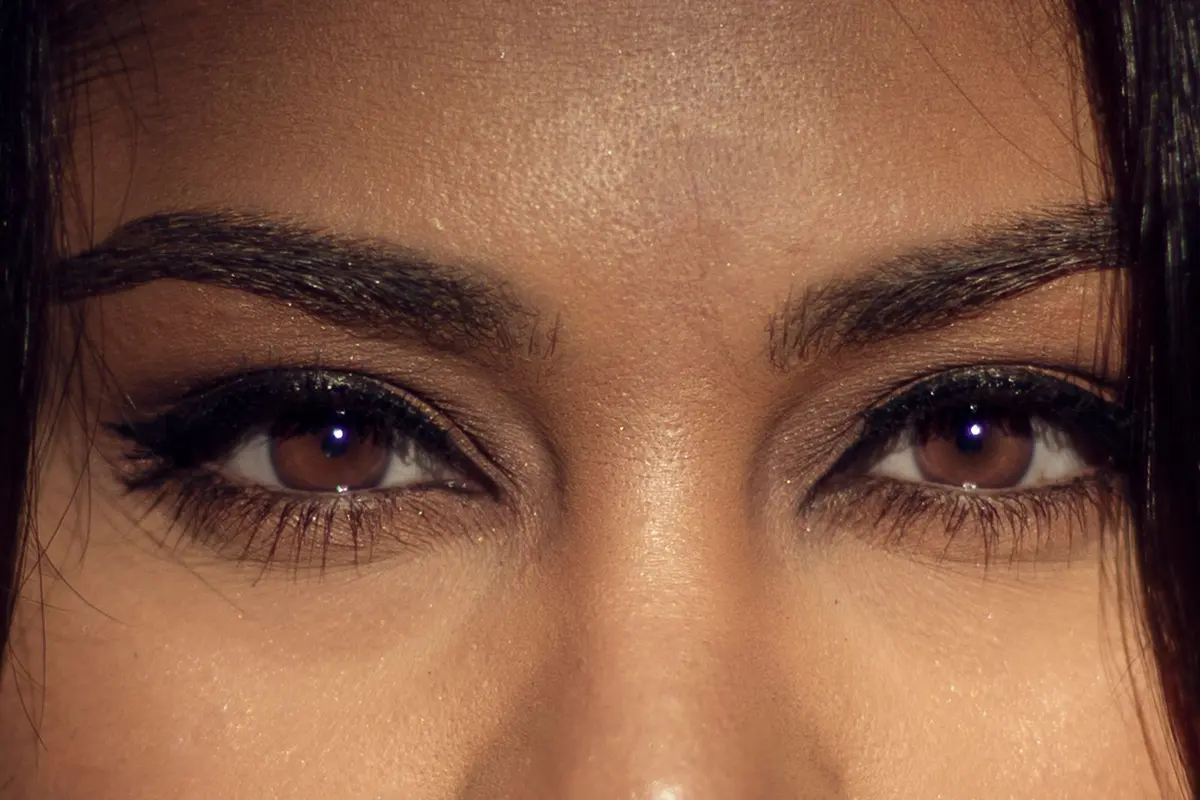
Brows serve as the structural framework for the face. When hair placement is inconsistent or asymmetrical, the balance of the entire face can appear altered. Mapping provides a geometric guide for where the brow should naturally begin, peak, and finish based on your specific bone structure.
This method relies on simple trigonometry using a makeup brush or pencil as a straight edge. Follow these steps to standardize your brow shape without guesswork.
- Difficulty
- Beginner
- Total time
- 15 minutes
- Cost
- Low
- Cadence
- As needed
Ingredients
- Wax-based pigment: Provides structure and grip on the skin.
Tools List
- Long-handled makeup brush
- Brow pencil
- Spoolie brush
Step by step
Gather your tools
Select a long, thin makeup brush or a rigid pencil. Ensure your face is clean and dry to allow for accurate marking. You will also need a non-permanent brow pencil to mark the skin at the calculated points.
Tip: Use a light-colored pencil to make the marks visible.Define the head of the brow
Hold the brush vertically against the side of your nose, aligning it with the inner corner of your eye. The point where the brush meets the brow line is the ideal start. Mark this spot clearly on the skin.
Tip: Do not tilt the brush; keep it parallel to the nose bridge.Locate the peak
Pivot the brush from the side of the nose across the pupil while looking straight ahead. The point where the brush crosses the highest part of the brow arch is your peak. Mark this intersection.
Tip: Keep your eyes focused straight ahead during this step.Establish the end
Pivot the brush once more to align with the outer corner of your eye. The point where the brush meets the skin at the outer edge is where the tail should conclude. Ensure this point is not lower than the starting point.
Tip: A slight upward angle looks most natural.Connect the points
Gently connect your marks with light, hair-like strokes. Fill in the area within your established boundaries. Use a spoolie brush to blend the pigment for a soft appearance.
Tip: Remove excess pigment at the start for a natural gradient.
Trouble
What if my eyes are deep set?
Deep set eyes require careful observation of the brow bone. Trust the brush alignment rather than visual perception of the orbital bone.
Why is one brow always different?
Human faces are naturally asymmetrical. Adjust your mapping slightly to compensate for the difference in bone height.
Can I use a liquid liner for this?
Avoid liquid liners as they are difficult to remove and do not blend well. A wax-based pencil is preferred.
Should the tail touch the temple?
No, the tail should end at the point aligned with the outer corner of the eye to prevent a heavy or drooping appearance.
A brow mapped to your own bone structure creates inherent symmetry.
Consistency is the only metric for success here.