Clean Under-Brow Grooming Without Losing the Arch
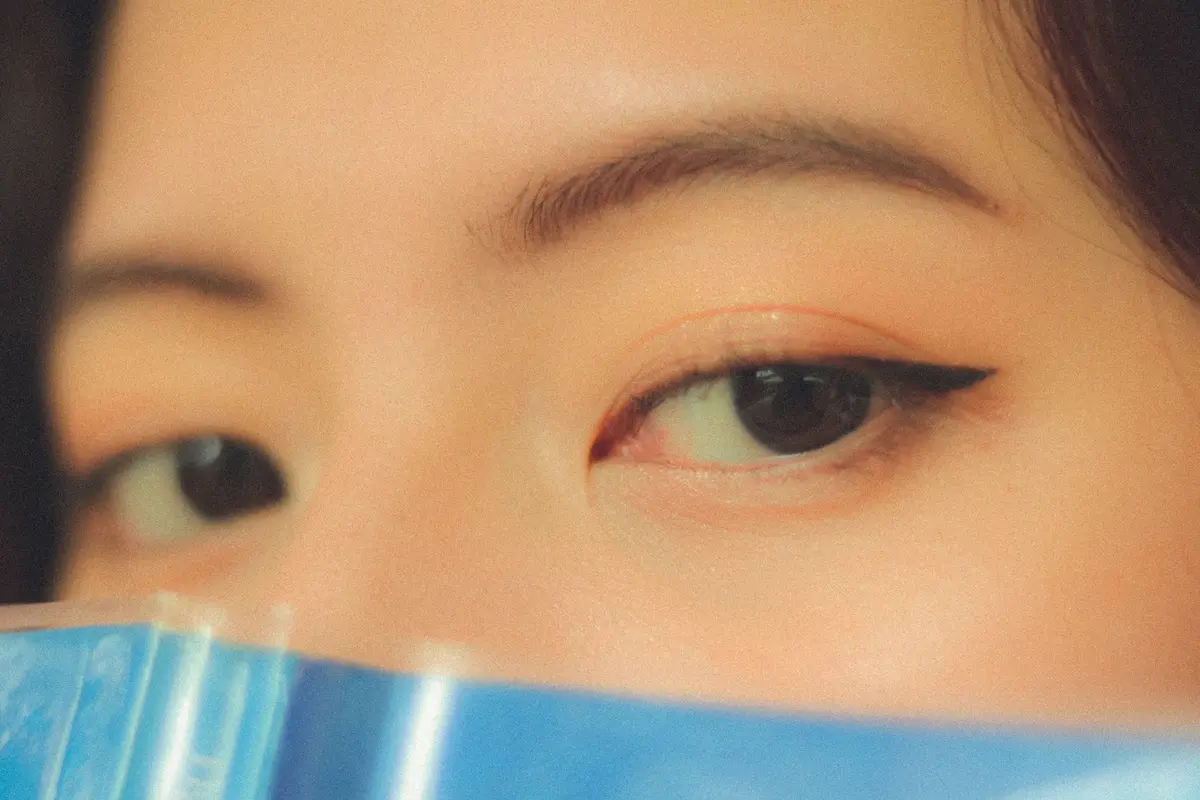
Over-tweezing remains the primary cause of asymmetric brows and compromised arches. The space directly beneath the brow bone should be treated as a frame rather than a blank canvas for total removal. By focusing only on hairs that fall well outside your natural line, you preserve the structural support of the brow.
This method relies on lighting and tension rather than instinct. Proper preparation ensures that you remove only the necessary hair, leaving the dense, supportive growth that defines the arch intact.
- Difficulty
- Beginner
- Total time
- 15 minutes
- Cost
- Low
- Cadence
- Every two weeks
Ingredients
- Micellar water: To remove pencil residue without irritation
Tools List
- High-quality slant-tip tweezers
- White eyeliner pencil
- Spoolie brush
- Magnifying mirror
Step by step
Define your boundary
Use a white eyeliner pencil to draw a line precisely along the base of your natural brow growth. This creates a physical barrier that prevents you from plucking into your actual brow shape. Any hair falling below this white line is designated for removal.
Tip: Apply a warm, damp compress to the area for one minute to soften the follicles.Secure the tension
Pull the skin on your brow bone taut with your non-dominant hand. Hold the skin firmly upwards to ensure you have a clear view of the hair roots. If the skin is slack, you are more likely to remove too many hairs at once.
Tip: Use a magnifying mirror only to check your progress, not to perform the removal.Remove one by one
Grasp a single stray hair at the base with your tweezers. Pull in the direction of natural hair growth, rather than perpendicular to it. Only remove hairs that are clearly detached from the main body of the brow.
Tip: Place the tweezers back down every three plucks to evaluate the arch.Brush and evaluate
Use a spoolie brush to sweep your brow hairs upward and then back into their natural position. Examine the distance between the arch and the eyelid. If the gap looks too wide, you have removed too much hair; allow growth to recover before continuing.
Tip: Stand back from the mirror every two minutes to check overall symmetry.Clean and soothe
Wipe away the white pencil markings using a clean cloth and a drop of micellar water. Apply a fragrance-free, cooling gel to the skin to mitigate redness. Avoid applying heavy creams or oils immediately after grooming.
Tip: Clean your tweezers with rubbing alcohol once you have finished.
Trouble
What do I do if I accidentally remove a hair from the arch?
Stop immediately. There is no remedy for removed hair other than time. Use a brow pencil to lightly fill the area until natural growth returns.
How often should I do this?
Once every two weeks is sufficient. Frequent grooming leads to accidental over-removal and irritation.
My skin becomes very red after grooming.
You are likely applying too much pressure or pulling the skin too aggressively. Use a cold compress to soothe the area and ensure your tweezers are properly aligned.
Can I use hair removal wax?
At-home waxing often removes hair in larger patches, which increases the risk of damaging the brow arch. Tweezing remains the only recommended method for precise, localized grooming.
The arch is defined by what you leave behind, not by what you take away.
Less is always more when working on the face. Resist the urge to 'perfect' the arch.
See also: shape your brows, brows and hair-stroke technique with a brow pencil.