Sunless Tanning Over Tattoos
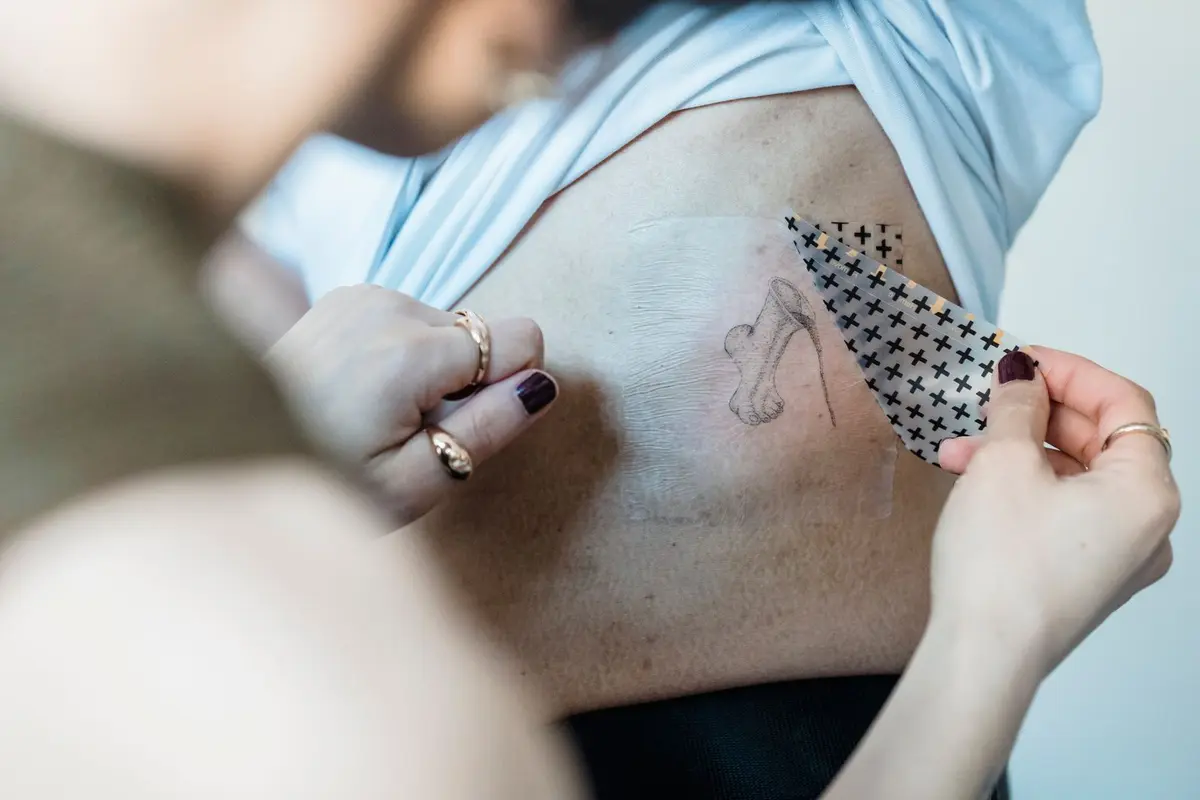
Tattoos present a unique surface for self-tanning products. Because ink sits within the dermal layer, the physical application of pigment-tinting solutions can alter the visual clarity or vibrancy of a design. The goal is to provide a unified tone across the body without obscuring the fine lines or saturation of the artwork.
Applying self-tanner over ink is a matter of layering and protection. By creating a barrier or adjusting application density, you maintain the contrast of your design while achieving your desired glow.
- Difficulty
- Beginner
- Total time
- 20 minutes
- Cost
- Low
- Cadence
- Weekly maintenance
Ingredients
- Occlusive Balm: Creates the necessary seal to block pigment absorption.
Tools List
- Physical body scrub
- Occlusive balm
- Tanning mitt
- Cotton swabs
Step by step
Exfoliate the surrounding area
Prepare the skin surrounding your tattoo with a gentle physical scrub. Avoid aggressive abrasion directly over the ink to keep the skin surface intact. Rinsing thoroughly ensures no residue remains, which could cause uneven absorption of the tanning agent.
Tip: Focus on the borders of the tattoo to ensure a seamless transition.Apply a moisture barrier
Use a heavy, oil-based balm or a thick occlusive moisturizer to coat the tattooed area. This layer acts as a physical barrier that prevents the tanning agent from soaking into the skin cells directly on top of the ink. Ensure a thin, even coat that extends slightly past the outline of the design.
Tip: Use a cotton swab to trace the exact edges for precision.Apply the tanning product
Apply your preferred self-tanning formula to the rest of the body. Once the non-tattooed areas are covered, use the remaining light residue on your mitt to lightly glide over the protected tattoo area. This avoids a stark line between the tanned skin and the un-tanned ink space.
Tip: Work in small circular motions to distribute color evenly.Buff the edges
Take a dry cloth or a clean, dry portion of your mitt and lightly buff the perimeter of the tattoo. This removes excess product that may have pooled near the barrier. Blending the edges prevents a harsh contrast or artificial look.
Tip: Soft, feathered strokes are most effective here.Set and dry
Allow the product to fully dry according to the manufacturer instructions. Do not apply clothing over the tattooed area until the skin feels completely dry to the touch to prevent smearing the barrier or the surrounding tan. Keep the area away from moisture for the duration of the development time.
Tip: Avoid heavy physical activity during the development period.
Trouble
Why does my tattoo look dull after tanning?
Dullness is usually caused by excessive product buildup directly on the skin over the ink. Ensure you are using a sufficient layer of barrier balm to prevent the tanning pigment from interacting with the skin cells housing the ink.
Can I skip the barrier if my tattoo is black and grey?
It is not recommended. Even in dark designs, the tanning agent can deposit a yellow or orange hue over the skin, which may cloud the clarity of the shading. Use a light barrier as a precaution.
What if the barrier was too thick?
If you see a sharp, pale border around your tattoo, you have prevented the tan from reaching the immediate vicinity. Gently exfoliate the pale area once the tan has fully developed to blend it into the rest of the skin.
How often should I repeat this?
Follow the same prep steps each time you apply a fresh layer of tanner. Consistency in your technique ensures the borders remain looking natural over multiple tanning cycles.
A barrier layer is the essential bridge between sunless tanning and ink preservation.
Precision in the prep phase is what separates an amateur finish from a polished one.
Related: sun care for tattooed skin, assessing tattoo healing and self-tan prep and application.