Optimizing Self-Tan Results via 24-Hour Exfoliation
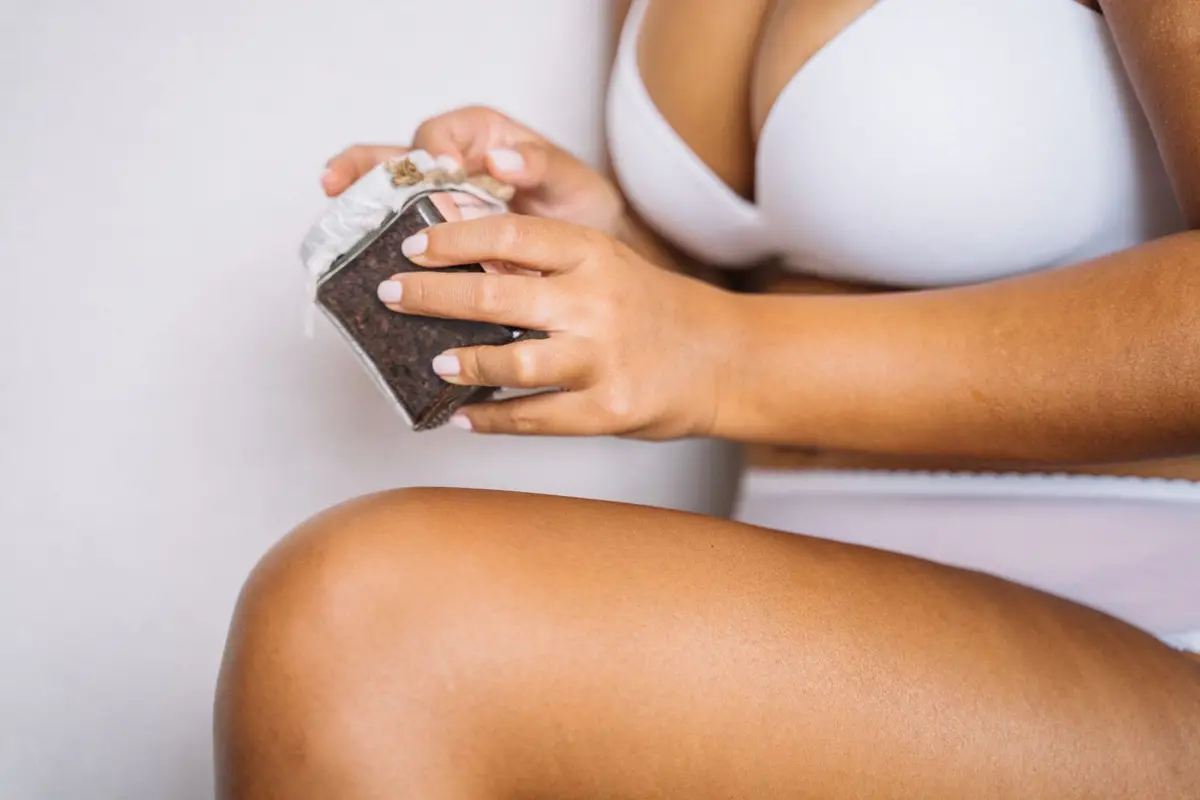
Uniform color development in self-tanning relies entirely on the condition of the skin surface. When dead skin cells accumulate, they create uneven texture and erratic absorption points that lead to streaks or premature fading.
Exfoliating exactly twenty-four hours before product application ensures the surface is leveled and the pores are closed. This specific timing window prevents the tanning formula from settling into open follicles or adhering to coarse patches.
- Difficulty
- Beginner
- Total time
- 20 minutes
- Cost
- Low
- Cadence
- Once per week
Ingredients
- Fine-grain salt: Provides consistent, uniform physical exfoliation without large jagged particles.
Tools List
- Non-oil-based physical scrub
Step by step
Soften the skin
Begin by soaking in warm water for several minutes to loosen the outer layer of skin cells. Do not use high-heat water, as it can cause unnecessary irritation. Ensure the skin is damp but not dripping before proceeding.
Tip: Limit water contact to five minutes to prevent over-swelling the skin cells.Apply the scrub
Take a generous amount of a non-oil-based physical scrub and apply it to each limb. Use circular, controlled motions rather than vigorous back-and-forth scrubbing. Ensure you cover high-friction areas such as elbows and knees thoroughly.
Tip: Use a light hand to avoid creating micro-tears in the skin surface.Target specific zones
Focus the scrubbing motion on areas where pigment typically gathers, such as the ankles, wrists, and feet. These areas are inherently drier and require more consistent pressure. Move in uniform, rhythmic circles to maintain even coverage.
Tip: Avoid joints that are already inflamed or broken.Rinse thoroughly
Remove all scrub particles with a lukewarm stream of water. Any residue left behind will act as a physical barrier to the tanning product, causing light patches. Confirm the skin feels smooth to the touch before exiting the water.
Tip: Ensure the water is clear of debris before moving to dry off.Post-scrub stabilization
Pat the skin dry with a clean, soft towel rather than rubbing. Do not apply heavy lotions or body oils immediately following the scrub, as they can leave a film that prevents the tanning agent from bonding. Wait until the next day to apply the self-tanner.
Tip: Keep the skin free of residue for the full twenty-four-hour duration.
Trouble
Why do my knees still look dark after tanning?
Darkening in these areas is caused by excessive pigment pooling in dry, thick skin. Exfoliate these specific areas more thoroughly during your next cycle, or apply a light layer of moisturizer to them before tanning to dilute the product absorption.
Can I exfoliate the same day I tan?
Exfoliating immediately before application prevents the skin from stabilizing. The twenty-four-hour window allows the skin barrier to normalize, which is essential for an even finish.
Should I use an oil-based scrub?
Avoid oil-based scrubs if you plan to self-tan soon. Oil creates a barrier that prevents the tanning active from binding to the skin cells, resulting in a patchy or faded finish.
What if my skin feels tight after scrubbing?
Tightness suggests you used too much pressure or an abrasive tool that was too coarse. Reduce the intensity of your movements next time and ensure the water temperature remains moderate.
Consistency in pressure is more effective than intensity of friction.
Timing is the most overlooked variable in home tanning. Stick to the clock.