Refining Rough Heels at Home
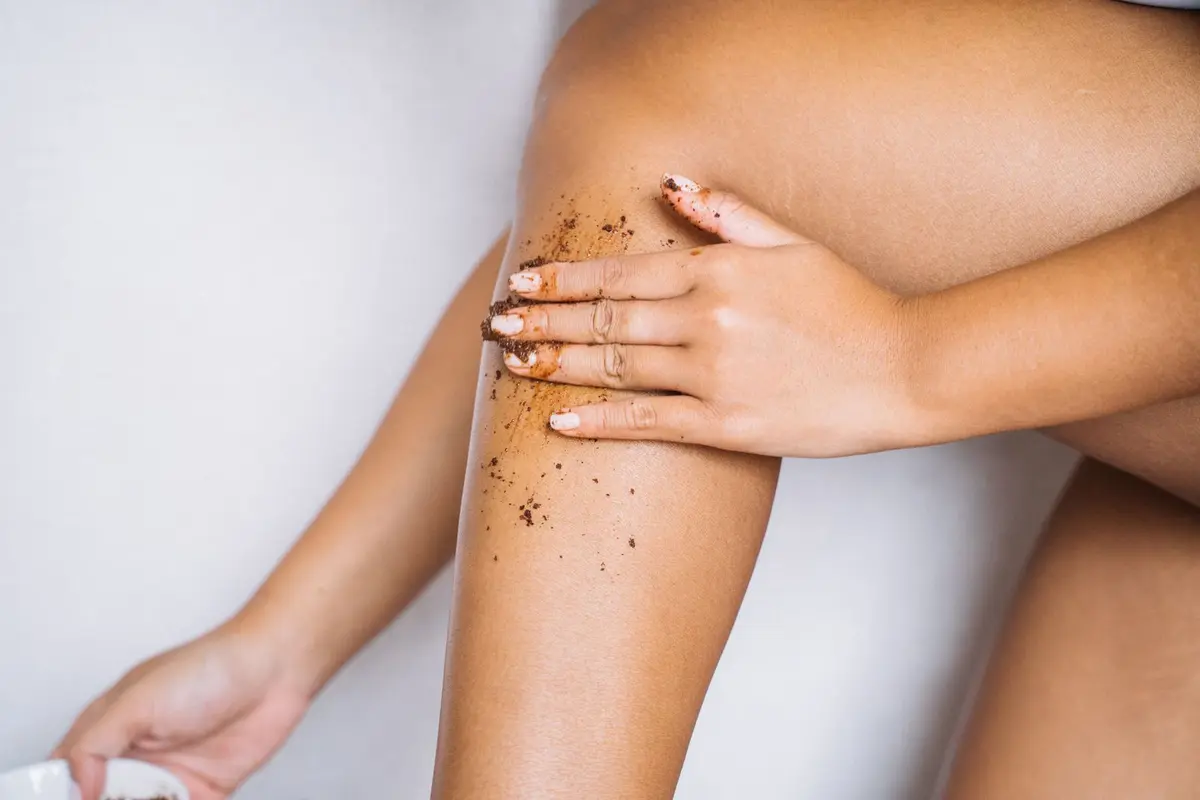
Excessive friction or improper footwear often results in thickened, calloused skin on the heels. While the instinct is to remove this buildup aggressively, over-exfoliation triggers a defensive thickening response from the skin, leading to more roughness rather than less. A consistent, gentle manual method is the only way to maintain smooth skin without causing fissures or sensitivity.
This guide covers the systematic removal of surface-level dead skin. It avoids chemical peels or blade-based instruments, focusing instead on mechanical smoothing techniques that prioritize the integrity of the barrier.
- Difficulty
- Beginner
- Total time
- 20 minutes
- Cost
- Low
- Cadence
- Weekly
Ingredients
- Petrolatum: Provides a robust occlusive seal.
- Urea: Helps soften keratinized skin.
Tools List
- Basin for water
- Fine-grain pumice stone
- Occlusive moisturizing cream
- Cotton socks
Step by step
Prepare the skin with warm water
Submerge your feet in a basin of warm, plain water. Ten minutes is sufficient to soften the superficial layer of stratum corneum without causing the skin to become waterlogged and prune-like. Do not add soaps or salts, as these can strip natural oils before you begin the exfoliation process.
Tip: Use a timer to prevent over-soaking.Pat the heels to damp
Remove your feet from the basin and pat them with a clean towel. The skin should feel pliable but not slick. If the heel is too wet, the abrasive tool will slide over the skin without gripping the dead cells effectively.
Tip: Use a microfiber towel to avoid lint.Apply controlled pressure
Using a fine-grain ceramic or natural pumice stone, move in circular motions over the rough areas. Apply only light, consistent pressure. The goal is to remove the white, flaky appearance of dead skin, not to reach the pink, healthy skin underneath. Stop immediately if you feel any heat or discomfort.
Tip: Rinse the stone frequently.Clear away the debris
Rinse your feet under cool, running water to remove the loosened skin particles. This also serves to calm the surface after the friction of the buffing step. Pat the feet dry thoroughly, ensuring the spaces between the toes are completely moisture-free.
Tip: Use cool water to soothe.Apply an occlusive barrier
Finish by applying a dense, fragrance-free occlusive ointment or cream to the heels. This creates a seal that prevents transepidermal water loss and maintains the flexibility of the newly smoothed skin. Put on a clean pair of cotton socks to protect the heels and keep the moisture concentrated in the target area.
Tip: Apply before sleep for best absorption.
Trouble
How often should I perform this?
Once a week is sufficient for most. If your heels are particularly prone to calluses, you may perform the routine once every five days, but never more frequently.
Can I use metal scrapers or blades?
No. Metal tools often remove too much skin in one pass, which encourages the body to produce thicker, tougher calluses as a protective response. Stick to fine-grain stones.
My heels still look white and dry after buffing.
Avoid the temptation to buff harder. This is likely a hydration issue rather than an exfoliation issue. Increase the frequency of your nighttime emollient application rather than increasing the scrubbing.
Is it okay to use a scrub with beads?
Granular scrubs are often too abrasive for the thick skin of the heel and may cause micro-tears. Mechanical tools like pumice are more precise and effective.
True exfoliation is about removing the buildup, not the skin beneath it.
Consistency is superior to intensity here. Do not rush the process.
Related: smoothing rough knees and elbows, body scrubs and body exfoliation.