Organize Plant Pots for Easy Access and Storage
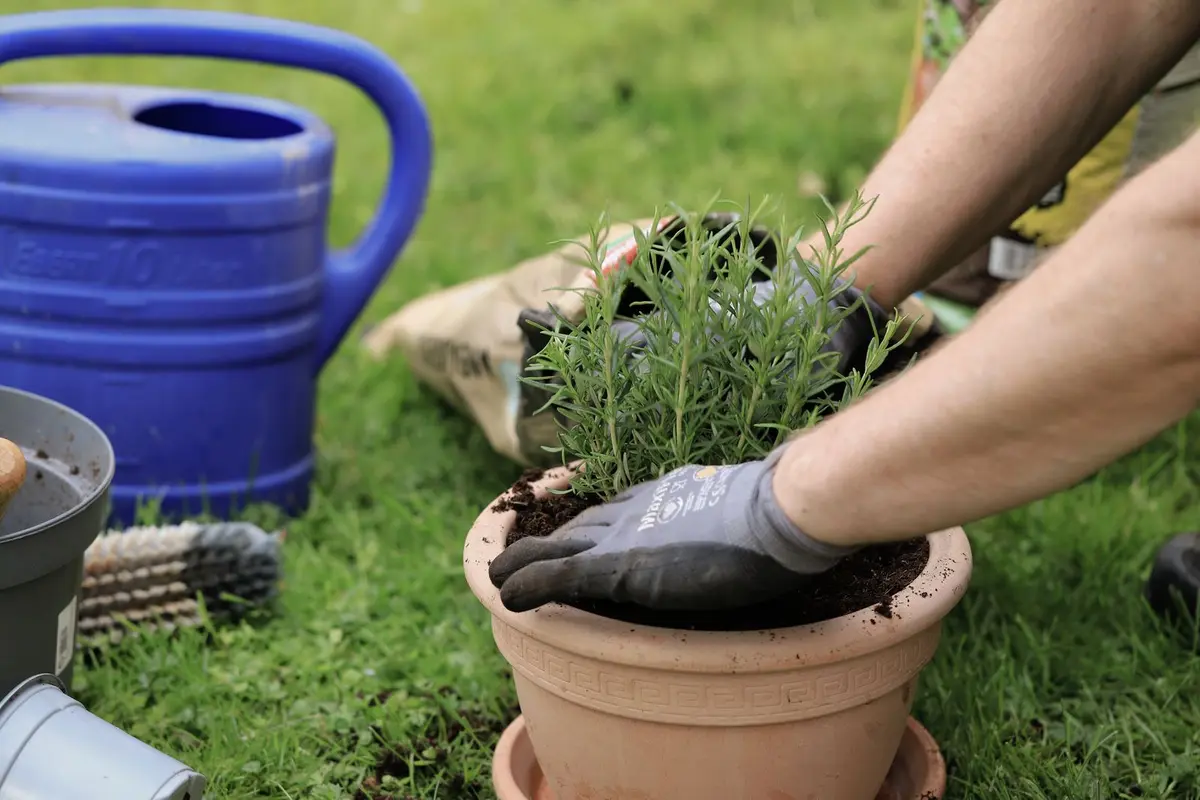
Sort pots by size and material, nest smaller containers inside larger ones, and store them vertically on shelves or racks in a dry, accessible location near your potting area.
- Difficulty
- Beginner
- Time
- 2-3 hours
- Cost
- $25 - $75
- Tools
- Scrub brush, Dish soap, Bucket, Shelving unit or wall-mounted brackets, Clear storage bins, Label maker or permanent marker
- Permit required
- No
- Contractor recommended
- No
- You will need
- Scrub brush and warm soapy water, Wire garage shelving unit (four-shelf), Clear plastic storage bins with lids (2–3), Cardboard or felt squares for pot protection, Adhesive shelf labels or permanent marker, Ruler or measuring tape, Clean, dry workspace
Materials
- 1 unit Wire garage shelving unit, four-shelf (Choose rust-resistant coating if storing in damp basement or outdoor shed) — $40 - $60
- 2-3 bins Clear plastic storage bins with lids, 12-quart (For small pots and accessories; clear sides let you see contents without opening) — $8 - $12 each
- 20-30 pieces Cardboard or felt squares, 6-inch (Cut from old boxes or buy felt pads to protect nested terra cotta) — $5 - $10
- 1 roll Adhesive shelf labels or label maker tape (For marking pot size bins and shelf sections) — $6 - $12
Step by step
Clean Every Pot First
Bring all pots to one workspace. Knock out dried soil, then scrub interiors with warm water and dish soap to remove mineral deposits and old root material. Let them air-dry completely before storage — trapped moisture breeds mold and cracks terra cotta in freezing temperatures.
Tip: Use a plastic putty knife to scrape stubborn calcium buildup without scratching glazed ceramic.Separate by Material Now
Separate terra cotta from plastic, ceramic, and fabric pots. Inspect each for cracks, chips, or broken drainage holes. Discard anything structurally compromised — cracked pots don't suddenly heal, and they leak soil everywhere. Stack keepers by material type, since each stores differently.
Tip: Terra cotta chips easily when nested carelessly — it's the material that demands the most deliberate handling.Group Sizes Ruthlessly
Arrange from largest to smallest. Standard nursery pot sizes increment in two-inch jumps, so you'll naturally see clusters — several four-inch pots, a dozen six-inch, maybe three ten-inch. This grouping reveals what you actually use versus what's dead weight taking up space.
Tip: If you haven't used a pot size in two years and own more than five, donate them — you're not starting a nursery.Nest with Protective Layers
Place smaller pots inside larger ones within the same material group, limiting each nested stack to five or seven pots to prevent toppling or binding. Leave saucers with their matching pots or stack saucers separately by size. Plastic and resin nest easily; terra cotta requires gentle pressure to avoid rim chips.
Tip: Interleave newspaper or cardboard squares between nested terra cotta pots to prevent scraping and rim chips.Go Vertical Strategically
Mount sturdy wall-mounted shelving or use freestanding garage shelving units to hold large and medium pot stacks. Keep frequently used sizes at waist height, bulky decorative planters on lower shelves. Store large pots upright rather than nested if you use them seasonally — you'll avoid the frustration of separating ten stuck-together twelve-inch pots.
Tip: Rubber-coated wire shelving prevents pots from sliding and allows air circulation to keep stored pots dry.Contain the Small Ones
Use clear plastic bins or open crates for four-inch and smaller pots, which multiply like wire hangers. Label bins by size if you have more than twenty small pots. Store pot feet, plant labels, and drainage screens in a separate smaller container kept with the pots.
Tip: Keep one bin of assorted small pots near your indoor plant shelf for quick repotting without going to the garage.Station Pots by Workflow
Locate pot storage within ten feet of where you actually pot plants — whether that's a garage workbench, potting shed, or deck corner. The closer your pots sit to potting soil and tools, the more likely you'll return them to proper storage instead of leaving them scattered. Stack most-used sizes closest to the work surface.
Tip: If you pot plants on the deck in summer, keep a seasonal stash of common sizes outdoors in a weatherproof bin.Return Pots Immediately
After each potting session, rinse used pots immediately and return them to their designated stack once dry. Do a full pot audit twice yearly — spring before planting season and fall after bringing tender perennials indoors. This prevents the chaos from rebuilding and keeps your inventory accurate.
Tip: Keep a small bucket near your potting area for dirty pots awaiting cleaning — it contains the mess and reminds you to wash them.
Questions people ask
Should I store terra cotta pots upside down or right-side up?
Store them right-side up and nested. Upside-down storage seems protective but makes stacks unstable and wastes vertical space. Nested right-side up with protective layers between pots provides better stability and rim protection.
How do I keep plastic nursery pots from blowing around if I store them outside?
Store them in a lidded bin or weighted crate, or nest them inside a single large heavy pot that acts as a holder. Loose lightweight plastic pots will scatter across the yard in any significant wind.
Is it worth keeping every random pot from purchased plants?
Keep only sizes you'll actually reuse — typically four-inch through ten-inch. Those tiny two-inch starter pots and awkward seven-inch sizes rarely get reused unless you propagate plants constantly. Be ruthless or you'll drown in orphan pots.
Troubleshooting
Terra cotta pots stick together when nested and won't separate
Soak stuck pots in warm water for fifteen minutes to soften mineral deposits, then twist gently while pulling. Next time, interleave cardboard or felt between nested pots.
Plastic pots develop white crusty mineral deposits that won't scrub off
Soak in a solution of one part white vinegar to three parts water for thirty minutes, then scrub with a stiff brush. The acid dissolves calcium and salt buildup.
Small nursery pots slide and scatter on wire shelving
Line shelves with rubber shelf liner or cut cardboard to fit, creating friction that keeps pots in place. Alternatively, use open-top bins to corral small pots.
Pots stored in unheated garage crack over winter
Bring terra cotta and ceramic pots into a heated space or wrap stacks in moving blankets. Only plastic and resin pots tolerate freeze-thaw cycles.
Can't remember which pot sizes you actually use most
Keep a running list on your phone for one season, noting each pot size you reach for. This reveals your true working inventory and what to prioritize in storage.
More for the yard: organizing the lawn and garden, lawn and garden guides and every organizing guide.