Organize a Chest Freezer
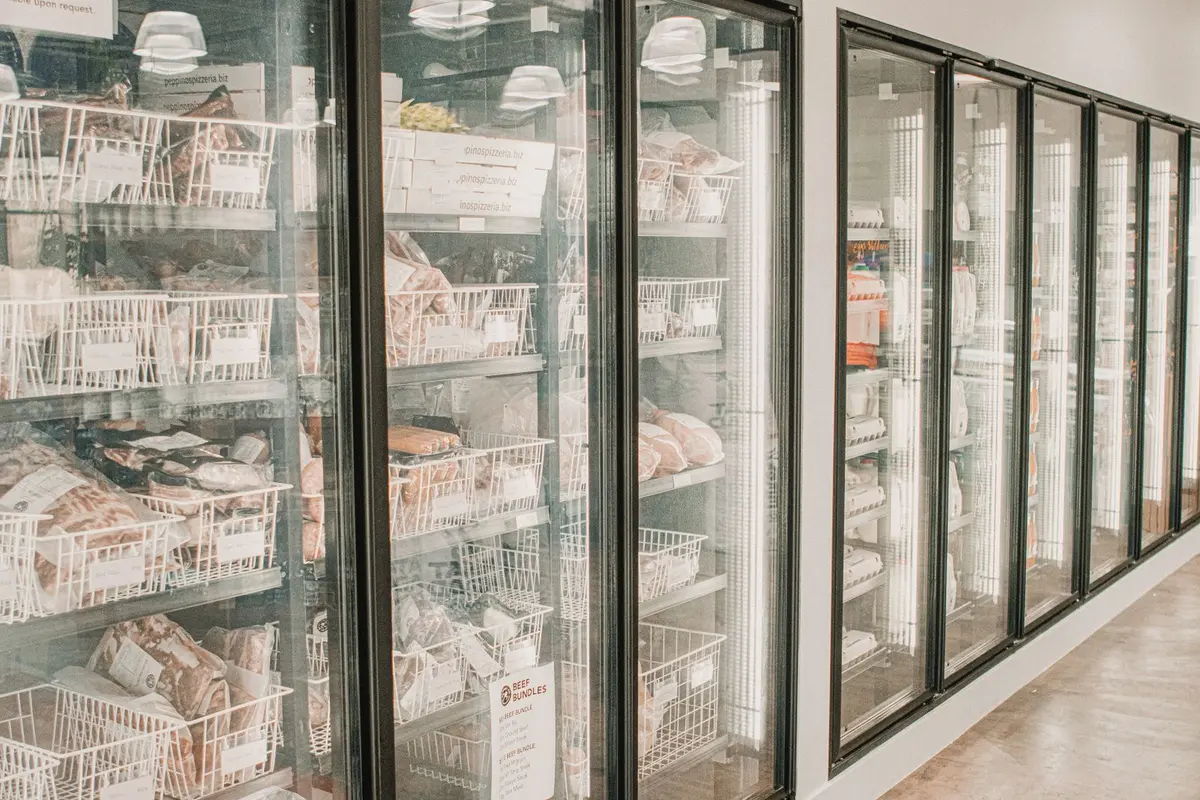
Organize a chest freezer by creating vertical zones with baskets or bins, rotating stock with oldest items on top, and maintaining a frozen inventory list taped to the lid.
- Difficulty
- Beginner
- Time
- 2-3 hours
- Cost
- $25 - $60
- Tools
- Permanent marker, Masking tape, Towels, Cooler, Optional wet-dry vacuum
- Permit required
- No
- Contractor recommended
- No
- You will need
- Wire hanging baskets or stackable plastic bins (3–4), Gallon freezer bags (1 box), Permanent marker, Masking tape or freezer labels, Cooler (to keep items frozen while working), Laminated paper or clipboard for inventory list, Dry-erase marker, Towels for defrosting cleanup
Materials
- 3-4 baskets or bins depending on freezer size Wire hanging baskets or stackable bins (Wire baskets for top access, bins for bottom layers—get sizes that fit your freezer width) — $8 - $15 per basket
- 1 box of 30-40 bags Gallon freezer bags (Heavier mil bags hold up better for long-term storage and flat freezing) — $6 - $10
- 1 roll Freezer labels or masking tape (Masking tape works fine if you write with permanent marker on it) — $3 - $5
- 1 Clipboard or magnetic notepad (For the inventory list—laminated paper with dry-erase marker works even better) — $4 - $8
Step by step
Empty and Sort Everything
Unplug the freezer or work fast. Pull everything out and sort it on a table with a cooler nearby for items you want to keep frozen. Toss anything with serious freezer burn, anything unidentifiable, and anything older than a year. Group what remains by category: meat, vegetables, prepared meals, bread, bulk items.
Tip: Use this moment to wipe down the interior with a damp cloth—you won't get another chance for months.Melt Frost, Dry Thoroughly
If you see thick frost on the walls or bottom, now is the time. Unplug, place towels around the base, and let it melt with the lid open. Speed it up with pots of hot water placed inside. Wipe out all water and let it dry completely before plugging back in.
Tip: A wet-dry shop vac makes water removal much faster than towels alone.Build Your Zone System
Get wire baskets that hang from the rim or stackable plastic bins that fit the width of your freezer. Create zones: one basket for quick-grab items like bread and ice cream, one for prepared meals, bins on the bottom for bulk meat or large items. Leave space between zones so you can reach down without moving everything.
Tip: Clear bins let you see contents without lifting them out every time.Mark Every Item and Date
Use a permanent marker directly on freezer bags or masking tape on rigid containers. Write the item and the date frozen. If it is a prepared meal, note what it is and how many servings. Unlabeled food is lost food.
Tip: Include cook-from-frozen instructions on meal prep packages so you don't have to remember later.Stack Smart, Rotate Old First
Place oldest items on top or in the most accessible baskets. New items go to the bottom or back. Heavy bulk items like whole chickens or roasts sit flat on the floor of the freezer. Flat-freeze items like soup or sauces in bags so they stack like books instead of lumpy piles.
Tip: Freeze liquids flat in gallon bags, then stand them upright like files once solid.Post Your Inventory Map
Write a master list of what is in the freezer by zone. Tape it to the lid or hang it on a clipboard nearby. Each time you add or remove something, update the list. This eliminates guessing and digging.
Tip: Use a laminated sheet and dry-erase marker so you can update without printing new lists.Rotate Every Three Months
Every three months, pull the top layer and reassess what needs to be used soon. Move older items up, consolidate partial bags, and update your inventory list. This keeps the system from collapsing back into chaos.
Tip: Schedule it with other quarterly tasks like changing furnace filters so it becomes automatic.Donate Instead of Trash
If you find freezer-burned meat or vegetables that are safe but unappealing, bag them separately. Many animal shelters and wildlife rehab centers accept freezer-burned meat donations. Call ahead to confirm.
Tip: Frost burn is dehydration, not spoilage—it's safe to eat or donate, just not ideal for human meals.
Questions people ask
How long does food actually last in a chest freezer?
Most properly wrapped meat lasts six to twelve months, vegetables eight to twelve months, and prepared meals two to three months before quality drops. Freezer burn happens when air reaches the food, so vacuum sealing or tight wrapping extends life significantly.
Do I really need to defrost a manual-defrost chest freezer?
Yes, once frost builds past half an inch. Thick frost reduces efficiency and takes up space. Most chest freezers need defrosting once or twice a year depending on humidity and how often you open them.
What is the best way to prevent freezer burn?
Remove as much air as possible from bags, wrap items tightly in plastic wrap before bagging, and use freezer-specific bags or vacuum seal. Freezer burn is dehydration, so eliminating air contact is the fix.
Troubleshooting
Baskets collapse under weight of frozen items
Use heavier-gauge wire baskets meant for freezers, or switch to rigid plastic bins for bottom layers where weight is highest.
Bags of frozen liquid leak or tear
Double-bag liquids and freeze them flat inside a baking sheet until solid, then remove from sheet and stack.
Frost keeps building up between defrost sessions
Check the lid gasket for gaps or damage and limit how often you open the freezer—every opening adds humidity that becomes frost.
Still cannot find items even with zones
Use colored bins or tape to mark zones by category, and keep the inventory list updated every single time you add or remove something.
Related: organizing guides, organizing the basement and your kitchen is organized for a kitchen you don't have.