How to Clean a Microwave Turntable and Interior Seals
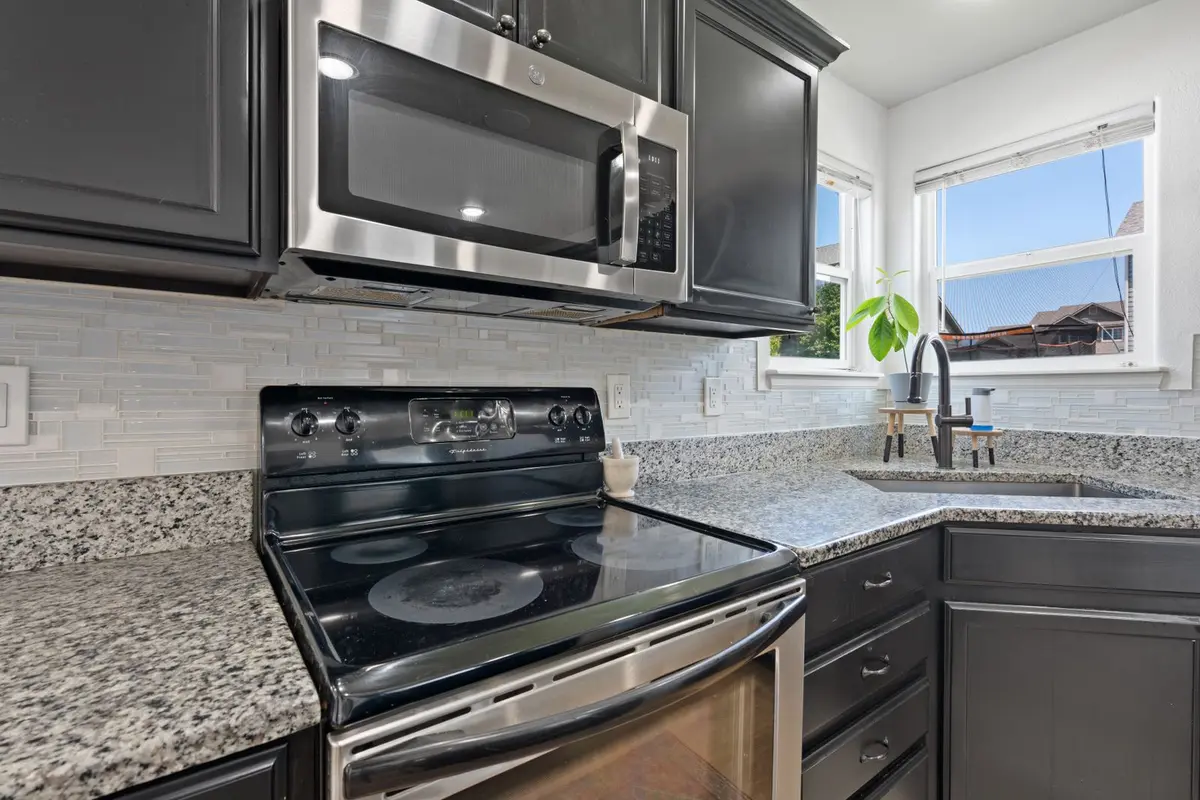
Remove the turntable and soak it in hot soapy water while you wipe down the interior seals and walls with a damp cloth, using a plastic scraper for stubborn splatters. A steam-cleaning cycle with lemon and water helps loosen baked-on food.
- Difficulty
- Beginner
- Time
- 20–30 minutes
- Cost
- $0 (using supplies you have)
- Tools
- Damp cloth, sponge, plastic scraper, bowl, old toothbrush, lint-free drying cloth, lemon or vinegar
- Permit required
- No
- Contractor recommended
- No
- You will need
- Damp cloth or sponge, Plastic scraper or old credit card, Microwave-safe bowl, Lemon (fresh) or white vinegar, Dish soap, Old toothbrush, Baking soda (optional), Lint-free drying cloth
Materials
- What you have on hand Dish soap (liquid, general purpose) (Any brand works—you're just making the water slippery.) — $2–$5 per bottle, reusable
- 1 lemon or 1/4 cup vinegar Lemon (fresh) or white vinegar (Either works for the steam cycle. Vinegar is cheaper and keeps longer. Lemon smells nicer.) — $0.50–$2
- 2–3 tablespoons Baking soda (optional, for stubborn splatters) (Keep this on hand anyway. Mix with a little water to make a gentle abrasive paste.) — $3–$6 per box (huge supply)
Step by step
Lift and Soak the Glass
Lift the turntable straight up and out of the microwave—it's designed to come out. Fill your sink or a basin with hot water and a squirt of dish soap. Place the turntable in the water and let it sit for at least 10 minutes. If the glass is cold from the microwave, the hot water will feel good on it and help loosen anything stuck.
Tip: If the turntable won't budge, make sure the microwave is unplugged and gently wiggle it side to side rather than pulling straight up.Let Steam Do the Work
Fill a microwave-safe bowl with 1 cup of water and add the juice of half a lemon or a splash of white vinegar. Place it in the center of the microwave and run on high for 3 minutes. The steam will rise and soften all the baked-on splatters on the walls, ceiling, and floor. Let it sit for another minute after the cycle ends so the steam keeps working.
Tip: The steam does the heavy lifting—don't skip this step or you'll be scraping for twice as long.Wipe Every Interior Surface
Using a damp cloth or sponge, wipe every interior surface. Start at the top and work down. The splatters should come off easily now. For spots that resist, use a plastic scraper or the edge of an old credit card to gently lift them. Avoid metal scrapers, which can damage the interior enamel.
Tip: A microfiber cloth won't scratch and handles the steam-softened debris better than a regular sponge.Attack the Hidden Seals
The gasket (rubber seal) around the door is where food particles hide. Dampen a small cloth and work it into the grooves, using your finger to push the fabric into the crevices. If buildup is thick, fold a cloth into a point and use that to dig into the seal. Go all the way around the perimeter. This takes longer than the walls but makes a real difference.
Tip: A toothbrush works surprisingly well for the tight spots in the seal—dedicate an old one to this job.Scrub Both Sides Thoroughly
The turntable has been soaking, so the grime should lift easily now. Use a sponge or soft brush to scrub both sides. Pay attention to the underside and the grooves on the rim—food works its way into every crevice. Rinse it completely under running water until no soap remains.
Tip: If the turntable is still dirty after soaking, a paste of baking soda and water beats harder scrubbing.Dry and Reassemble
Dry the turntable with a lint-free cloth or let it air-dry on a towel while you finish the interior. Make sure the inside of the microwave is completely dry, especially the floor and seals. Then replace the turntable by aligning the notch with the drive shaft and pressing down until it seats firmly.
Tip: A damp interior is fine—just make sure the turntable itself is dry before it goes back in.Shine the Exterior Glass
While you're at it, use a clean damp cloth on the outside of the door glass and the frame around it. This completes the job and makes the whole unit look maintained. Dry it with a separate cloth to avoid streaks.
Tip: Vinegar or a glass-cleaning spray works well on the outside—just don't let it drip into the vents.
Questions people ask
Is it safe to clean the interior while the microwave is still plugged in?
No. Always unplug the microwave before you remove the turntable and start cleaning. The steam from the water bowl is fine, but you're poking around the interior and removing parts, so unplugging eliminates any risk.
Can I use commercial microwave cleaner?
You can, but you don't need to. The steam cycle does the job better and costs nothing. Commercial cleaners add expense and fumes. Dish soap, lemon, and a cloth handle every common splatter.
How often should I clean the turntable and seals?
A quick wipe-down of the seals once a month and a full interior clean every 2–3 months keeps a microwave in good shape if you use it regularly. If you use it heavily (families, meal prep), monthly deep cleans are worth it.
Troubleshooting
Splatters won't come off even after steaming
Make a paste of baking soda and water and let it sit on the spot for 2 minutes, then scrape gently. If it's truly ancient, repeat the steam cycle and then try again—sometimes really old food needs two cycles.
Turntable won't come out or feels stuck
Make sure the microwave is unplugged. The turntable sits on a spindle—it should lift straight up. If it's wedged, wiggle it gently side to side and lift, don't pull hard. If you hear grinding, stop and check underneath for debris on the spindle.
Seals smell bad even after cleaning
Food is trapped deep in the grooves. Run another steam cycle, then use a damp cloth and a toothbrush to work vinegar or baking-soda solution into every groove. The smell takes a few cleanings to fully go away if it's been there awhile.
Cloudy or grimy spots remain on the turntable
These are often mineral deposits or heat damage, not food. Try soaking longer in vinegar solution (1 part vinegar to 3 parts water) for 15 minutes, then scrub with baking soda paste. If they don't budge, they're permanent and the turntable still works fine.
More for the kitchen: kitchen cleaning, every cleaning guide and refresh hardwood floors.