Cleaning Faucet Aerators: Dissolving Hard-Water Mineral Buildup
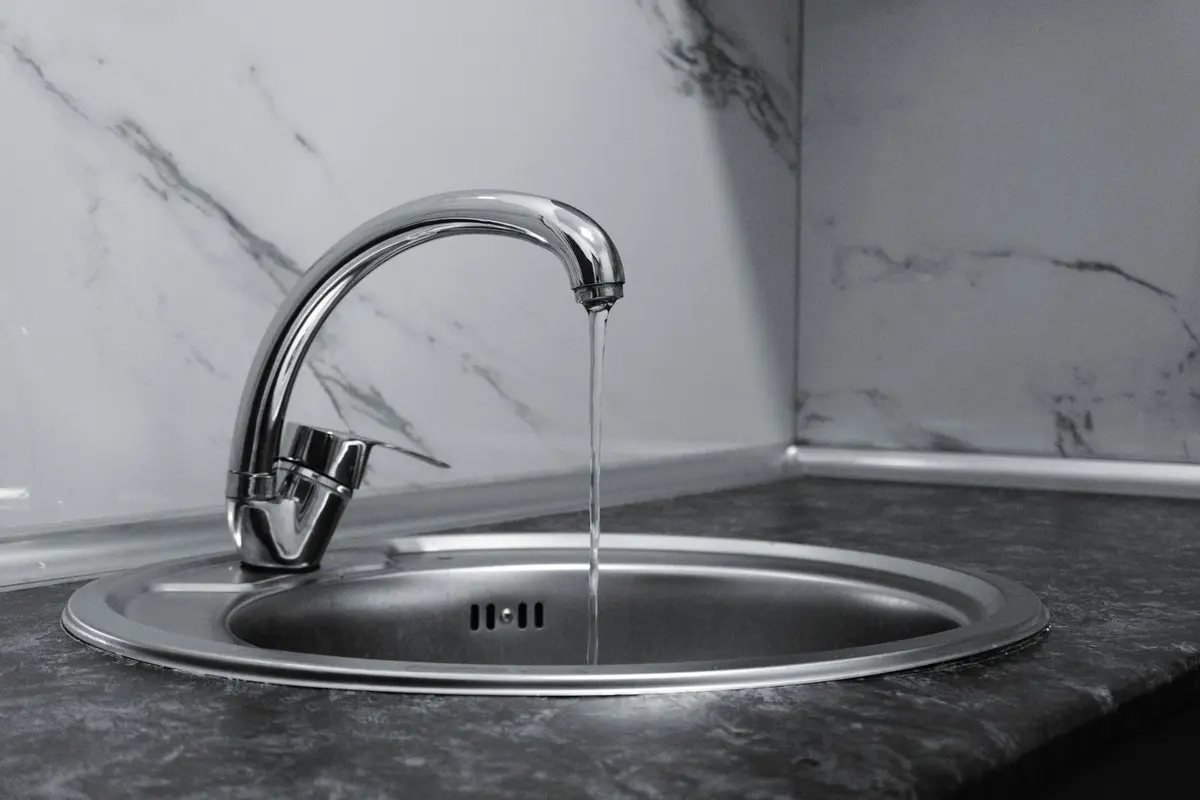
Unscrew the aerator from your faucet spout, soak it in white vinegar for 4-8 hours, then scrub away mineral deposits and rinse thoroughly. Most aerators come off by hand or with a small wrench in under a minute.
- Difficulty
- Beginner
- Time
- 30 minutes active work (plus 4-8 hour soak)
- Cost
- $0 (using household vinegar) to $15 (if replacing the aerator)
- Tools
- Cloth or rag, old toothbrush, small cup or bowl, toothpick or thin wire, dental mirror (optional)
- Permit required
- No
- Contractor recommended
- No
- You will need
- White distilled vinegar (1–2 cups), Small cup or bowl for soaking, Old toothbrush or soft-bristled brush, Clean cloth or rag for drying, Toothpick or thin wire, Paper towel or work surface, Flashlight or dental mirror (optional)
Materials
- 1-2 cups White distilled vinegar, 5% acidity (Standard kitchen vinegar works perfectly; no need for specialty descaling products.) — $2 - $4 (if buying; most homes have this)
- 1 Replacement aerator (if original cannot be cleaned or is damaged) (Universal aerators fit most kitchen faucets; check your spout diameter. Bring the old aerator to the hardware store to match.) — $5 - $15
Step by step
Unscrew and Safely Remove
Turn the water off at the faucet. Grasp the aerator (the cylindrical screen piece at the faucet spout tip) with your fingers and unscrew it counterclockwise. Most aerators come off by hand with gentle, steady pressure. If it's stuck, try wrapping a thin cloth around it for better grip, or run warm water over the joint first to loosen mineral deposits. Once loose, unscrew it completely and set the parts aside.
Tip: Look for the flow-restrictor washer inside the aerator body—it's a small, flat disc that sometimes falls out during removal. Don't lose it; you'll need to put it back the same way it came out.Document and Disassemble
Lay the aerator on a paper towel and gently disassemble it. Most aerators have three main parts: the outer barrel (the metal housing), an internal screen or mesh cartridge, and sometimes a flow-restrictor washer. Handle the screen carefully—it's fragile. Keep all parts together in one spot so nothing gets lost. Don't force parts apart; they should come apart with gentle twisting or slight pressure.
Tip: Take a photo of the disassembled aerator so you remember how it goes back together—some aerators have specific orientation markers you can easily miss.Pour the Dissolving Agent
Pour undiluted white vinegar (5% acidity) into a small cup or glass—enough to fully submerge all aerator parts. Distilled white vinegar works best because it has no additional minerals that might interfere with the cleaning process. If you don't have vinegar, you can substitute with white distilled lemon juice or a commercial descaling product made for faucets, though vinegar is cheaper and works just as well for most buildup.
Tip: Use regular white vinegar from your pantry—there's no advantage to buying specialty descaling vinegar for this job.Submerge Everything Fully
Place the aerator barrel, screen, flow-restrictor washer, and any other internal pieces directly into the vinegar. Push them down so they're fully submerged. If the barrel is too large for your cup, you can lay it on its side in a shallow bowl and pour vinegar around it, rotating it halfway through soaking. The screen and smaller parts should be completely covered.
Tip: Don't soak the rubber washers (if your aerator has them) longer than 8 hours—extended vinegar exposure can dry them out slightly, though this is rare.Let Chemistry Do the Work
Leave the parts in vinegar. There's no need to stir or agitate during soaking. The acetic acid in vinegar dissolves calcium and magnesium deposits over time. For light buildup, 4 hours is often sufficient. For heavy, crusty deposits, 8 hours works better. You can soak overnight if convenient—there's no harm in leaving it longer. If you're in a rush, you can speed this up by gently warming the vinegar in the microwave for 30 seconds before soaking (make sure it's not hot to the touch).
Tip: If your water is extremely hard, use slightly warmed vinegar instead of room-temperature vinegar to speed mineral dissolution.Brush Away Mineral Crud
Remove the parts from the vinegar and rinse them under running water. Use an old toothbrush or a small soft-bristled brush to gently scrub the screen and the inside of the barrel where mineral deposits clung. You should see white, chalky residue come loose. Pay special attention to the mesh of the screen—deposits love to hide in those tiny gaps. For stubborn spots, dip the brush back in vinegar and scrub again. If deposits are still heavy, soak for another 30 minutes and repeat.
Tip: A soft toothbrush won't damage the aerator screen, but avoid wire brushes or steel wool—they can scratch the internal surfaces and trap particles.Clear the Hidden Spout
While the aerator is off, look up into the faucet spout opening. Sometimes mineral buildup and loose debris collect there too. If you see any white or crusty material, run warm water through the spout opening to flush it out, or carefully poke at stubborn deposits with a toothpick or thin brush. This often gets overlooked and can restrict flow just as much as a clogged aerator.
Tip: Use a dental mirror or flashlight to see deep into the spout if your faucet has a long aerator seat—deposits sometimes hide out of sight.Rinse Every Surface Completely
Hold each aerator part under running water and rinse until no vinegar smell remains and the water runs clear. Run water through the screen mesh from both sides. Make sure no debris or vinegar residue is trapped inside the barrel. You want everything to look clean and bright. If any white deposits are still visible, return the parts to vinegar for another 2-hour soak.
Tip: Rinse from the reverse side of the screen (the side that faced outward when installed) to push any loosened debris out rather than further into the mesh.Put It Back Together Correctly
Dry all parts with a clean cloth. Reassemble the aerator in the reverse order you took it apart. Typically this means: flow-restrictor washer first, then the screen, then the outer barrel. Screw the barrel closed gently—you should feel a slight resistance but don't overtighten. Test the assembly by running water through it over the sink to make sure water flows freely and no parts are leaking or misaligned before reinstalling.
Tip: If water leaks from the seam where the barrel closes, the internal parts may not be seated correctly—disassemble and reassemble once more, making sure the screen sits flat.Screw Back and Verify Fit
Hold the faucet spout in one hand and screw the aerator back on clockwise using your fingers. Tighten gently until snug—you should feel a slight friction, but you shouldn't need tools or force. Stop when it feels seated; over-tightening can crack the aerator threads over time. Turn the water back on and check the spray pattern. The flow should be noticeably stronger and more uniform than before.
Tip: If the aerator won't tighten properly or feels loose, you may have cross-threaded it—unscrew it completely and start again, making sure it goes on straight.Confirm the Spray Pattern
Turn on the faucet and let water run for 10-15 seconds to flush any remaining sediment. Look at the spray pattern—it should be even and not spraying off to one side. Feel the flow volume; it should feel significantly stronger than before cleaning if mineral buildup was the problem. If the flow is still weak, the aerator may need another soak, or there may be debris in the spout that needs additional flushing.
Tip: If water still sprays sideways after cleaning, the aerator screen may be slightly warped—in rare cases, you may need to replace it rather than clean it.
Questions people ask
How often should I clean my faucet aerator?
In soft-water areas, once per year is typical. In hard-water regions, every 6 months is more realistic. Pay attention to your spray pattern—if it starts spraying sideways or the flow feels noticeably weaker, it's time to clean, regardless of the calendar.
Can I use bleach instead of vinegar?
No. Bleach doesn't dissolve mineral deposits; it's designed to kill bacteria. Vinegar's acidity is what breaks down calcium and magnesium buildup. Stick with white vinegar or, in a pinch, lemon juice.
What if I lose a small part during disassembly?
The flow-restrictor washer is the most commonly lost part—a small flat disc. If lost, you can still operate the faucet without it (water flow will be slightly higher), but you can buy a replacement aerator kit for $8-15. Don't try to fish small parts out of drains; replace the whole aerator.
Is it normal for the aerator to feel loose after reassembly?
A very slight wobble is normal. Tighten it by hand until snug, but don't force it. If water leaks from the seam, the internal parts aren't seated correctly—disassemble and try again, making sure the screen sits flat inside the barrel.
Why is my water still weak after cleaning the aerator?
The spout opening itself may be clogged with debris. While the aerator is off, look into the opening and flush it with warm water. If that doesn't work, the problem may be further upstream in your supply line, not the aerator.
Variations
- Cleaning aerators on bathroom sink faucets (same process; sometimes smaller screens are more delicate)
- Descaling an aerator with commercial vinegar alternative or lemon juice in a pinch
- Preventive maintenance: installing a whole-home water softener or point-of-use filter to reduce mineral buildup over time
- Replacing an aerator that cannot be cleaned (warped mesh or damaged threads)
Troubleshooting
Aerator won't unscrew—feels stuck
Don't force it. Run warm water over the joint for 30 seconds to soften mineral deposits, then try again. If still stuck, wrap a cloth around the aerator for grip and use steady, gentle pressure. As a last resort, use a small pipe wrench wrapped in cloth to avoid marking the finish.
Water still sprays sideways or weak after cleaning
The spout opening itself may be clogged. Look into the faucet spout opening with a flashlight and flush with warm water, or use a toothpick to gently dislodge debris. If that doesn't work, the aerator screen may be warped and need replacement.
Vinegar doesn't seem to dissolve the mineral deposits
Your water hardness may be extreme. Warm the vinegar slightly (microwave for 30 seconds) before soaking, and soak for the full 8 hours. Alternatively, use a commercial descaling product designed for faucets, following its instructions.
A small part of the aerator is missing after disassembly
The most commonly lost part is the flow-restrictor washer—a small flat disc. If you can't find it, you can operate without it (flow will be slightly higher), but it's worth buying a replacement aerator kit ($8-12) rather than risk losing another part.
Water leaks from where the aerator meets the faucet spout
The aerator may be cross-threaded or not seated fully. Unscrew it completely, inspect the threads on both the faucet spout and aerator barrel for debris or damage, then reinstall by hand with gentle, steady pressure until snug.
The aerator parts won't fit back together in the right order
Consult the photo you took before disassembly. Most aerators have only one correct assembly order: flow washer, then screen, then barrel. If you're unsure, it's cheaper to buy a new identical aerator ($8-12) than to damage the original.
More for the kitchen: kitchen cleaning, the first hour of water damage and your kitchen is organized for a kitchen you don't have.