Mastering the Cut Crease Concealer Technique
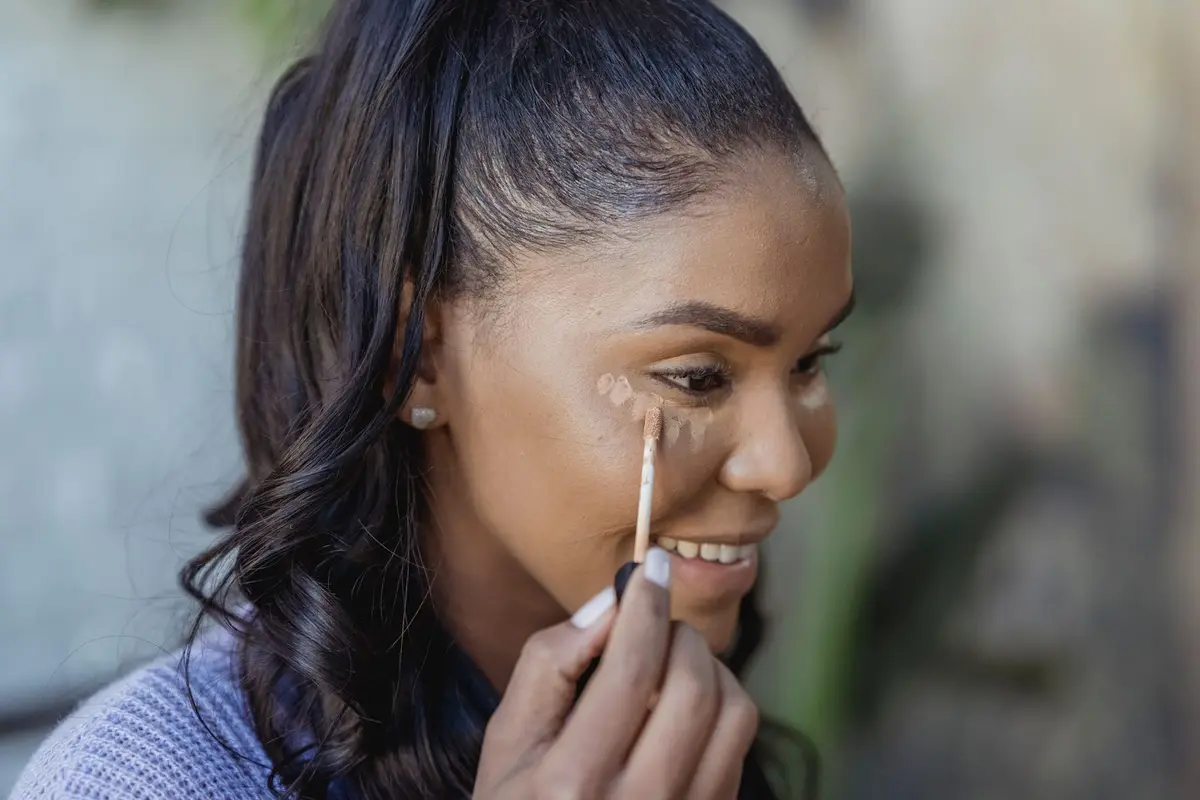
A clean cut crease serves to isolate the mobile lid from the rest of the eyeshadow work. Success is rarely a matter of raw skill; it is a matter of managing the density of your concealer and the rigidity of your brush.
If the product is too thin, it will migrate into fine lines. If the brush is too soft, the line will lack the requisite sharpness to provide the necessary contrast.
- Difficulty
- Beginner
- Total time
- 20 minutes
- Cost
- Low
- Cadence
- Weekly
Ingredients
- Titanium Dioxide: Often found in thick concealers for high pigment opacity.
Tools List
- Stiff flat synthetic concealer brush
- High-viscosity opaque concealer
- Dense shader brush for powder setting
Step by step
Select a high-viscosity concealer
Choose a formula that is opaque and relatively dry. Liquid concealers with high water content will move before you can set them with pigment. Opt for a thicker paste or a heavy-duty pot concealer to ensure the line stays stationary.
Tip: Test the consistency by placing a small dot on the back of your hand; it should not run.Map the crease with a flat brush
Use a stiff, flat-head synthetic brush. Load the edge with a small amount of concealer, pressing it into the natural fold of the eyelid while your eye is open. This identifies the boundary where your specific anatomy requires the cut.
Tip: Look straight into the mirror to mark the high point of the crease.Refine the lid area
Using the same brush, sweep the excess product down to the lash line. Ensure the edges meet the already blended eyeshadow at a crisp, sharp angle. Work slowly from the inner corner to the outer corner to maintain symmetry.
Tip: Use short, stamping motions to build opacity rather than long, dragging strokes.Set the concealer
Leave the concealer slightly damp for a moment to ensure it is even. Use a small, dense shader brush to press a neutral shadow or translucent powder directly over the cream. This locks the shape and prevents transfer.
Tip: Use a pressing motion, not a sweeping one, to avoid distorting the clean edge.Clean the boundary
Take a clean, dry detail brush and run it along the upper line of the crease. This will pick up any stray pigment or excess concealer that migrated during the setting process. Re-blend the shadow above the line if necessary.
Tip: A clean brush is your primary tool for error correction.
Trouble
The line is not sharp enough.
Your brush is likely too soft or holding too much product. Clean the brush completely on a towel before trying to carve the final edge.
The concealer is smudging into my eyeshadow.
You are using too much product. Use less on the brush and build up to the desired opacity in two thin layers rather than one heavy one.
My eyes are hooded and the cut disappears.
Map the crease while your eye is open and looking straight forward. Do not map it with the eye closed, as the fold will change position.
The product is cracking.
You have applied too thick a layer of concealer. A thin, opaque layer is superior to a thick, globby one for long-term wear.
The sharpest line is not drawn, it is carved out by the density of the product.
Stop trying to draw a line with a soft fluffy brush; the tool dictates the geometry.
See also: cut crease on monolid eyes, eye looks and eyes.