Maintaining a Clean Nape Undercut
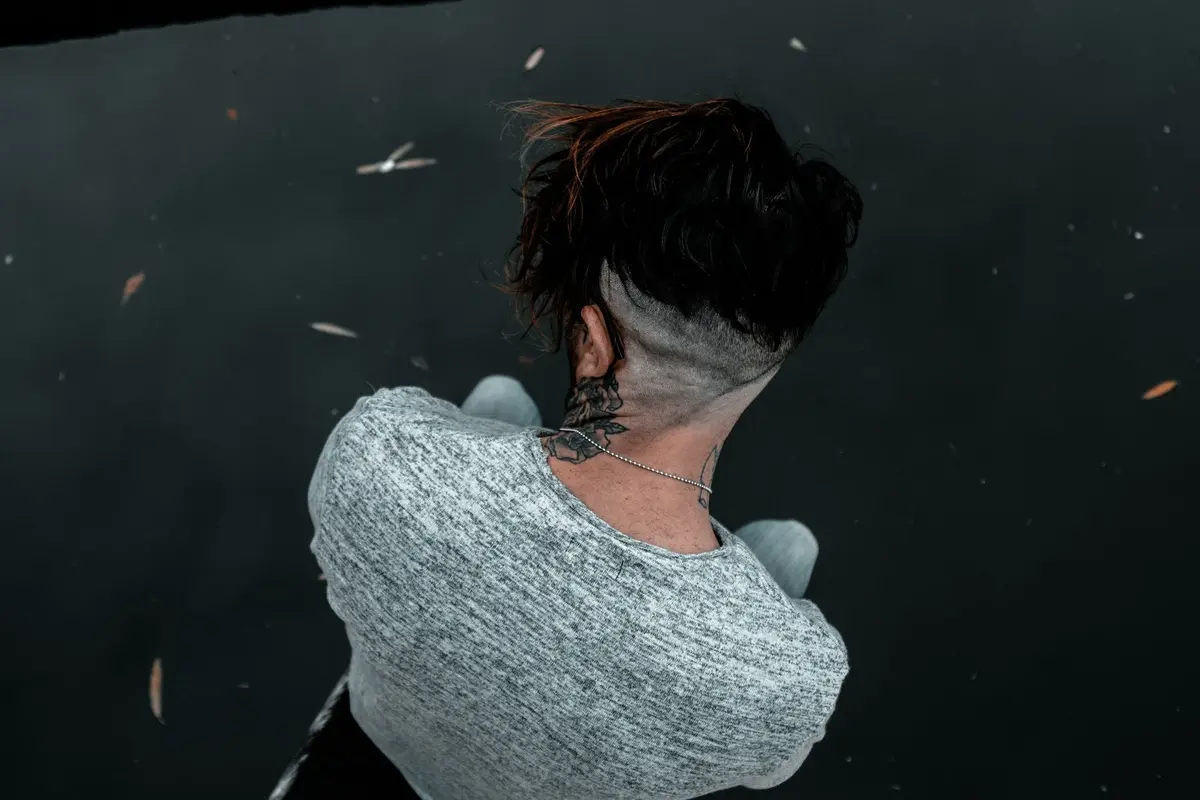
A nape undercut provides a structured foundation for natural hair textures, removing excess bulk while defining the neckline. This style relies on the contrast between tight, groomed edges and the natural volume of the hair above the occipital bone. Achieving this look at home requires steady hands and a clear understanding of the hairline's natural growth pattern.
Maintenance focuses on keeping the perimeter clean without encroaching on the transition zone. By following a structured process, you prevent over-cutting and maintain the desired shape over time.
- Difficulty
- Beginner
- Total time
- 20 minutes
- Cost
- Low
- Cadence
- Every 10 to 14 days
Ingredients
- Jojoba Oil: Balances moisture on the skin without clogging pores.
Tools List
- Electric clippers with multiple guards
- Detailing trimmer for edge work
- Fine-tooth comb
- Handheld vanity mirror
Step by step
Section the hair
Gather all hair above the crown into a high, secure bun or ponytail. Use a fine-tooth comb to ensure the line separating the undercut from the remaining hair is level. A clean parting is the difference between a geometric finish and an uneven result.
Tip: Apply a light leave-in conditioner to the perimeter for slip.Begin the bulk reduction
Select the appropriate guard for your clipper based on desired length. Begin at the center of the nape, moving upward toward the partition line. Use short, upward flicking motions to prevent creating harsh lines of demarcation.
Tip: Keep the clipper blade flat against the skin.Fade the transition
Switch to a guard one size higher than your base length to blend the area closest to the partition line. Move the clippers slowly to soften the transition between the scalp and the longer hair. Do not go too high, as this will distort the shape of the undercut.
Tip: Mirror check frequently to ensure symmetry.Line up the perimeter
Remove the guard and use the corner of the blade to clean the hairline at the bottom of the neck. Follow the natural contour of your hairline without pushing the line too deep into the neck tissue. Focus on creating a crisp, straight horizontal or arched finish.
Tip: Use a light touch to avoid skin irritation.Refine and hydrate
Check for stray hairs that were missed during the initial pass. Brush away debris from the neck using a soft brush. Apply a small amount of non-comedogenic oil to the skin to keep the area hydrated and prevent irritation after grooming.
Tip: Use a handheld mirror to inspect the back.
Trouble
Why is there a line at the top?
You likely used the clipper without a blending guard. Use the next size up to diffuse the weight line.
How do I ensure both sides are level?
Place two fingers horizontally against your neck to measure the distance from the hairline to the top of the undercut.
My skin feels sensitive after.
You are applying too much pressure. Let the clipper do the work and hover the blade slightly.
I accidentally cut too high.
Stop immediately. The hair will grow back in a few days; simply allow the surrounding hair to sit over the gap until it fills in.
A clean perimeter is the foundation of a successful undercut.
Maintain the geometry; do not force the clipper to do what your wrist should.