How to Install Box Braids at Home
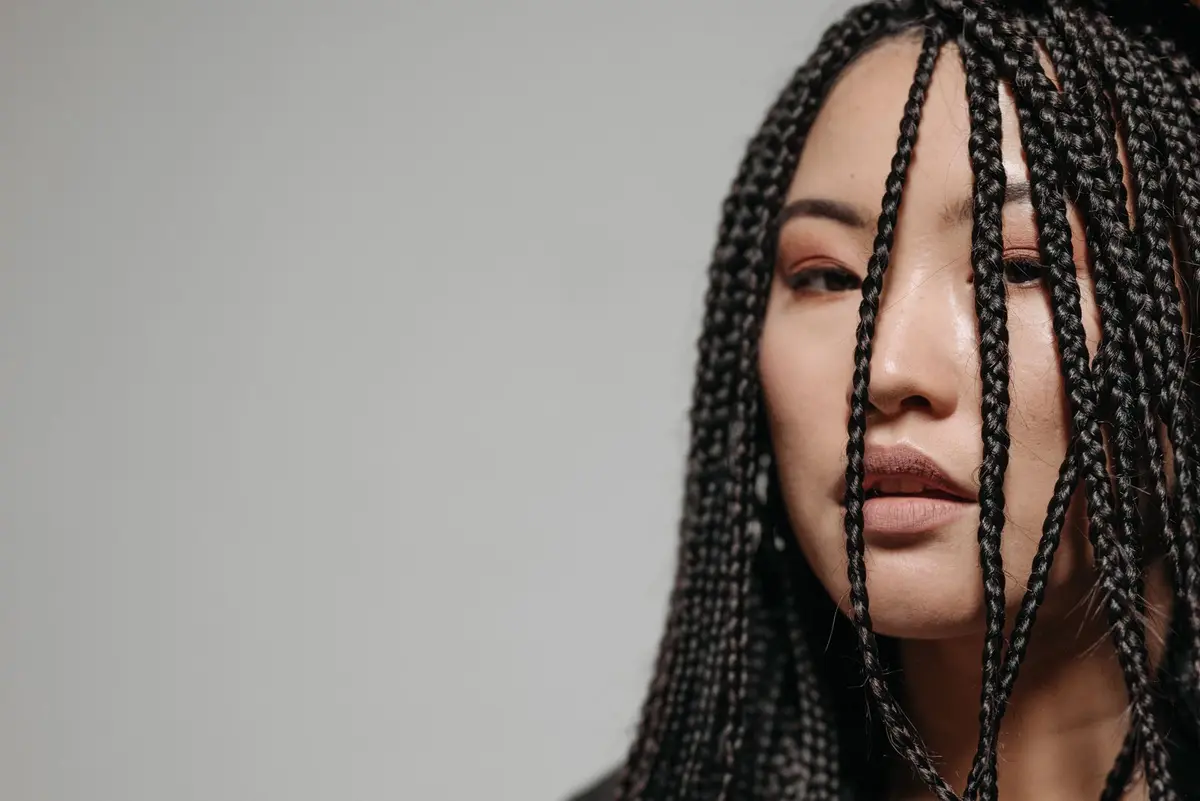
Section hair into squares, braid each section with added hair from root to tip, then seal the ends.
Step by step
Prep your hair
Wash and detangle your hair completely. Apply a leave-in conditioner and let hair dry until slightly damp. Clean hair holds braids longer and looks better.
Section systematically
Start at your nape and work upward, creating square sections with a rat-tail comb. Each section should be roughly the same size as your desired braid thickness. Clip unworked sections away.
Add the extension hair
Take a small amount of braiding hair and fold it in half. Place the fold at your hairline and begin braiding your natural hair with the extension, keeping tension even but not tight.
Braid to the ends
Continue braiding down the length, maintaining consistent tension. When you reach the end of your natural hair, keep braiding the extension hair until you achieve your desired length.
Seal the ends
Dip the braid ends in hot water for 3-5 seconds or use a lighter to carefully seal synthetic hair. For human hair extensions, tie off with a small elastic.
Questions people ask
How long should box braids stay in?
Six to eight weeks maximum to prevent matting and hair damage.
What type of hair should I buy?
Kanekalon or X-pression hair works best for most people and budgets.
How do I sleep with new box braids?
Use a silk or satin pillowcase and wrap your braids in a silk scarf.
Variations
- Jumbo box braids: Use larger sections and thicker extension hair for a bold, quicker install.
- Medium box braids: The classic size that balances durability with styling versatility.
- Micro box braids: Tiny braids that take longer to install but last longer and offer more styling options.