Salon Gel Nails at Home: The Order of Operations
Home gel almost never fails because of the gel. It fails at the two ends nobody photographs — the ninety seconds of prep before, and the twenty minutes of removal after.
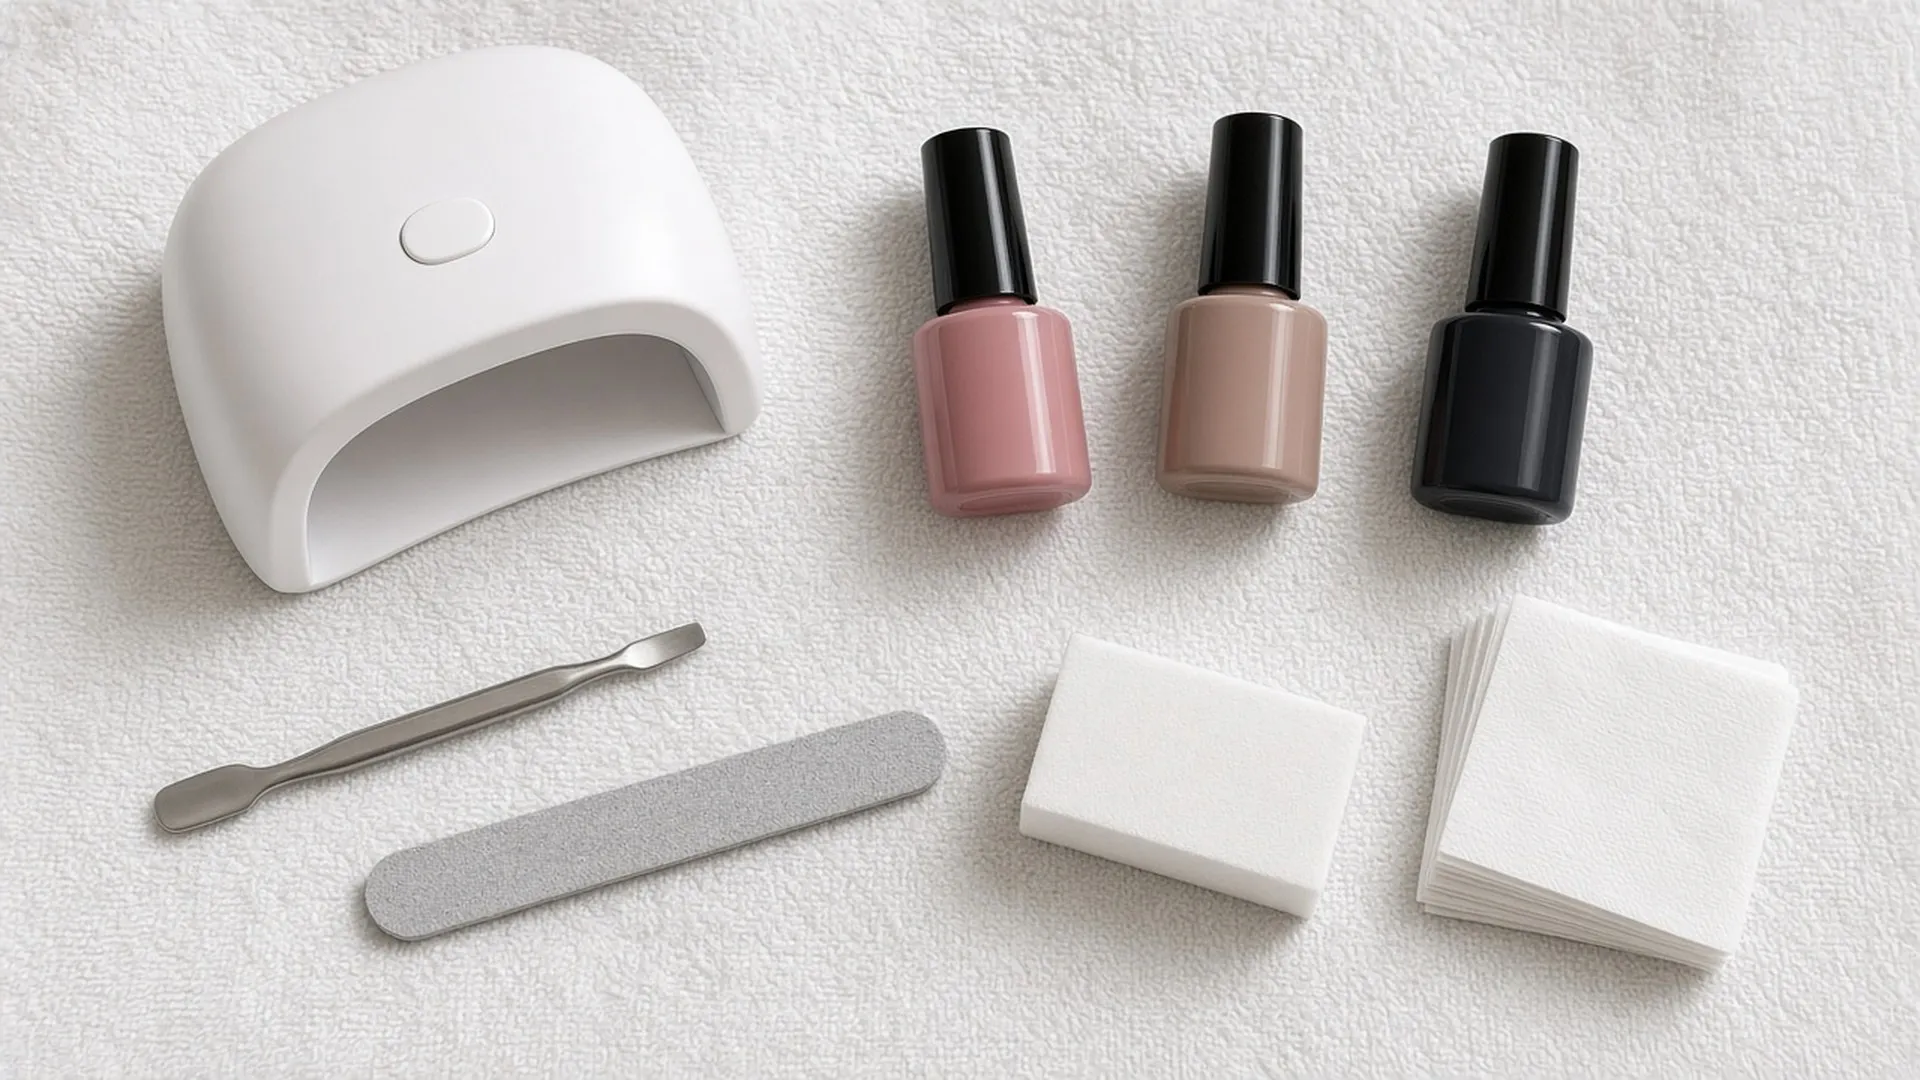
Home gel almost never fails because of the gel. It fails at the two ends nobody photographs — the ninety seconds of prep before, and the twenty minutes of removal after.
I resisted home gel for a long time on the grounds that it looked like a hobby, and I already have enough of those that involve small bottles. Then I did it once, carefully, following the instructions in the box as though they had been written by someone who meant them, and it lasted. The second time I rushed the prep and it lifted at the edges inside three days. The third time I peeled it off on a train and my nails were paper for a month. All three were the same gel.
So this is less a tutorial on painting and more a tutorial on the bits either side of painting. The middle — the colour, the brush, the shine — takes care of itself once the ends are right. The ends are where the lifting comes from, and the ends are where the damage comes from.
One thing before anything else. Every gel system is slightly different, and the instructions that come with yours outrank anything I say here. Cure times especially. I will tell you the order of operations; your kit will tell you the numbers.
Beginner, with patience · About 45 min to apply, 20 to remove · Every two to three weeks, with breaks · A kit with its own lamp, and acetone for later
The shine is the part everyone photographs. The prep and the removal are the parts that decide whether you still have nails in six months.
Prep dry, paint thin, cap the edge.
Step one · 90 seconds — Dry prep, not a soak.
Salon instinct says soak your fingers first. Do not. Water swells the nail plate slightly, and gel applied to a swollen nail is gel applied to a nail that will shrink back under it later, which is how you get lifting at the cuticle. Wash your hands, then dry them completely and wait a few minutes before you start.
Gently push the cuticles back with a wooden or soft-edged pusher. Do not cut them, and do not dig. Then file the shape you want, in one direction rather than sawing, and very lightly buff the surface of each nail just enough to take the shine off. Lightly is the word. You are giving the gel something to hold, not thinning the nail.
If the buffer leaves visible grooves, you have pressed too hard. The nail should look matte, not sanded.
Step two · 30 seconds — Dehydrate and leave it alone.
Wipe each nail with whatever your kit uses for this — usually a prep liquid or plain isopropyl alcohol on a lint-free pad. It removes the oil and dust from the surface. Then do not touch your nails. Not your face, not your hair, not your phone. Skin oil transfers in a second, and a single fingerprint on a prepped nail is a single patch that will lift.
Do every nail on one hand and move straight on. Going back to fix one means touching it, which means starting that one again.
Step three · About 10 min — Base coat, thinner than you think.
Base coat in a layer so thin it barely looks like anything. Then the part that matters: cap the free edge by running the brush lightly along the very tip of the nail, so the gel wraps over it slightly. That seal along the tip is what keeps the set from chipping forward.
Keep it off the skin. Leave a tiny gap at the cuticle and the side walls rather than flooding to the edge. If any gel touches skin, clean it away with a little alcohol on an orange stick before you cure. This is not fussiness. Repeated contact between uncured gel and skin is the usual way people develop an allergy to it, and an allergy, once you have it, tends to stay — not just with home gel, but at the salon too.
Cure for exactly the time your kit specifies, with your hand flat and fully inside the lamp. Thumbs often get missed when the hand is angled; I cure my thumbs separately.
Do one hand fully through each coat before switching. Alternating hands mid-coat is how you end up curing a smudge.
Step four · About 15 min — Two thin colour coats.
Two thin layers of colour, each cured as the kit says, each capped at the edge like the base. Thick coats feel efficient and are not. They cure unevenly, wrinkle, and pool at the sides, and a pooled side is where gel ends up on skin. If the first coat looks streaky, that is normal. The second evens it.
Wipe the brush on the neck of the bottle on both sides before every nail. A loaded brush is how you flood.
Step five · 5 min — Top coat and the wipe.
Top coat, capped at the edge one last time, cured to the kit's time. Some top coats leave a slightly sticky layer once cured; your instructions will say whether to wipe it with alcohol. Then a drop of cuticle oil around each nail, rubbed in, and you are done.
If a nail feels warm or stings under the lamp, take it out for a moment and put it back. Curing gives off a little heat and thick layers give off more — another reason to keep them thin.
Twenty minutes, and no peeling.
Removal · About 20 min — Break the seal, then soak.
This is the part that decides whether home gel is a pleasure or a slow disaster. Lightly file the shiny top coat off each nail so the acetone can get in. Then soak a cotton pad in acetone, press it on the nail, and wrap the fingertip in a small square of foil, or use the clips that come with some kits. Wait. The kit will suggest how long; it is usually longer than you want it to be.
After the wait, the gel should have lifted and softened enough to slide off with a gentle push from an orange stick. If it does not, wrap it again and wait again. Do not lever, scrape, or force. Whatever does not come off easily is still bonded to the top layer of your nail, and forcing it takes that layer with it.
Acetone is drying and strong-smelling, so do this with a window open, away from any flame, and wash your hands well afterwards, followed by a proper hand cream and cuticle oil.
The rule · Always — Never peel.
Peeling gel off is satisfying in the way that picking at anything is satisfying, and it is the single fastest way to thin your nails. The gel does not come away clean. It comes away with a layer of nail stuck to it. Do it a few times and you will have soft, bendy, sore nails that take months to grow out. If a corner lifts, file it smooth or remove the whole nail properly. Do not tug it.
If you know you are a picker, do not start a set the week before a long journey. Bored hands find edges.
The shelf — what this actually needs
- A gel kit with its own matching lamp, plus its base and top coat
- A soft cuticle pusher, a fine file and a gentle buffer
- Isopropyl alcohol or the kit's prep liquid, and lint-free pads
- Orange sticks, for cleaning edges and for removal
- Acetone, cotton pads and foil or clips
- Cuticle oil and a decent hand cream
Gel on skin is the one mistake that does not grow out.
How to know it is working.
- The set sits flat at the cuticle and the tip for a week or more with no lifting.
- Nothing is cured onto the skin around the nail; the edges are clean.
- Removal is a gentle push, not a scrape.
- Your bare nails after removal look like your nails before — not thinner, not peeling in layers, not sore.
- If they are thinner, take a break of a few weeks between sets and keep them short and oiled while they grow.
When it isn't going to plan.
It lifts at the cuticle within days.
Almost always prep. Either the nail was damp, there was oil on it, the cuticle was not pushed back, or the gel was flooded onto skin and lifted with it. Go back to step one and be slower.
It is wrinkled or still soft after curing.
The coats are too thick, the hand was not fully in the lamp, or the lamp and the gel are not from the same system. Mixed systems often cure badly. Use the lamp that came with your kit, and follow its times.
The skin around my nails is itchy, red or swollen.
Stop. Take the set off carefully with acetone, do not apply any more gel, and see a doctor or dermatologist. A reaction to gel can get worse with each exposure, and it is worth knowing what you are dealing with before you go anywhere near it again — including at a salon. Do the same if a nail becomes painful, lifts away from the skin underneath, or changes colour.
Do I need to worry about the lamp on my hands?
It is a reasonable thing to think about. Some people put sunscreen on the backs of their hands beforehand or wear fingerless gloves during curing, and both are sensible small habits. Keep curing to the times the kit gives you rather than extra rounds just in case.
How often is too often?
Listen to your nails rather than a calendar. If they are getting thin, bendy or sore, take a few weeks off. I do one or two sets and then leave them bare for a while, and they are better for it.
“I would rather a slightly patchy colour coat on a healthy nail than a perfect finish on one I have spent the month apologising to.” — Nelly
The gel kit is one of the objects on the Sound Shelf, filed under the taps, where cured gel rings and unfinished polish thuds. For the face-and-hands side of the same desk, start at the HowTo Beauty home page, or read the other columns from Nelly, the beauty and style director.
Filed by Nelly, from the desk · Nails / At Home