How to Dutch Braid Your Own Hair
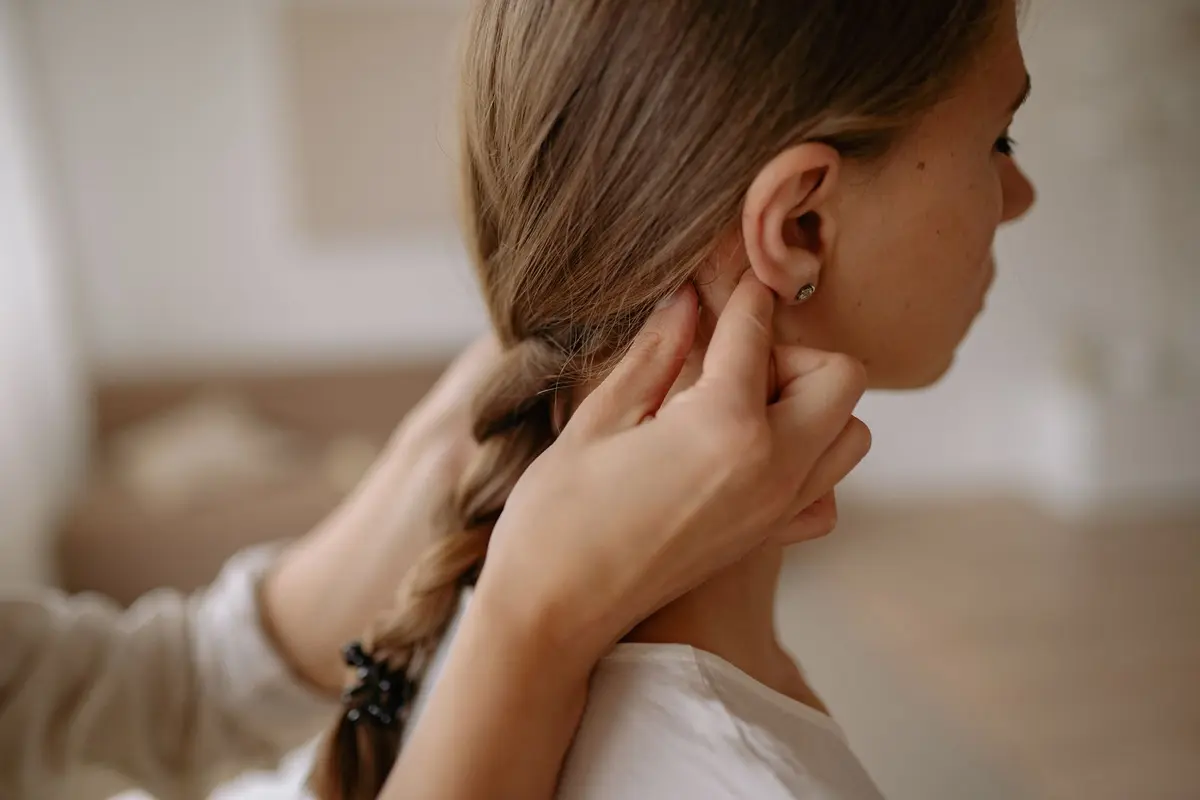
Start with damp hair, create three sections at your crown, and braid under instead of over while adding hair to outer sections as you work down.
Step by step
Prep your hair
Work with slightly damp hair for grip and control. Brush through completely to eliminate tangles that will catch mid-braid.
Section at the crown
Take a triangle section from your hairline to the crown, about two inches wide. Divide this into three equal strands.
Start the Dutch technique
Cross the right strand under the middle, then the left strand under the new middle. This inverted crossing creates the raised effect.
Add hair as you descend
Before each cross, pick up a small section of loose hair and add it to the outer strand you're about to cross under. Keep sections even for a clean result.
Finish and secure
When you reach the nape, continue with a regular braid using the remaining length. Secure with a clear elastic that won't break the visual line.
Questions people ask
Why does my Dutch braid look loose?
You're not pulling tight enough during the crossing motion or your sections aren't even.
How do I keep flyaways down?
Mist with water or light-hold hairspray as you work, and smooth each section before adding it.
What if I can't reach the back sections?
Practice the hand position with regular braids first, or start with side Dutch braids before attempting center-back.
Variations
- Double Dutch: Create two parallel Dutch braids by parting hair down the middle and braiding each side separately.
- Dutch crown: Start at one ear and braid around the hairline to create a headband effect.
- Dutch to messy bun: Stop the Dutch braid at mid-skull and twist the remaining hair into a low, textured bun.