How to Blow Dry Your Hair Without It Looking Like You Blow Dried Your Hair
the goal is always to look like you didn't try. the secret is that you tried exactly the right amount.
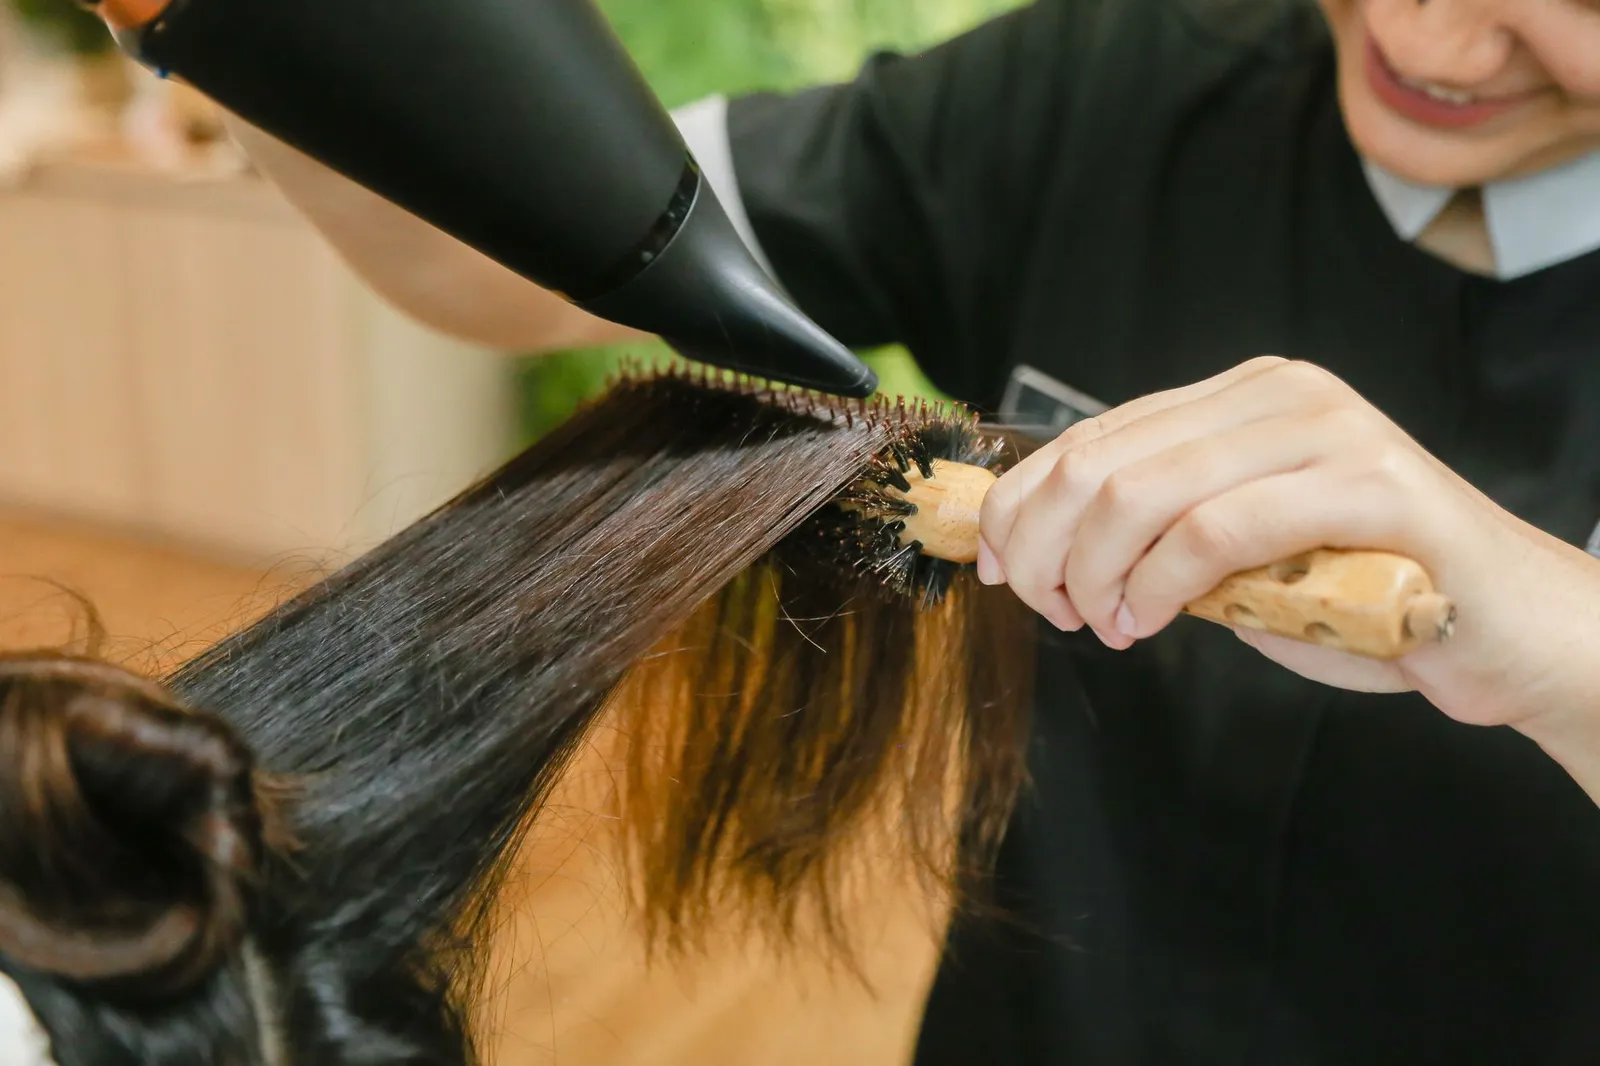
the goal is always to look like you didn't try. the secret is that you tried exactly the right amount.
- Cost: $0 if you already own a round brush. $25 if you need one. Do not cheap out on the brush.
- Time: 20 minutes if you have the right brush. 45 if you don't.
- Tools: Round brush, ionic dryer, heat protectant, patience
- Difficulty: Anyone Can Do This. Seriously.
here's what nobody tells you. the dryer is not doing the work. the brush is doing the work. the dryer is just air. once you understand that everything changes.
Start with 70% dry hair.
not soaking wet. not fully dry. 70%. towel dry, wait ten minutes, then start. wet hair stretches and breaks under heat. damp hair moves.
Section it. Actually section it.
four sections minimum. top, sides, back. clip what you're not working on out of the way. i know it feels like extra steps. it is not extra steps. it's the whole thing.
Match the brush to the length.
a smaller barrel gives more bend and suits shorter hair. a bigger barrel gives smoother, straighter lengths and suits longer hair. if you only buy one, buy the size your hair wraps around once or twice, not the one that looks impressive in the shop. bristles that grip a little hold the tension for you, so your wrist does not have to.
Heat protectant is not optional.
i don't care what your budget is. a $6 bottle from the drugstore is fine. skipping it entirely is not fine. you will feel it in six months.
The brush goes underneath.
wrap the section around the brush from underneath. pull tension. follow with the dryer on top. medium heat. not high. high heat is for people who like split ends.
Roots before lengths.
start every section at the root. lift it straight up off the head with the brush and dry the base first, then work down toward the ends. roots that dry flat stay flat, whatever you do to the ends afterwards. leave the crown until last, because that is where lift shows most and where it collapses first if you rush it.
Point the nozzle down the hair.
the narrow nozzle on the end of the dryer is there for a reason. keep it on, and aim the air from root to tip, down the length, never up against it. air blown upwards roughs up the surface and that is where the frizz comes from. keep the dryer moving, a few centimetres off the brush. parked in one place, it cooks one place.
The cool shot locks it.
before you release the section from the brush hit it with the cool shot button for five seconds. this is the step everyone skips. this is the step that makes it last.
Don't touch it for ten minutes.
i know. it's hard. don't touch it. let it cool completely set before you run your fingers through it. everything you just did lives or dies in these ten minutes.
Variations
- Straight and sleek — pull brush all the way down, no curl at the end
- Voluminous blowout — roll brush under and up at the ends
- The 90s supermodel — velcro rollers on the crown while the rest dries
Questions
My arms get tired. What do I do?
work in smaller sections. and yes your arms get stronger. it takes about three weeks.
Can I do this on curly hair?
yes. use a paddle brush instead and embrace what comes out. it won't be straight and it shouldn't be.
How long does it last?
two to three days if you sleep on a silk pillowcase. one day if you don't. get the pillowcase.
How often can I do this?
not every day if you can help it. heat adds up, even on medium with protectant on. on the days in between, let it dry on its own, tie it back, or set a wave overnight without heat. a blow dry worth keeping is also a good reason to space out wash day so the good hair lands on the day you need it.
the goal is always to look like you didn't try. — Em · HowTo: Beauty Edition