No-makeup makeup: five things, honestly counted.
Four minutes, five products, and a rule about where powder is allowed to go. The look is not about using less. It is about where you put less.
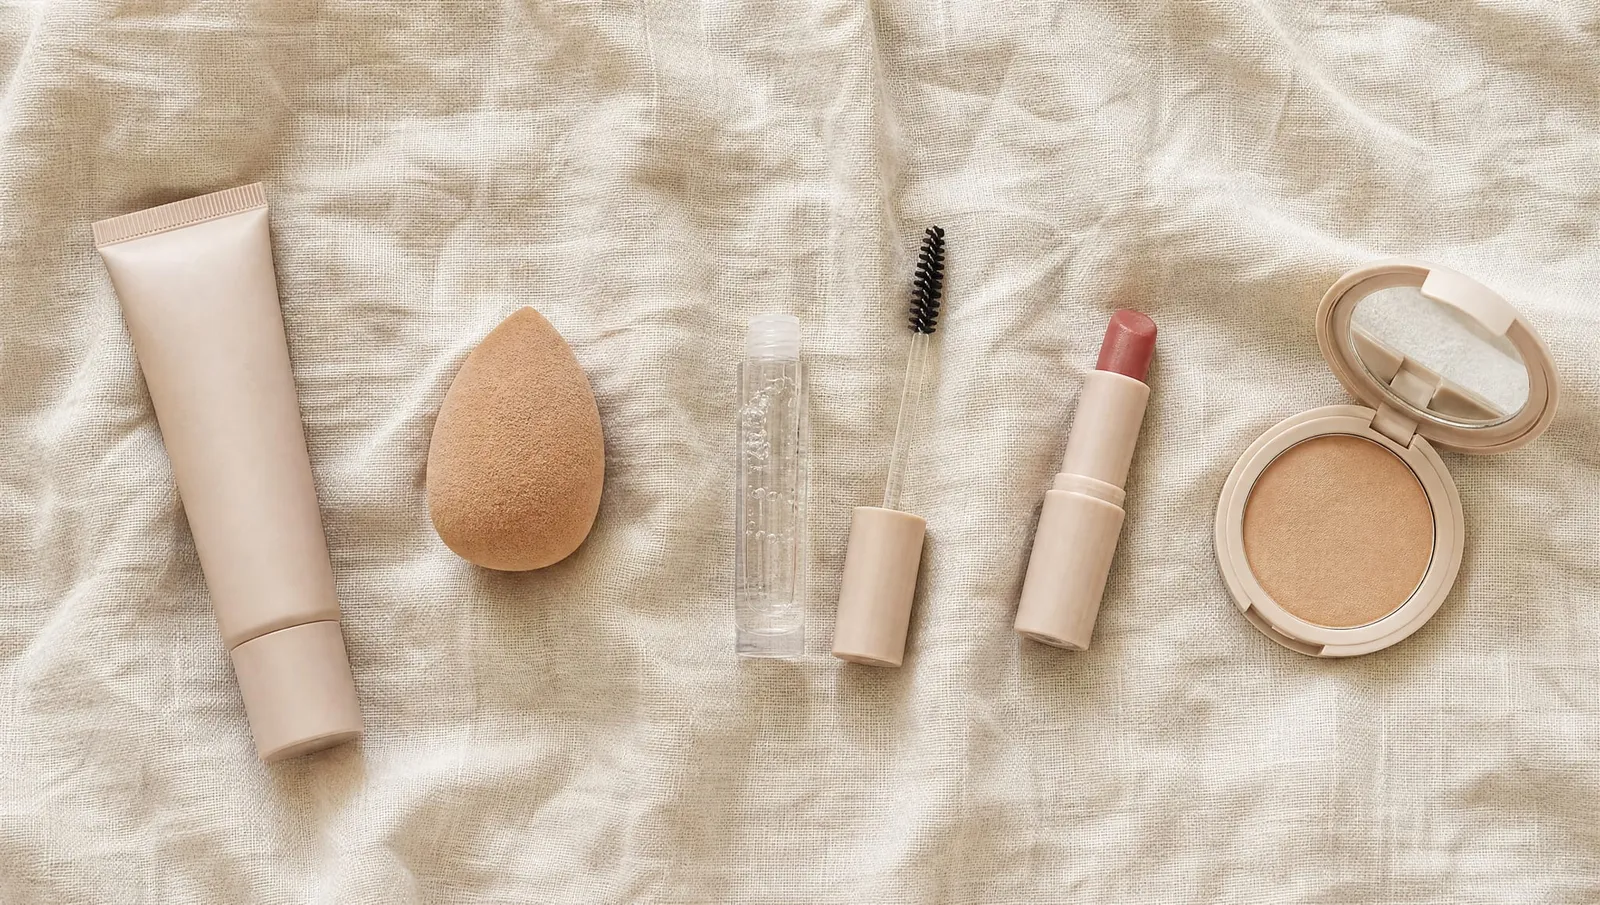
Four minutes, five products, and a rule about where powder is allowed to go. The look is not about using less. It is about putting less in the places that show.
The phrase is a lie and everybody involved knows it. No-makeup makeup is makeup. It is five products, applied in a specific order, arranged so that none of them announces itself. What it is not is a smaller amount of the same thing, which is how most people attempt it and why most people end up looking like they are wearing foundation badly rather than not wearing it at all.
The difference is placement. A full face puts product everywhere and then removes the excess. This puts product in four or five places and leaves the rest of the face alone, permanently. The jaw stays bare. The hairline stays bare. Most of the cheek stays bare. That is the entire technique, and it takes about a week to stop feeling wrong.
I came to this from the other direction — I spent a year under-painting instead, and wrote about giving it up at on under-painting, and why I stopped. This is what replaced it. It is less clever and it survives a Tuesday, which under-painting did not.
Beginner · 4 min · Weekday mornings · Five products, and that is the ceiling
Bathroom mirrors flatter this look and phone selfies destroy it, and neither is the room you are actually standing in.
Four minutes, in this order.
Step one · 60 seconds, then 60 more of waiting — Primer, but only where the day ends.
Primer is not a face product. It is a zone product, and treating it as a face product is why it so often makes things worse. A grip primer belongs on the T-zone, where the day eventually breaks — forehead, sides of the nose, the small triangle above the lip. Nowhere else. Then wait a full minute. Primers work by setting into a thin film, and the tacky middle stage is the failure state: anything applied into tack will grab, streak and sit in patches. Sixty seconds is not a suggestion, it is the mechanism. Use the time to do your teeth.
Do not primer over a dry patch. Silicone fills texture going in one direction only, and a flake sitting under a film becomes considerably louder by lunch.
Step two · 90 seconds — Damp sponge, less product.
The sponge is not there to apply anything. It is there to take away what you have already put on, which is a strange thing to buy a tool for and the reason the tool works. Wet it, squeeze it out until it stops dripping, squeeze it again into a towel. A dry sponge drinks about a third of whatever you give it. Apply your base with fingers first — three places, no more: centre of the forehead, under the eyes, around the nose. Then press with the sponge. Press, do not sweep. Sweeping moves product outward toward the jaw and the hairline, and those two lines are where every no-makeup face gets found out.
Nothing at the jaw. Nothing at the hairline. If you feel the urge to blend down the neck, you have used too much in the middle — go back and press more of it off.
Step three · 30 seconds — Brows, held not drawn.
Clear gel, and only clear gel. Spoolie upward through the head of the brow, then flat and outward along the tail, and then leave it. The reason brows sink this look is that people draw them, and a drawn brow has to be matched by everything else on the face — a drawn brow with a bare cheek reads as a face that was interrupted. A held brow reads as a brow. If the shape underneath is not right, that is a separate afternoon and I have written it up at shape your brows.
Gel goes on before anything powdered touches the face. Set the hairs while there is still something for the gel to grip.
Step four · 20 seconds — Balm on the lip, and on the lid.
One product, two jobs, and one of those jobs comes with a warning. On the lips, obviously, and generously. On the eyelid, sparingly — a fingertip's worth patted onto the centre of the lid and nowhere near the crease. It gives the eye a wet, unbothered look that no cream shadow reproduces without also looking like a cream shadow. Now the honest part: on a lid with any real fold to it, balm migrates. Not in eight hours, in about ninety minutes. If you have a hooded or lined lid, take the win on the lips and leave the eye to the five-minute everyday eye, which was built for exactly that problem.
A balm with SPF in it is worth the extra dollar. The vermilion has almost no barrier of its own and no sebaceous glands across it, which is why it burns and cracks before anything else on your face does.
Step five · 30 seconds — Powder in three places, and nowhere else.
Between the brows. The side of each nostril. The centre of the chin. That is the list, and it is short because those are the three places a face actually moves and therefore the three places a base actually breaks. Press the powder in with the puff, roll it slightly, lift it away. Do not sweep, and above all do not take it across the cheeks. Powder on a cheek is the precise moment this stops reading as skin and starts reading as makeup — it flattens the one part of the face that is supposed to still look like it has water in it.
If you can see where the powder went, it went in the wrong place or too much of it went in the right one. Tap the puff off on the back of your hand first, every time.
The shelf — what this actually needs
- A grip primer, for the T-zone only
- A makeup sponge, used damp
- A clear brow gel, no colour in it
- A lip balm, ideally with SPF
- A finely milled setting powder
What’s in it
- Dimethicone — The film-former in most grip primers. It needs sixty seconds to set; applied into tack it does the opposite of its job.
- Silica — What makes a setting powder finely milled rather than chalky. It absorbs oil without adding visible coverage.
- PVP — The polymer holding brow hairs in place in a clear gel. Flexible hold, not lacquer — it should still move when you touch it.
The No-Makeup Makeup Kit, itemized — Five products pretending to be none.
The edge is the entire tell. Nobody has ever been caught out by the middle of a face.
How to know it's working.
The test is a photograph taken at four in the afternoon, in daylight, by somebody else, without warning. Bathroom mirrors flatter this look and phone selfies destroy it, and neither is the room you are actually standing in.
- In the photograph, the cheeks look like skin and the T-zone looks like nothing in particular. That is the whole result.
- No visible line at the jaw when you tilt your chin down. This is the only edge that matters.
- Somebody says you look well rested, and does not say anything about your makeup.
- If the base has separated into patches by lunch, you skipped the minute of waiting after the primer. Go back to step one.
- If the whole face reads flat and matte in the photo, the powder went too far. Pull it back to the three places and no further.
If something isn't working.
It looks fine at 8am and slides off by lunch.
Almost always the primer. Either it went everywhere instead of the T-zone, or it did not get its minute to set before the base went over it. Both produce the same failure, which is product moving as one sheet rather than staying where you pressed it.
How is this different from under-painting?
Under-painting puts colour down first and covers it. This puts almost nothing down and leaves most of the face uncovered. Under-painting photographs beautifully and needs to be reapplied by two in the afternoon; I gave it up for that reason and wrote it out at on under-painting, and why I stopped.
My skin looks flat rather than bare.
Powder on the cheeks, nine times out of ten. The other time it is too much base in the middle of the face, pressed thin rather than removed. Take a clean corner of the damp sponge and press over the cheekbone — it lifts product without disturbing what is underneath.
The balm on my eyelid is in my crease within the hour.
Then it is not for your eye, and no amount of technique fixes that. Balm on a lid is a trick that works on a smooth, unlined lid and fails predictably on every other kind. It is the one step in this kit with a hard limit.
Can I do this with tinted moisturiser instead of foundation?
Yes, and it is usually better. The step that matters is not what you apply, it is that you apply it in three places and press the rest off. Anything sheer enough to be pressed thin will work here. Anything that sets in ten seconds will not.
“Everyone tries to make this look work by using less product. It works by using product in fewer places. Those are not the same instruction.” — Nelly
Filed by Nelly, from the desk · 5 August · No. 09 · Makeup / Everyday