Preventing and Removing Orange Palms from Self-Tanner
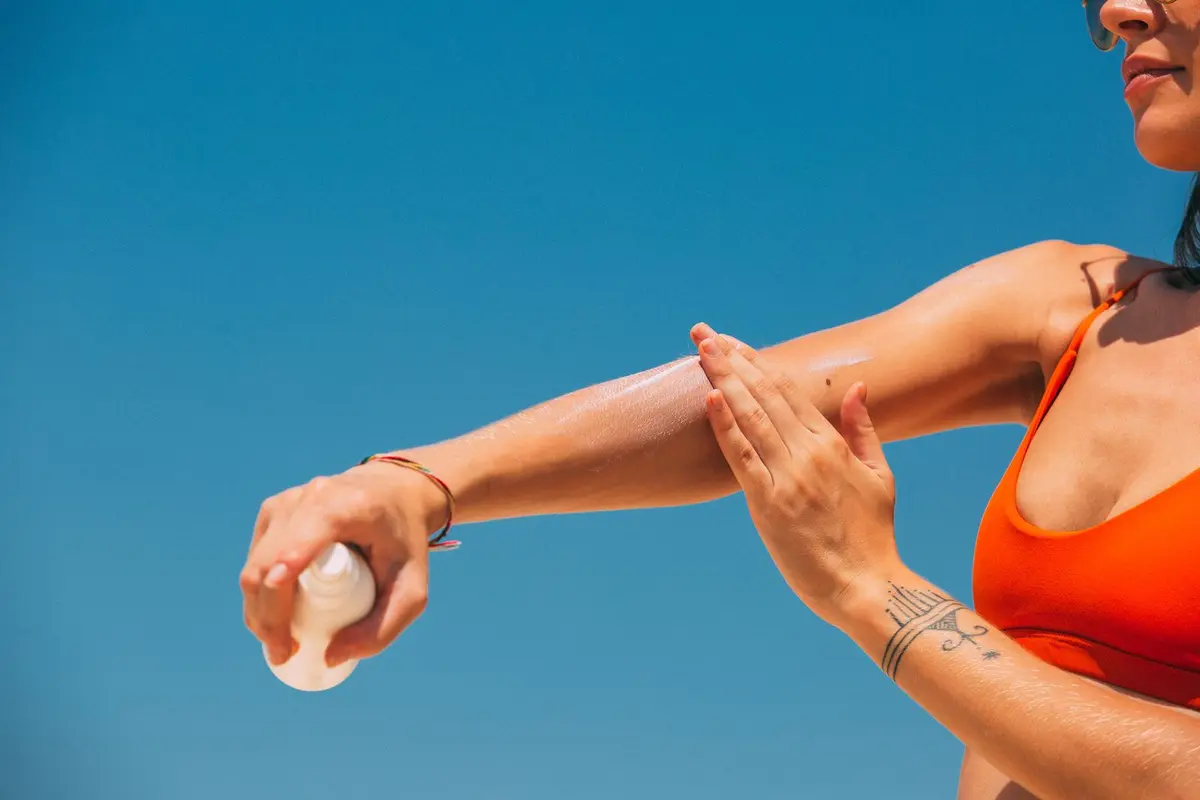
The appearance of orange staining on the palms following self-tanner application is a result of the solution settling into the porous skin of the hands. Because the palms have a different texture and sweat profile than the limbs, they absorb tanning agents more readily. This guide outlines how to create a physical barrier before tanning and how to lift the pigment after it has settled.
There is no need for specialized removers. Standard household items and proper manual technique are sufficient to correct the discoloration.
- Difficulty
- Beginner
- Total time
- 15 minutes
- Cost
- Low
- Cadence
- Weekly application
Ingredients
- Sodium bicarbonate: Provides mild physical exfoliation to lift stained cells
- Citric acid: Assists in breaking down the DHA pigment bond
Tools List
- Petroleum jelly or dense barrier balm
- Self-tanner applicator mitt
- Baking soda
- Fresh lemon juice
Step by step
Apply a dense occlusive layer
Before beginning your body application, apply a generous layer of a heavy, petroleum-based balm or thick body butter to the entire palm surface. Ensure you reach the creases of the fingers and the underside of the wrist. This creates a hydrophobic layer that prevents the tanning solution from adhering to the skin.
Tip: Do not let the balm touch the top of your hands.Use a specialized applicator mitt
Use a high-density foam mitt for the body, keeping your fingers held tightly together. When reaching the hands, use the excess product remaining on the mitt to gently sweep across the knuckles and the back of the hand. Avoid applying any direct solution to the palms.
Tip: Buff the edges where the hand meets the wrist to avoid a hard line.Wipe the palms post-application
Immediately after finishing your body application, take a damp cloth or a makeup wipe and clean the palms thoroughly. Pay attention to the deep lines where pigment is likely to pool. This removes any accidental overspray or transfer.
Tip: Wipe the fingernails as well.Use an abrasive paste for stains
If staining persists, mix equal parts baking soda and lemon juice to create a thin paste. Apply this mixture to the stained areas and rub gently in circular motions for thirty seconds. The mild acidity and physical exfoliation will lift the pigment from the outer layers of the skin.
Tip: Wash with warm water immediately after.Hydrate the skin
Exfoliation can be drying, so apply a plain, non-scented moisturizer to the palms once the stain is removed. This stabilizes the skin barrier and prevents the skin from looking uneven after cleansing.
Tip: Avoid heavy lotions for an hour.
Trouble
Why does the tan always stick to my knuckles?
The skin around the knuckles is thicker and more prone to dryness. Ensure you apply a light layer of moisturizer there before tanning to prevent excessive absorption.
Can I use soap to remove the tan?
Soap is generally insufficient for removing developed pigment. You require a mild abrasive or a chemical-based exfoliator to break the bond between the tanning agent and the skin.
Is the baking soda method safe to use daily?
Daily use is discouraged as it can disrupt the natural skin barrier. Limit this practice to once or twice a week when absolutely necessary.
What if I get tanner in between my fingers?
Use a cotton swab dipped in a small amount of toner to precise-clean the webbing between your fingers immediately after application.
A barrier is more effective than a cure when managing self-tanner.
Consistency is better than intensity when removing stains.
Related: streak and stain fixes, does a hot shower fade self-tan faster and self-tan.