Mastering Foam Self-Tanner Application
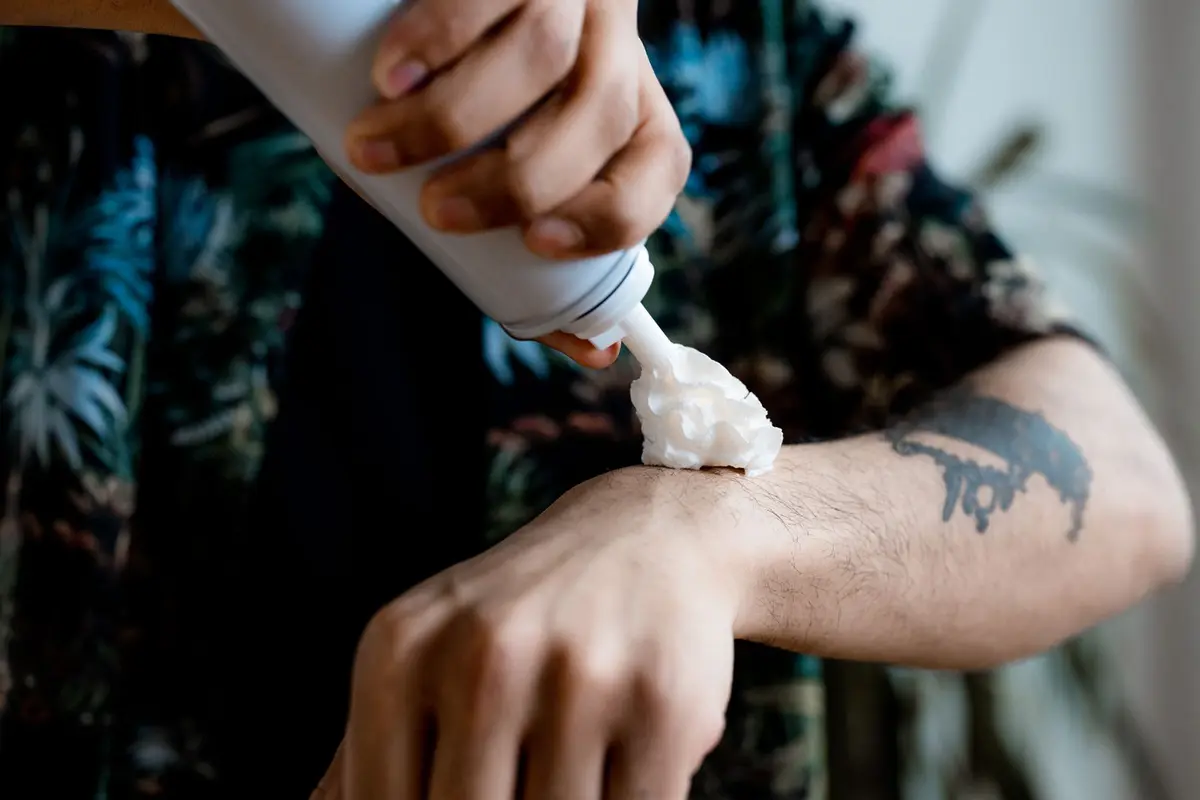
Foam self-tanners are formulated for quick absorption and minimal residue. Unlike creams or oils, which may remain tacky for extended periods, the mousse consistency dries almost on contact.
The use of a dedicated mitt is not a suggestion but a requirement for consistent results. Without this barrier, the liquid collects in the creases of the fingers and palms, resulting in darkened, uneven patches.
- Difficulty
- Beginner
- Total time
- 20 minutes
- Cost
- Low
- Cadence
- Once weekly
Ingredients
- Dihydroxyacetone: The active molecule that interacts with skin surface proteins.
Tools List
- Velvet applicator mitt
- Foam self-tanning mousse
Step by step
Surface preparation
Cleanse the skin thoroughly to remove existing oils or residue. Dry the body completely before beginning the application to prevent streaking caused by trapped moisture.
Tip: Apply a thin layer of lotion to dry areas like knuckles and elbows.Loading the mitt
Place the mitt over your dominant hand. Dispense a golf-ball-sized amount of foam directly onto the center of the mitt surface rather than your skin to maintain control.
Tip: Use light pressure to avoid saturating the foam into the foam backing.Circular motion
Apply the product in circular motions, beginning at the ankles and working upward. Ensure you overlap each pass by one centimeter to cover the entire surface area without gaps.
Tip: Do not skip behind the knees.Managing extremities
Use the residual foam remaining on the mitt for the tops of the hands and feet. Drag the mitt lightly over these areas to avoid oversaturation.
Tip: Keep fingers slightly spread while applying.Drying period
Remain standing or standing in a loose robe until the skin feels entirely dry to the touch. Avoid friction against surfaces or clothing for at least ten minutes post-application.
Tip: Check for missed spots under good light.Cleansing the tool
Rinse the mitt in warm water immediately after use. Hang the mitt to dry to ensure the velvet fibers remain upright for the next application.
Tip: Use mild hand soap if the mitt is heavily saturated.
Trouble
Why is the color streaking?
Streaking usually occurs due to uneven product distribution or skin that was not fully dry. Use circular motions to ensure the product is buffed evenly into the surface.
Can I use my bare hands?
Bare hands absorb the product into the fingerprints and cuticles, causing dark, unnatural stains. A mitt provides a non-porous barrier that holds the product on the skin surface.
What if I missed a spot?
Wait until the application is fully set before attempting a correction. Apply a small amount of foam to a clean cloth and buff the area lightly to blend the edges.
How often should I replace the mitt?
Replace the mitt every three to six months, depending on frequency of use. If the fibers become matted or the material no longer holds the foam, it is time for a new one.
The mitt acts as a buffer between the pigment and the porous skin of your palms.
Speed is your enemy during application. Take your time with the mitt.