Seamless Self-Tan Application: Neck to Face
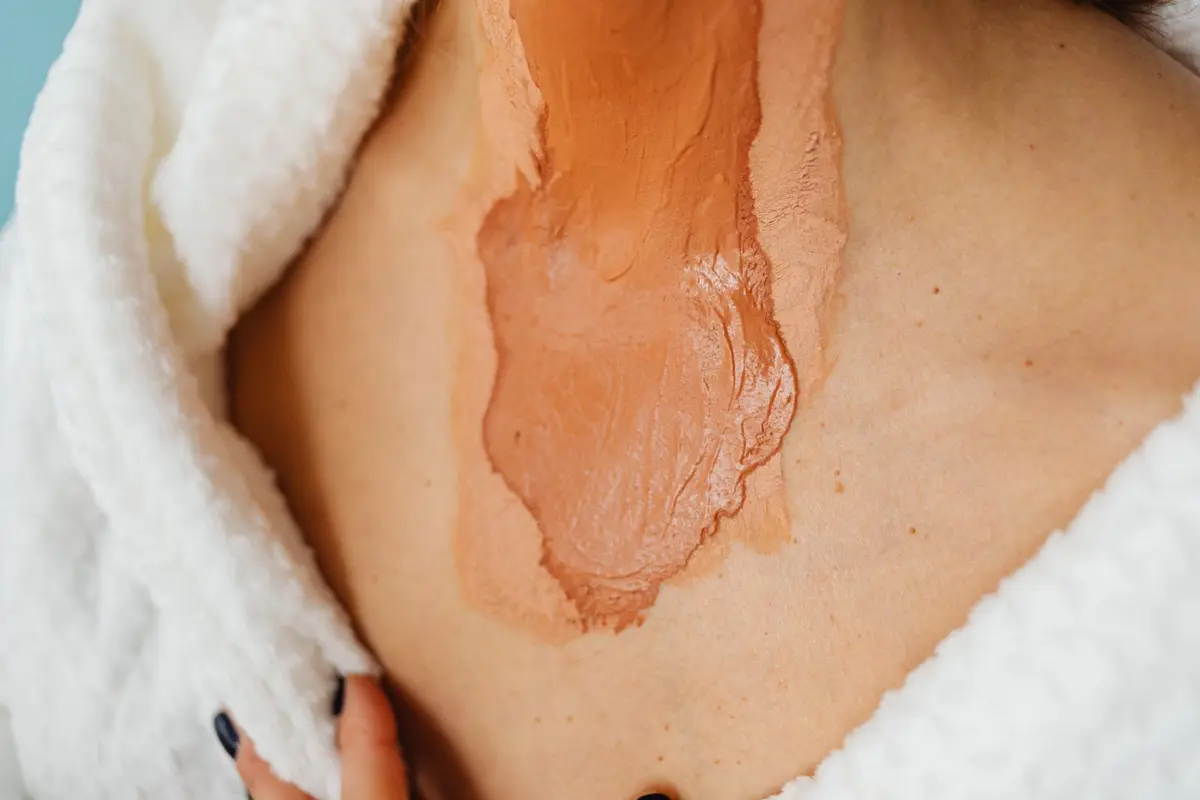
Discontinuity between the face and neck is usually the result of over-application or improper dilution at the perimeter. The goal is a gradient, not a flat layer of pigment applied to two separate planes of the body. Achieving this requires treating the neck and the jawline as a singular blending zone rather than distinct areas.
Preparation is the primary factor in preventing streaks. By thinning the product before it reaches the hairline, you ensure a soft fade that mirrors natural sun exposure.
- Difficulty
- Beginner
- Total time
- 20 minutes
- Cost
- Low
- Cadence
- Weekly maintenance
Ingredients
- Dihydroxyacetone: The active agent that interacts with skin proteins.
- Non-comedogenic moisturizer: Used as a diluent to manage pigment concentration.
Tools List
- Dense, flat-top buffing brush
- Small ceramic or glass mixing dish
- Microfiber cloth
Step by step
Prepare the skin barrier
Cleanse the face and neck thoroughly to remove lingering oils. Apply a light, non-comedogenic moisturizer to the ears, hairline, and the back of the neck. This prevents the tanning agent from grabbing onto dry patches where pigment intensity typically spikes.
Tip: Apply moisture to the eyebrows to prevent orange tinting.Mix the tanning solution
Dispense a small amount of your chosen tanning product into a dish. Add a few drops of your daily facial moisturizer to the formula. This dilution creates a sheerer tint that is easier to control, preventing the heavy saturation that leads to visible lines.
Tip: Use a 1:1 ratio for the first attempt.Application starting at the center
Apply the mixture to the center of the face first. Work outward toward the jawline using a dense, flat-top buffing brush. By the time the brush reaches the perimeter, there should be significantly less product on the bristles, facilitating a natural fade.
Tip: Use circular motions to buff the pigment.Transitioning to the neck
Apply the remaining product from your hands directly to the center of the neck. Sweep upward toward the jawline, but stop approximately one centimeter before the bone. Use the residual product on the brush to bridge the gap between the neck and the jaw.
Tip: Check the ears to ensure they match the neck shade.Refining the edges
Use a damp, clean cloth to wipe the very edges of the hairline and the space directly behind the ears. This removes excess pigment that may have settled into these creases. Ensure the transition at the jaw is smooth by running a clean brush over the area one final time.
Tip: Do not rub; use light blotting motions.
Trouble
Why is there a dark line under my chin?
This occurs when excess product pools in the natural fold of the neck. Use less product in this area and blend upward with a dry, clean brush to redistribute the pigment.
How do I avoid orange ears?
Ears are porous and absorb pigment quickly. Always dilute the product with moisturizer before applying to the ears, or skip them entirely and use a bronzing powder later for a seamless match.
Can I use a body mitt on my face?
Body mitts hold too much product and are designed for large surface areas. They lack the precision required for facial contours and will likely result in an uneven, blotchy finish.
What if the color is too faint?
Resist the urge to add more product immediately. Wait eight hours for the color to develop fully before deciding to apply a second, thinner layer.
A natural tan relies on the gradient of pigment, not the volume of product applied.
Precision is the difference between a calculated aesthetic and a messy accident.
More: face and body mismatch, is it okay to leave the face lighter than the body and self-tan.