Maintaining an Even Self-Tan
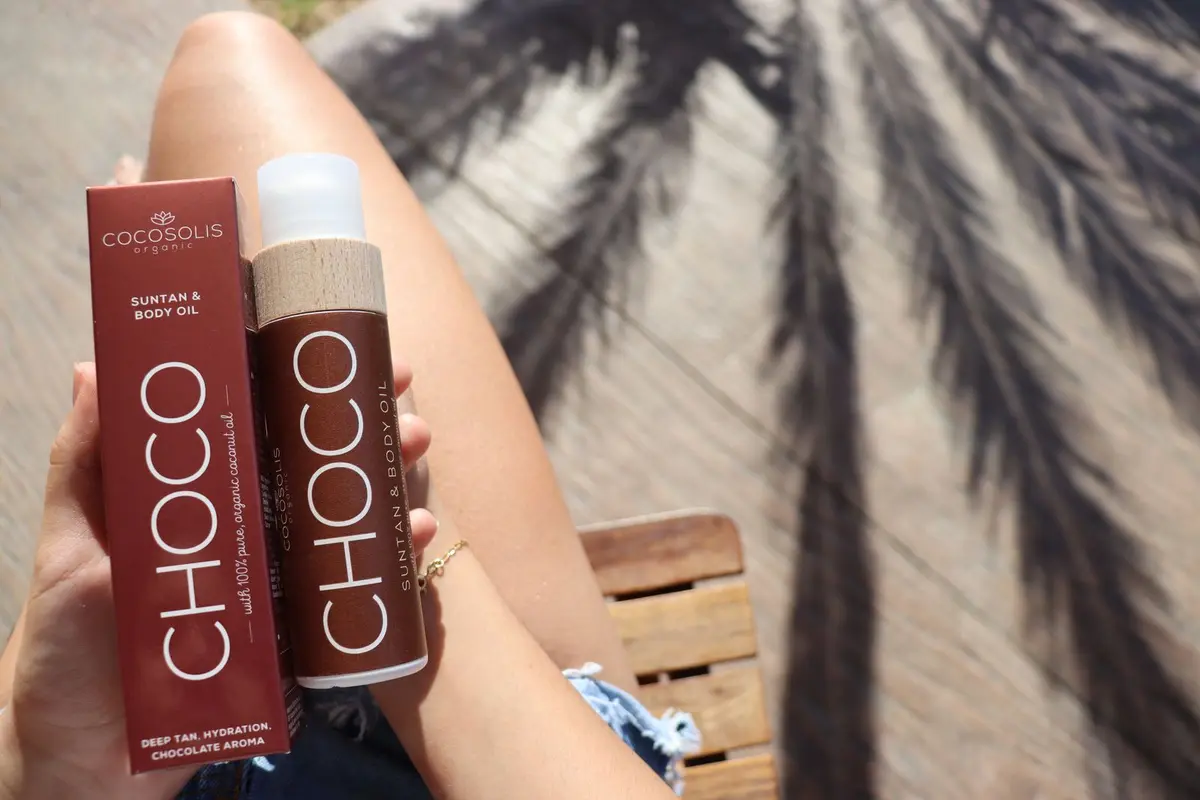
The primary cause of uneven self-tan application is the accumulation of pigment on areas where the skin has not fully shed. Attempting to top up a fading tan with a high-intensity formula often results in an uneven, blotchy finish. Maintaining color requires a subtle approach, favoring hydration over heavy pigment application.
This method relies on thinning your tanning agent and focusing only on high-wear zones. By shifting your perspective from total coverage to targeted adjustment, you prolong the life of your tan while avoiding the dreaded buildup.
- Difficulty
- Beginner
- Total time
- 15 minutes
- Cost
- Low
- Cadence
- Every 3 to 4 days
Ingredients
- Dihydroxyacetone: The active agent that reacts with the skin surface.
- Glycerin: Used in the mixing lotion to ensure even absorption.
Tools List
- Quality applicator mitt
- Scent-free body lotion
- Soft cotton washcloth
Step by step
Prepare the surface
Use a dry washcloth to gently buff away dead cells in a circular motion. Focus specifically on elbows, knees, and the backs of the ankles. Ensure the skin is completely dry before proceeding to the next step.
Tip: Avoid coarse scrubs which may remove too much pigment at once.Dilute your formula
Mix your existing self-tanning mousse or liquid with an equal part of a plain, scent-free body lotion. This creates a diluted solution that provides a sheer wash of color rather than a dark layer. Stir the two components together on your mitt before starting.
Tip: Use a light-colored bowl for easier visibility of the blend.Apply to high-wear areas
Starting at the limbs, apply the diluted mixture to areas that have faded the most. Use long, sweeping strokes to ensure the product is evenly distributed. Do not revisit areas you have already touched to prevent over-saturation.
Tip: Work in front of a mirror with good lighting.Blend the perimeters
Take a clean, dry cloth or a fresh section of the mitt and gently buff the edges of your application. This softens the transition between the refreshed tan and any areas you chose to skip. This step is critical for avoiding hard lines.
Tip: Move quickly while the product is still slightly tacky.Final check and dry
Allow the skin to air dry completely before making contact with fabric. Wear loose, dark clothing to ensure no transference occurs during the setting period. Avoid sweating or showering for the next six hours.
Tip: Use a handheld fan for faster drying times.
Trouble
Why does my tan look orange after topping up?
You are likely applying too much product over existing color. Dilute your tanning agent further with lotion in the future.
Can I use this method every day?
Daily maintenance is unnecessary and may lead to pigment buildup. Stick to a 3-4 day rotation.
What if I get a streak during application?
Buff the area immediately with a clean, damp cloth. The sooner you address it, the easier it is to correct.
Should I moisturize before or after?
Moisturize only the joints before application. Apply lotion to the rest of the body after the tan has fully developed and been rinsed.
A thin layer applied correctly is superior to a thick layer applied in haste.
Less is always more when refreshing color.