A Guide to Shoulder Clay Masking
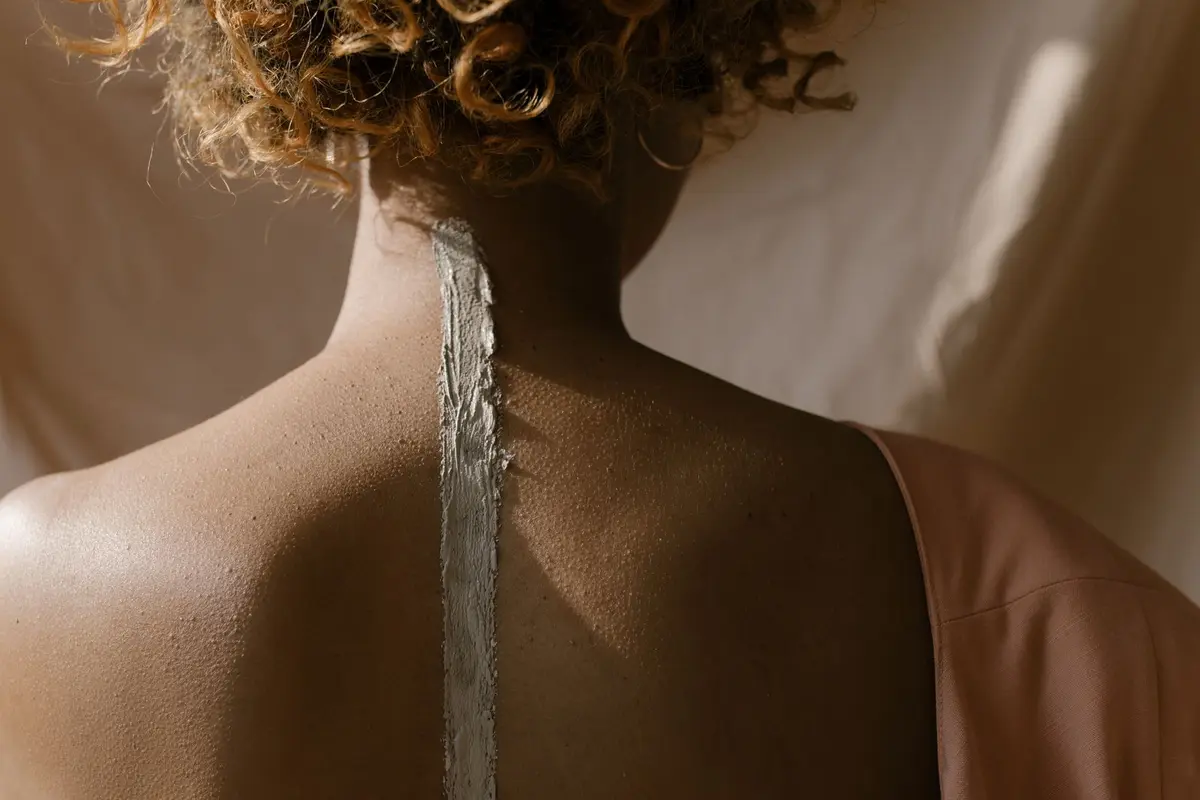
The shoulder area is frequently neglected in standard exfoliation routines, despite being a region prone to surface congestion and dullness. Because the skin here is thicker than that on the face, it can often withstand deeper physical or mineral-based cleansing methods without irritation. A clay mask serves as a mechanical absorbent, drawing out environmental debris trapped in the pores of the upper back.
Correct application is a matter of preparation and timing rather than product quantity. By focusing on the removal of dead skin cells and surface oils, you create a clearer canvas for your subsequent moisturizing routine.
- Difficulty
- Beginner
- Total time
- 25 minutes
- Cost
- Low
- Cadence
- Once weekly
Ingredients
- Kaolin clay: A mild mineral that absorbs excess surface oil without excessive drying.
Tools List
- Synthetic mask brush
Step by step
Prepare the skin
Begin by cleansing the shoulders with a mild, non-stripping soap to remove surface perspiration. Pat the skin dry with a clean towel, ensuring no excess moisture remains. Damp skin will dilute the clay and reduce its absorptive efficacy.
Tip: Tie your hair back securely to prevent stray strands from interfering with the mask.Apply a uniform layer
Using a flat synthetic brush or clean fingertips, spread a thin, opaque layer of clay across the shoulder area. Ensure the coating is even, avoiding any areas where the skin feels sensitive or compromised. Do not apply the product too thickly; a thin layer dries more effectively and provides better surface contact.
Tip: Work in small sections to ensure even coverage.Wait for the setting phase
Allow the clay to dry until it shifts in color and feels firm to the touch. The goal is to reach a point where the clay has absorbed surface oils but has not yet become so dry that it cracks. If you feel significant tightness, you have likely left it on too long.
Tip: Set a timer to avoid over-drying.Remove with warm water
Use a damp, warm microfiber cloth to gently soften the dried clay. Use circular motions to lift the product off the skin, which provides a secondary physical exfoliation. Rinse the area thoroughly with lukewarm water until no residue remains.
Tip: Use a dark towel for cleanup to avoid staining.Seal with hydration
Immediately follow the removal by applying a light, oil-free moisturizer to the damp skin. This step is essential to replenish the hydration lost during the clay masking process. Allow the moisturizer to absorb fully before putting on clothing.
Tip: Wait until skin is completely dry before dressing.
Trouble
Why is my skin red after removing the mask?
Redness often indicates the mask was left on for too long or removed with too much mechanical force. Ensure you use lukewarm water and gentle pressure when wiping.
Can I use this mask on my entire back?
While possible, the back is difficult to reach and monitor. Stick to the shoulders where you have full visual control and can ensure an even application.
How often should I repeat this?
Limit application to once weekly. Exfoliating too frequently can strip the skin of its necessary moisture barrier, leading to compensating oil production.
Does this remove deep impurities?
Clay masks function on the surface level to absorb excess sebum and debris. They do not penetrate deep into the dermis or alter skin structure.
A clean shoulder is not about intensity, but about consistent, measured mineral absorption.
Focus on the shoulders. The rest of the back is a logistical challenge best avoided at home.
More: body masks, body exfoliation and which body oils absorb fastest.