Mastering the Cool-Air Diffuse
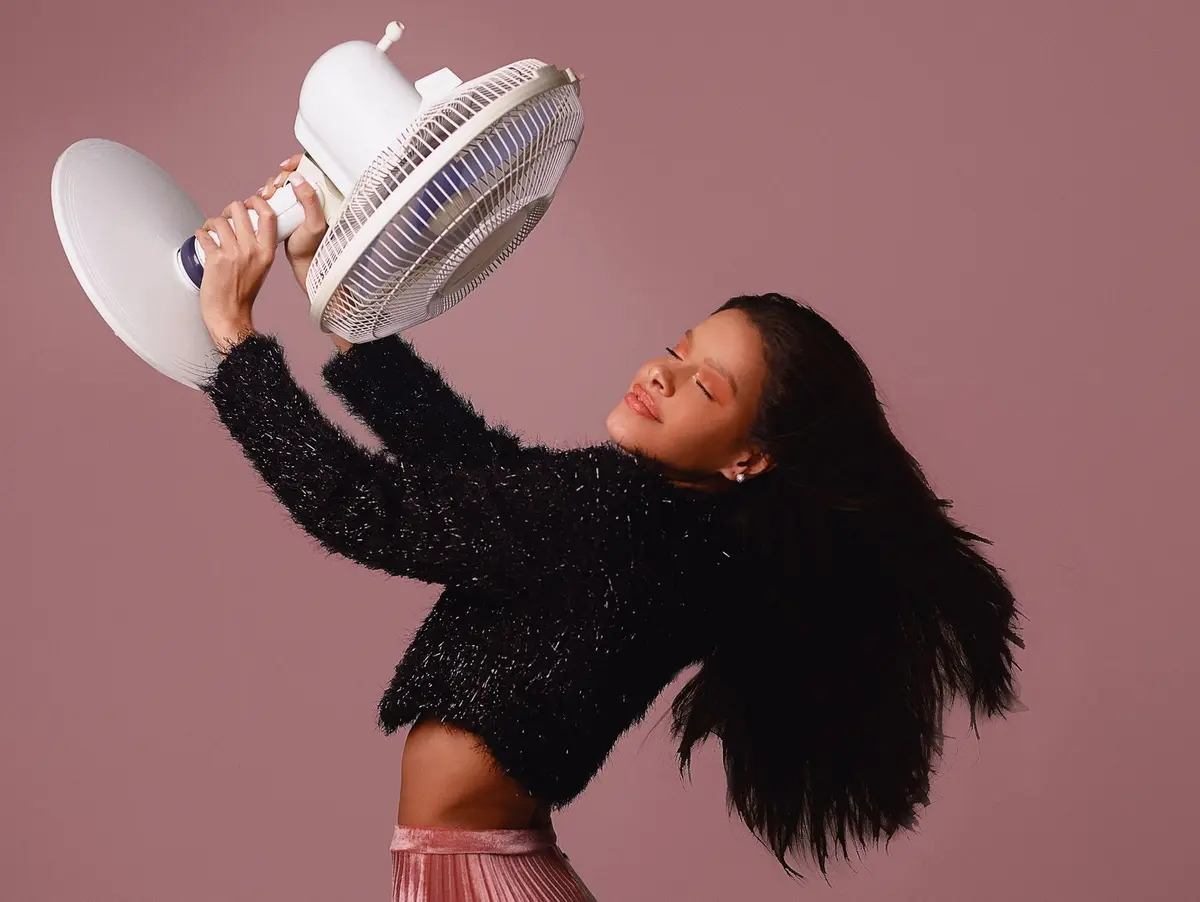
Most curly hair routines conclude the moment the dryer is switched off. This oversight ignores the mechanics of hair styling, where thermal energy dictates the structural state of the hair strand. Heat makes the hair pliable, but cool air is what sets the shape.
By adding a final, dedicated cool-air diffuse cycle, you force the cuticle to close, which reduces friction and locks the curl pattern in place. This practice is the difference between a style that wilts by midday and one that maintains integrity for the duration of the cycle.
- Difficulty
- Beginner
- Total time
- 15 minutes
- Cost
- Minimal
- Cadence
- Weekly or per wash
Ingredients
- Distilled Water: Use to re-dampen only if necessary
Tools List
- Dryer with cool-shot function
- Diffuser attachment
- Wide-tooth comb
Step by step
Initial dry until 80 percent
Begin your drying process using medium heat and low airflow. Move the diffuser around the head in circular motions without touching the scalp too aggressively. Stop when the hair is mostly dry, but still retains a faint feeling of moisture.
Tip: Avoid over-drying the ends, as they lose moisture faster than the roots.Toggle the thermal setting
Locate the cool-shot button or the cold air toggle on your dryer handle. Switch the air temperature to its lowest setting while keeping the dryer running. Do not turn the dryer off between switching modes, as this can lead to uneven cooling.
Tip: Test the air on the back of your hand to confirm it is genuinely cold.Diffuse with cool air
Return the diffuser to the hair, moving in slower, wider circles than you did during the heat phase. Focus on the crown and the nape of the neck where moisture tends to linger. The cool air will feel firm and should not blow hair out of its clumped formation.
Tip: Keep the dryer at least three inches away from the scalp to avoid tangling.The gravity-defying hover
Tilt your head to the side and hold the diffuser at a distance, letting the cool air wash over the hair. This method ensures that the weight of the water does not stretch the curls as they dry completely. This step stabilizes the lift at the roots.
Tip: Use a wide-tooth comb to gently lift the roots while the cool air hits.Final check
Touch the hair lightly. If any area feels cold or damp, apply short bursts of cool air only to those spots. Once all areas are room temperature and dry, remove the diffuser.
Tip: If the hair feels warm, keep diffusing until it reaches room temperature.
Trouble
Why is my hair still damp after the cool cycle?
You likely transitioned to the cool-air phase too early. Ensure the hair is at least 80 percent dry before switching the temperature, as cool air is not efficient at evaporating water.
Can I use high-speed air with the cool setting?
High speed can disrupt curl formation, even with cool air. Use the low-airflow setting to maintain the integrity of the curl clumps.
My dryer does not have a cool-shot button. What now?
If your dryer lacks a dedicated cold setting, it is not suitable for this technique. A constant temperature of low heat will not provide the same structural stabilization.
Is this damaging to my hair?
No. Cool air is the safest way to finalize a style because it lacks the thermal energy required to alter the hair protein structure.
Cool air is the structural anchor that prevents your style from collapsing before the day is out.
Consistency in temperature control is the mark of a well-executed routine.
See also: curly finishing, how to blow dry without it looking blow-dried and hair technique.