Choosing Your Pixie: Classic vs. Textured
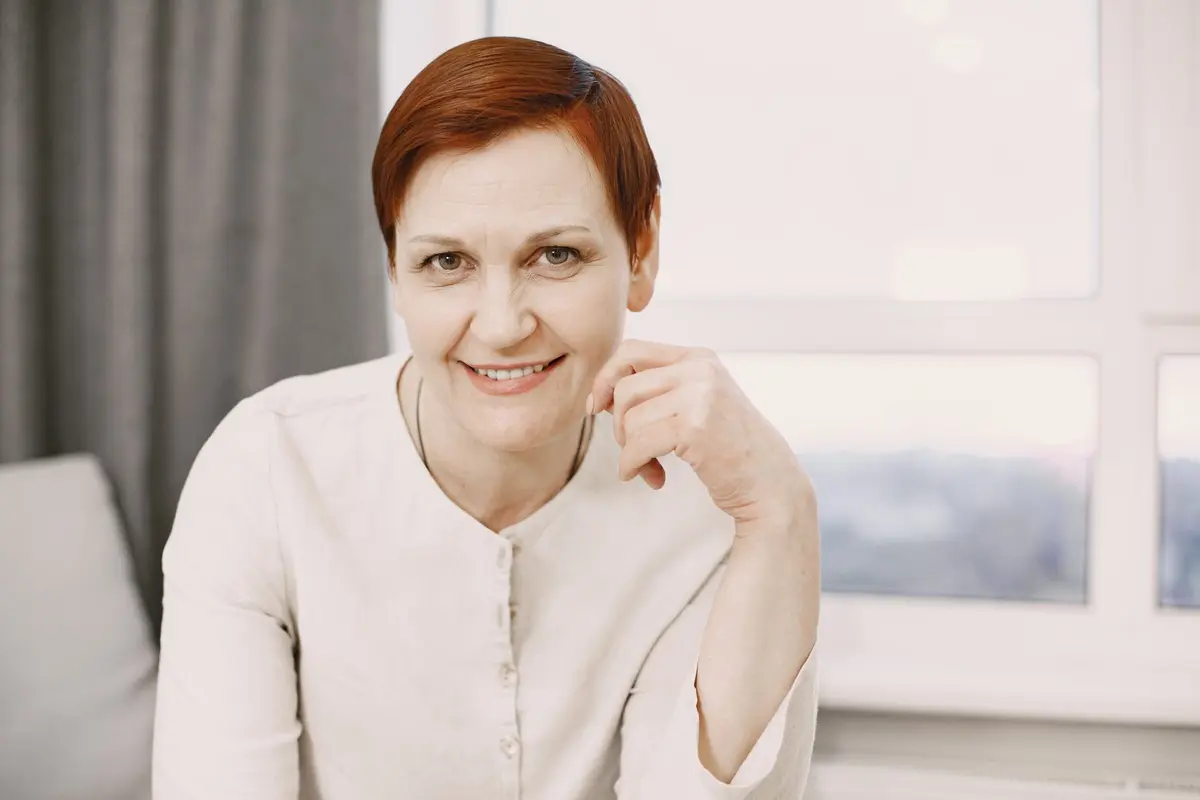
The decision between a classic pixie and a textured pixie relies on how you intend to interact with your hair on a daily basis. A classic pixie favors clean lines, geometric precision, and a silhouette that prioritizes shape over volume. In contrast, the textured pixie utilizes irregular lengths to promote movement and a softened appearance that requires more mechanical manipulation.
Selecting the appropriate style is a matter of hair density and the time available for styling. While both cuts rely on short lengths to frame the face, their upkeep requirements diverge significantly once you leave the chair.
- Difficulty
- Beginner
- Total time
- 15 minutes
- Cost
- Low maintenance investment
- Cadence
- Weekly refinement
Ingredients
- Sea Salt: Provides the grip necessary for textured styles.
- Beeswax: Offers the hold required for smoothing classic lines.
Tools List
- Wide-tooth comb
- Blow dryer
- Styling pomade or matte clay
Step by step
Assess your hair weight
Before styling, observe where your hair naturally falls without product. Fine hair often benefits from the blunt ends of a classic pixie to create the illusion of thickness. Thicker hair textures generally require the internal layering of a textured pixie to reduce bulk and prevent a helmet-like appearance.
Tip: Comb through damp hair to identify natural growth patterns.Apply product to damp hair
For a classic pixie, use a lightweight smoothing cream to encourage alignment. For a textured pixie, apply a sea salt spray or texturizing mousse from root to tip. Ensure the product is distributed evenly to avoid localized weight that ruins the intended silhouette.
Tip: Use a nickel-sized amount of product to prevent buildup.Execute the dry
Use a low-heat setting on your blow dryer. For the classic style, aim the nozzle downward to flatten the cuticle and maintain order. For the textured style, use your fingers to scrunch the hair upward while drying, encouraging the varied lengths to stack and separate.
Tip: Maintain constant motion to prevent heat damage.Define the structure
Once dry, apply a finishing agent. Use a pomade for the classic cut to lock down stray hairs and maintain the geometric edges. Use a matte clay or styling paste for the textured cut, pulling at individual strands to highlight the variation in layer lengths.
Tip: Work in small sections for better precision.Final inspection
Examine the profile in a mirror to ensure no sections are collapsing. A classic pixie should look uniform, while a textured pixie should appear intentional, with no chaotic or flat patches. Adjust any misaligned strands by smoothing or lifting as needed.
Tip: Use a hand mirror to check the nape of the neck.
Trouble
My textured pixie looks frizzy.
You are likely using too much product or handling the hair while it is still damp. Ensure you only touch the hair once the clay is applied and the hair is fully dry.
The classic pixie feels flat.
Blunt cuts rely on structure; if it is flat, your product is likely too heavy. Switch to a weightless spray rather than a wax or cream.
The back is sticking up at awkward angles.
This is a common issue with short hair. Use a small amount of pomade and a fine-tooth comb to press the hair against the scalp while it is slightly damp.
I want more movement in my classic cut.
You cannot achieve significant movement in a blunt cut without changing the internal structure. Consult your stylist about adding subtle weight-removal layers.
A classic pixie is an exercise in order; a textured pixie is an exercise in movement.
The difference is rarely about the hair itself, but about your willingness to manipulate it daily.
More: pixie, taper vs fade and choosing your lob.