A Guide to Growing Out a Pixie
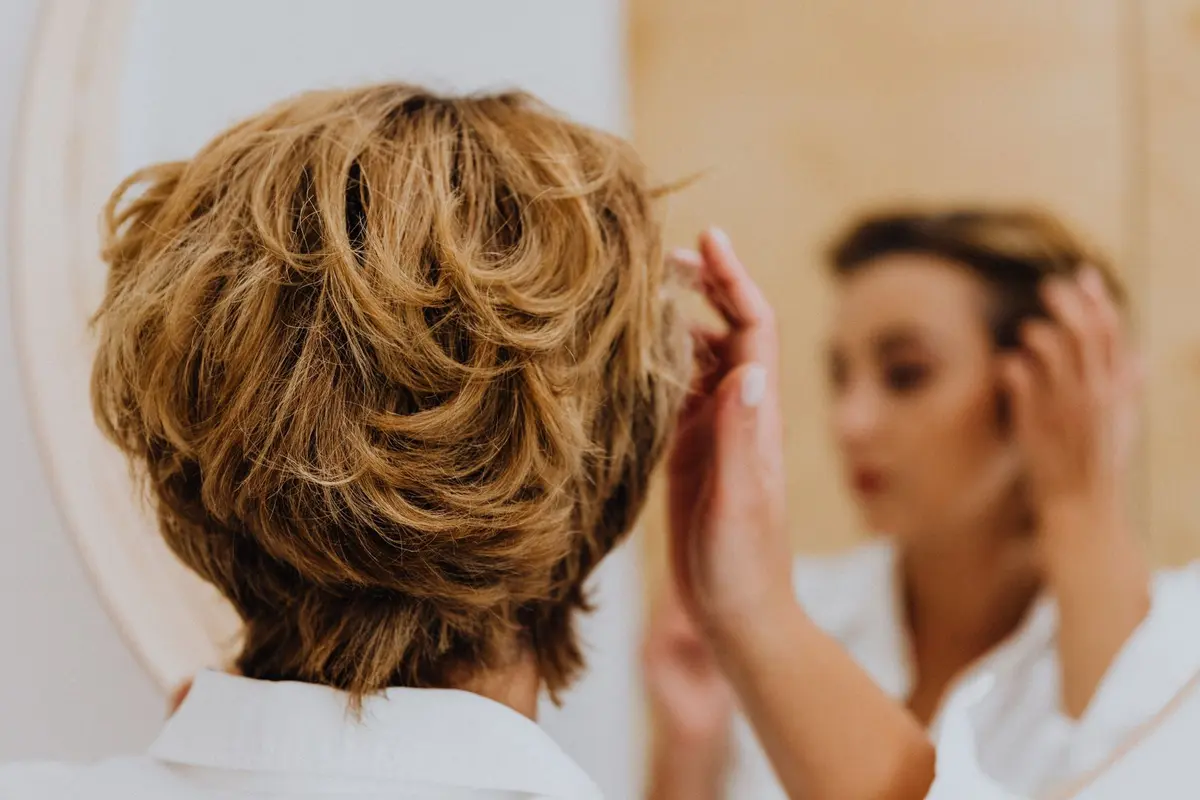
The primary challenge when growing out a pixie cut is the loss of intended shape. As the hair gains length, the weight distribution shifts, often leading to an awkward aesthetic in the nape and ear areas. Success relies on resisting the urge to cut the top while periodically refining the bottom.
Transitioning from a crop to a bob involves navigating six distinct stages of growth. Each stage requires a shift in styling strategy to maintain order while hair reaches its next milestone.
- Difficulty
- Beginner
- Total time
- 6 to 12 months
- Cost
- Low
- Cadence
- Monthly maintenance
Ingredients
- Sea salt spray: Provides temporary texture to blend layers
Tools List
- High-quality professional shears
Step by step
Maintain the nape
Visit a stylist to trim the hair at the neckline, allowing the sides and back to catch up to the crown. Keep the silhouette tidy by tapering the edges to avoid a bulky look. This establishes a clean perimeter while length accumulates at the top.
Tip: Use a light pomade to keep the shorter layers in place.Manage the ear growth
Hair around the ears begins to grow outward, which often creates an unwanted width. Use small clips or styling cream to tuck the hair back, creating a smooth line. Avoid thinning the hair, as you need that density for the upcoming bob shape. Focus on brushing the hair away from the face to maintain a structured appearance.
Tip: Bobby pins are useful for managing wispy sections.The awkward layer phase
This is the point where the top and bottom meet in an uneven layer. You can introduce a slight texturizing trim to blend the disparate lengths. Focus on distributing the weight of the hair to prevent a mushroom-like shape. A light application of sea salt spray can help blend textures.
Tip: Avoid heavy oils that flatten the hair.Transition to a micro-bob
By now, the hair has reached the top of the ear and the base of the neck. You are effectively at a micro-bob length. Ask for a blunt trim across the bottom to create a cohesive line. This creates a deliberate style rather than an accidental one, making the next phase of growth easier to manage.
Tip: A blow-dry round brush helps achieve a polished finish.Refine the perimeter
As the hair approaches chin length, the goal is to keep the ends healthy. Regular micro-trims every eight weeks will prevent split ends from traveling up the hair shaft. Keep the style sleek to emphasize the growing shape. Continue to avoid heat-intensive tools, opting for air drying when possible.
Tip: Apply a leave-in conditioner to damp ends.The graduated bob
At this final stage, the hair reaches the jawline. A graduated cut—slightly shorter in the back, longer in the front—will provide a professional look while you continue to gain length. This shape is inherently forgiving and requires less frequent maintenance than a shorter cut. Your pixie is now a bob.
Tip: Deep condition once weekly to maintain elasticity.
Trouble
Why does my hair look like a mushroom?
Schedule a trim to remove weight from the nape while leaving the crown length untouched.
Can I use hair extensions?
Extensions put tension on shorter, fragile hair. Stick to temporary styling accessories like headbands to bridge the length gap.
How often should I trim?
Every six to eight weeks is the standard cadence to remove split ends without sacrificing the progress of your length.
What if my hair texture changes?
Hair texture can appear to change as it gains weight and length. Adjust your products to match the new weight of your hair, switching from creams to lighter serums.
A transition is not a lack of style, but a sequence of deliberate shapes.
Consistency in maintenance prevents the most common growing-out pitfalls.
More: growing out, pixie and choosing your lob.