Maintaining Your Fringe at Home
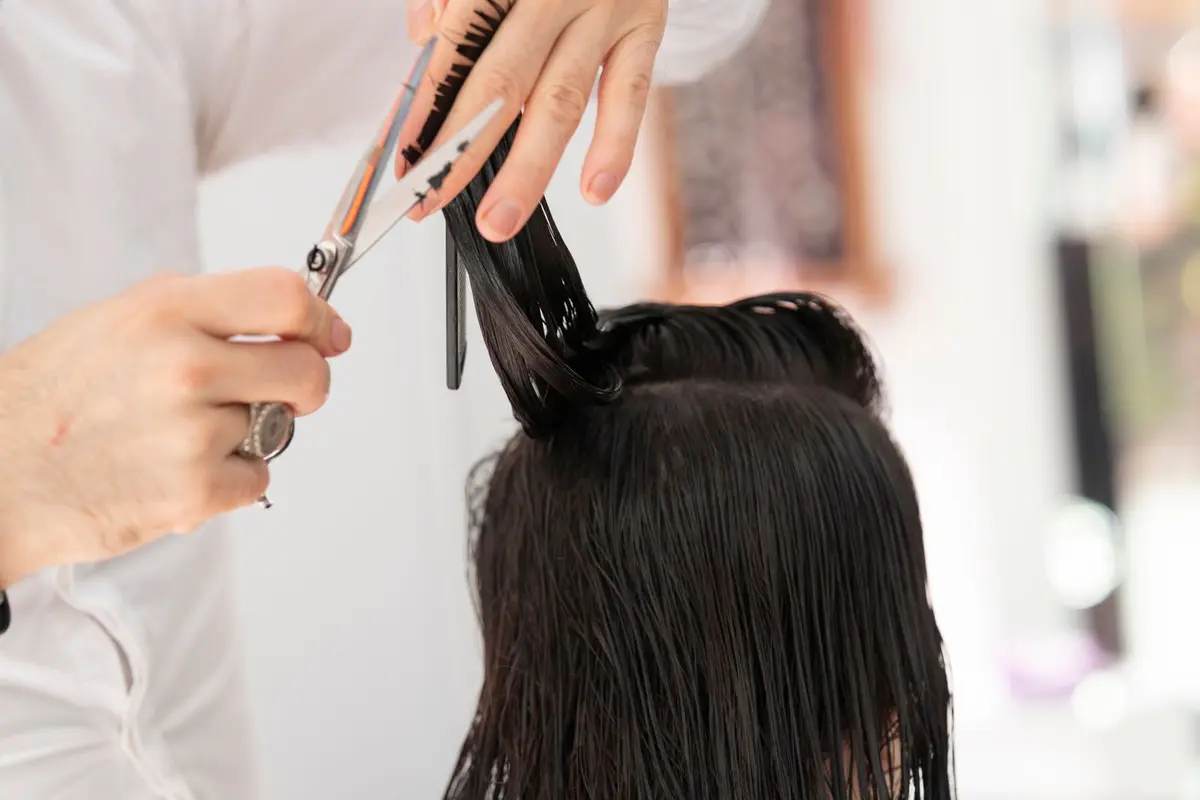
A fringe requires consistent attention to remain functional and visually balanced. Allowing it to grow past the bridge of the nose inevitably leads to obscured vision and unwanted weight at the perimeter. This guide details the manual process of shortening length while maintaining the original cut architecture.
Correct technique relies on hair being entirely dry and undisturbed by styling product. Wet hair contracts when it dries, often leading to an accidental short-cut that is difficult to correct.
- Difficulty
- Beginner
- Total time
- 15 minutes
- Cost
- Tool investment only
- Cadence
- Every 3 to 4 weeks
Ingredients
- None: No products are required for this maintenance task.
Tools List
- Professional-grade hair cutting shears
- Fine-tooth comb
- Sectioning clips
- High-visibility mirror
Step by step
Prepare the section
Isolate the fringe by sectioning it into a triangle that extends no further back than the highest point of the head. Comb the hair forward toward the face until it lies flat and smooth. Ensure the remainder of your hair is pinned back securely to prevent accidental interference.
Tip: Use a wide-tooth comb for detangling before switching to a fine-tooth comb for precision.Establish the guide
Select a small vertical strand in the center of the fringe. Use your fingers to pull the hair downward, stopping exactly where you want the final length to sit. Cut this small section horizontally as your permanent guide, taking off no more than half a centimeter at a time.
Tip: Keep your fingers tensioned firmly but not stretched, as over-stretching results in uneven lines.Follow the perimeter
Using your center guide, bring the rest of the fringe to meet the length established. Work in small sections from the center outward to the left, then repeat on the right. Maintain a consistent angle with your scissors, aiming for small, deliberate snips rather than one continuous motion.
Tip: Align your scissors parallel to the floor for a blunt finish or hold them vertically for a softer, textured edge.Point-cut to soften
If the edge appears too heavy or blunt, hold the ends of the hair vertically. Using the tip of your shears, make tiny snips upward into the ends of the hair. This removes the harsh line while preserving the overall shape and density.
Tip: Hold the shears at a 45-degree angle to the ends for the most natural result.Review and refine
Comb the hair again to check for any stray pieces that were missed. Check the symmetry from both sides by looking straight into the mirror, ensuring the fringe is balanced. If any piece is longer than the rest, make a final correction.
Tip: Check the fringe again after blowing it dry with a round brush to ensure the shape holds correctly.
Trouble
The fringe is shorter than intended.
Avoid pulling the hair tight while cutting. Allow the hair to fall naturally against the forehead to ensure accuracy.
The line is jagged and uneven.
Check your tension. Use a fine-tooth comb to ensure each section is smooth and distributed evenly before making your next cut.
The fringe looks too heavy.
Increase the frequency of point-cutting. This technique removes weight without compromising the overall length of the fringe.
One side is longer than the other.
Use a level or straight edge to compare sides. Stand directly facing the mirror and adjust the longer side until it matches the shorter, established side.
A fringe should be trimmed incrementally to ensure the integrity of the original shape remains intact.
Precision is preferable to speed when working with hair scissors.
Related: fringe, cut and style and tinting hair darker at home.
Related: fringe, bangs types and curtain bangs.