Curly Fringe: Why Dry-Cutting Matters
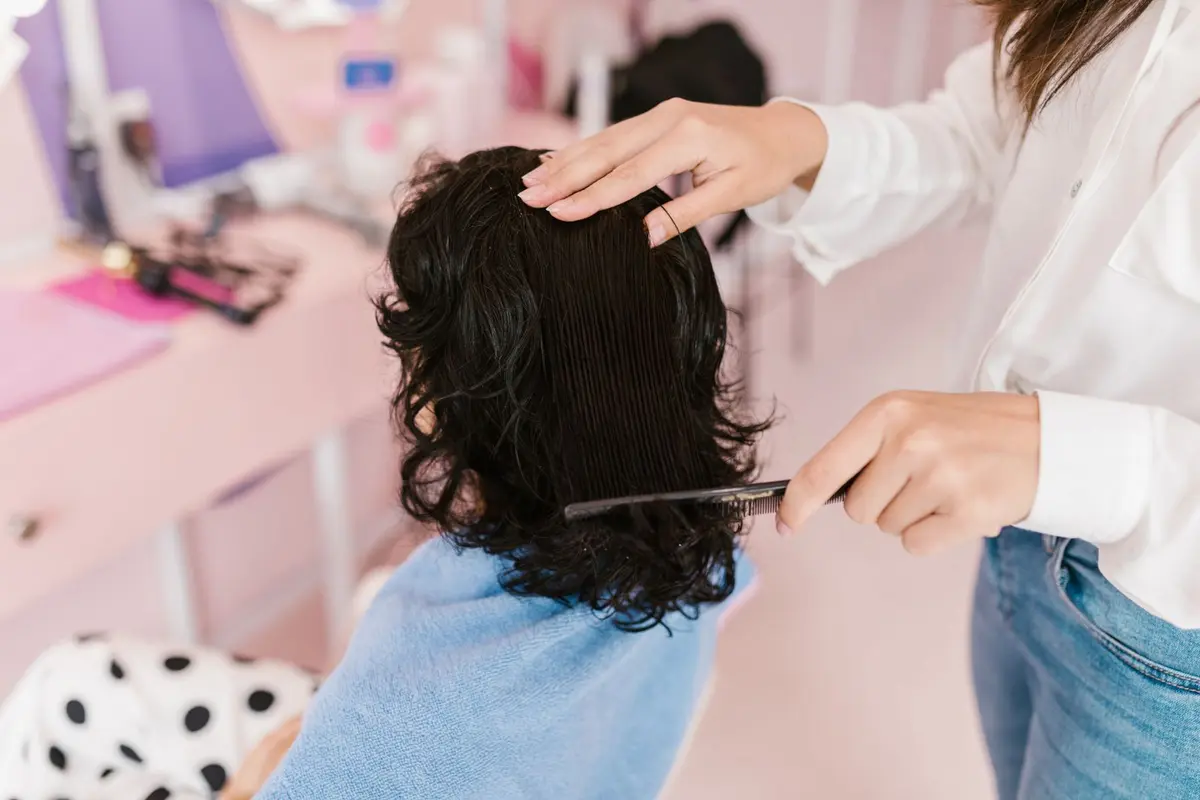
Curly hair possesses a structural memory that resets only when dry. When you introduce a fringe to a curly silhouette, cutting while wet provides a false sense of length that disappears the moment the hair regains its natural state. A dry-cut ensures the fringe rests at the intended length, respecting the recoil of each individual curl.
The objective here is to shape the fringe as it will appear in daily life. By cutting in the dry state, you maintain control over the volume and the precise point where each coil lands against the forehead.
- Difficulty
- Beginner
- Total time
- 45 minutes
- Cost
- Low
- Cadence
- Quarterly trim
Ingredients
- None: Dry cutting relies strictly on mechanical technique, not chemical aid.
Tools List
- Professional hair-cutting shears
- Sectioning clips
- Fine-tooth comb
Step by step
Clean and air dry
Wash your hair as usual and allow it to air dry completely without products that leave a heavy residue. It is critical that your curls are in their natural, product-free formation. Avoid brushing or combing once dry, as this disrupts the coil pattern and creates inaccurate tension.
Tip: Apply a light leave-in conditioner only if your hair is prone to static.Isolate the fringe
Divide the front section of your hair into a triangle shape, beginning at the apex of your head and ending at the outer corners of your temples. Ensure the section is symmetric. Tie back the remaining hair to prevent accidental contact with your scissors during the process.
Tip: Use a fine-tooth comb for a clean parting line.Assess curl recoil
Pull the section forward and observe where the longest curls fall naturally. Choose the desired length at the center of your forehead, noting that curls will spring up significantly once cut. Never pull the hair taut against the skin, as this creates tension that leads to cutting too short.
Tip: Observe your curl pattern in the mirror to identify the strongest coils.Point cut the ends
Use sharp hair shears to point cut the fringe, cutting vertically into the ends rather than a blunt horizontal line. This softens the edges and allows individual curls to sit naturally together. Work on one curl at a time, trimming only a small amount at first to gauge the result.
Tip: Always err on the side of leaving more length.
Trouble
My fringe is shorter on one side.
This is often due to uneven tension during the cut. Check your parting for symmetry and trim the longer side using the shorter side as a visual guide.
How much length should I remove?
Remove half the length you think you need initially. You can always trim more, but you cannot add length back once it is removed.
The fringe looks bulky.
Bulk is usually a sign of too much hair in the section. Remove a small amount of hair from the underside of the fringe to reduce volume.
My scissors feel dull.
Dull scissors pull the hair rather than cutting it cleanly, which ruins the curl structure. Ensure your shears are intended for human hair and are properly maintained.
A dry-cut ensures the fringe respects the recoil of each individual curl.
Dry cutting is the only reliable method for textural consistency.
See also: fringe, cut and style and the big chop: preparing for a transition.