Styling Curtain Bangs Without a Round Brush
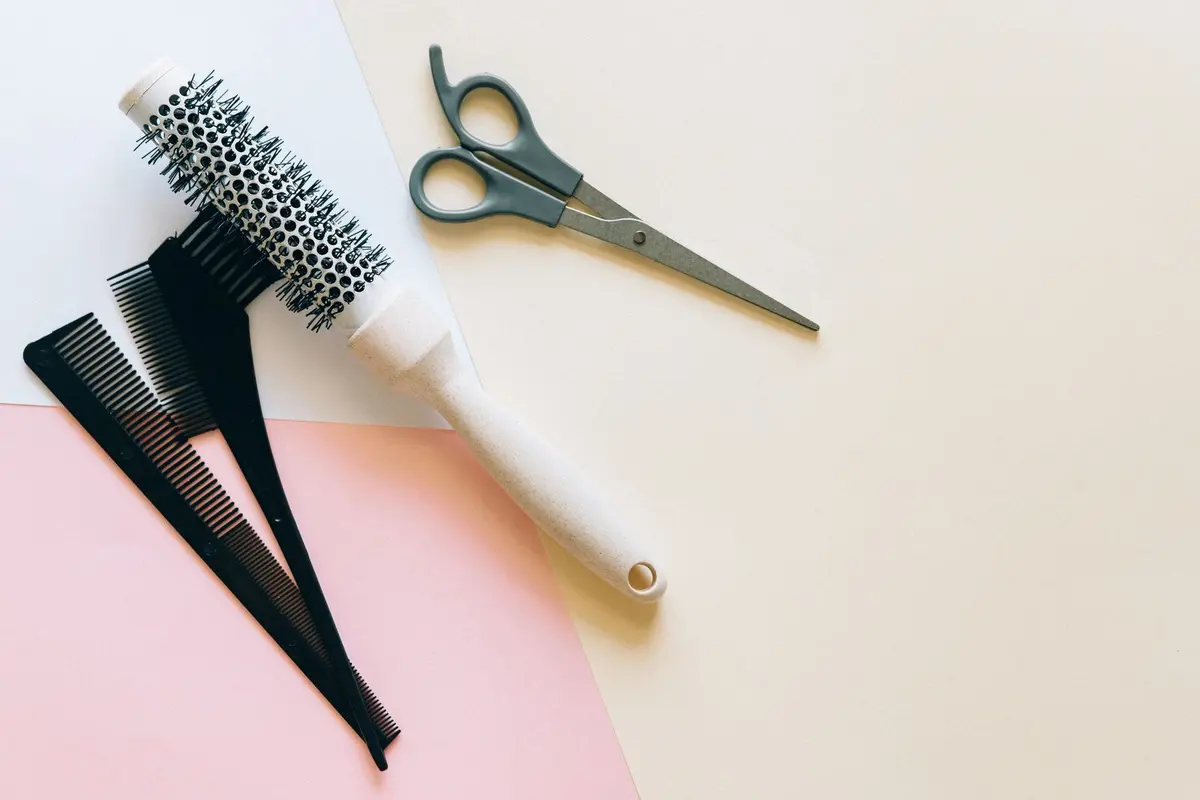
The round brush is frequently cited as the necessary tool for curtain bangs, yet it often creates tension that leads to breakage or unwanted frizz. By moving away from circular tension, you gain more control over the direction and severity of the sweep.
This method relies on heat-styling with a flat iron or simple directional drying to encourage the hair to sit away from the face. Both techniques offer a cleaner finish for those who prefer a less voluminous, more polished look.
Practice is required to find the correct angle of the wrist. Once mastered, this approach consistently yields soft, face-framing results without requiring complex dexterity.
- Difficulty
- Beginner
- Total time
- 10 minutes
- Cost
- Minimal
- Cadence
- Daily or as needed
Ingredients
- Heat protectant spray: Creates a barrier against thermal damage
- Light-hold hairspray: Maintains the sweep without weighing hair down
Tools List
- Flat iron with adjustable heat
- Hair dryer
- Wide-tooth comb
- Sectioning clips
Step by step
Prepare damp hair
Begin with freshly washed or lightly dampened hair. Apply a small amount of heat protectant to ensure the ends do not become brittle under the iron. Comb through to remove tangles and part the hair exactly where your curtain bangs reside.
Tip: Use a wide-tooth comb for even product distribution.Direct the airflow
Use a hair dryer on a medium heat setting without a brush. Aim the nozzle downward at the roots of your bangs while pushing the hair back and away from your forehead with your fingers. Continue until the hair is 90 percent dry.
Tip: Keep the dryer moving constantly to avoid hot spots.Section the fringe
Separate your bangs from the rest of your hair using clips. Take one side of the fringe and pull it forward, holding the flat iron horizontally at the root. Ensure the iron is not clamped too tightly to avoid creating a harsh crease in the hair.
Tip: Avoid touching the skin with the hot plates.Rotate the iron
Glide the flat iron slowly toward the ends of your bangs. As you reach the midway point, rotate your wrist outward, directing the hair away from your face. Follow the path of the hair to ensure a smooth, rounded shape without sharp angles.
Tip: A fluid, continuous movement is key.Set the shape
Let the hair cool completely before touching it or tucking it behind your ears. Once cool, use your fingers to rake through the bangs once to break up the sections. If needed, apply a light-hold finishing spray to maintain the position.
Tip: Cooling locks in the shape.
Trouble
The bangs keep falling into my eyes.
You may be drying the roots in the wrong direction. Ensure you are directing the hair back and away from the center part while drying, rather than straight down.
My hair feels crispy after using the iron.
Your iron temperature is likely set too high. Adjust the heat to the lowest setting that still manages to shape the hair, and ensure a heat protectant is applied.
There is a permanent dent where I started the iron.
You are clamping the iron before you have started the movement. Begin moving the iron through the hair the moment it closes on the section to avoid static pressure.
The shape disappears after an hour.
Ensure the hair is fully cooled before you begin styling or moving it. Rapid movement while the hair is still warm prevents the cuticle from setting in the desired curve.
A fluid, continuous movement is more important than heat intensity when creating a soft, swept-back shape.
Consistency in your wrist angle will dictate the success of the shape more than the brand of your tools.
More: curtain bangs, how to blow dry without it looking blow-dried and cut and style.