How to Create Goddess Braids
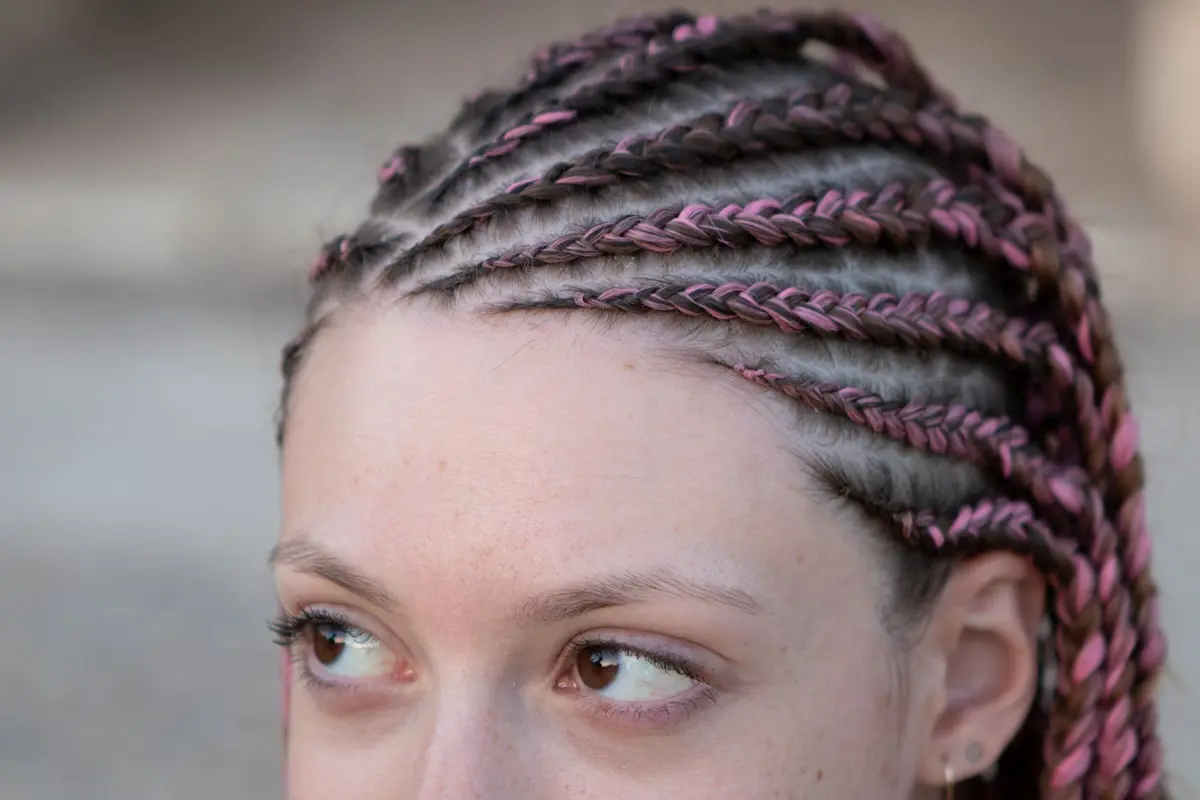
Goddess braids are thick, chunky braids created by adding extension hair for volume and length, braided loosely for a soft, romantic finish.
Step by step
Prep your base
Start with clean, detangled hair that's about 70% dry. Apply a leave-in conditioner and light styling cream to create grip. Part your hair into 2-4 sections depending on how many braids you want.
Add the extensions
Take a section of extension hair twice the thickness you want your final braid. Fold it in half and loop it around your natural hair section about 2 inches from your scalp. This creates three working strands.
Begin braiding loosely
Start a regular three-strand braid, but keep the tension relaxed. The key is maintaining consistent looseness throughout rather than pulling tight like traditional braids.
Add hair gradually
Every few inches, add small pieces of extension hair to maintain thickness. Incorporate them naturally into your existing strands rather than starting new sections.
Secure and soften
Tie off with a clear elastic, leaving some length loose. Gently tug at the edges of each braid section to create more volume and the characteristic soft, undone goddess effect.
Questions people ask
What type of extension hair works best?
Kanekalon or synthetic braiding hair gives the best grip and holds the loose texture better than human hair.
How long do goddess braids last?
About 1-2 weeks with proper care, since they're meant to look soft and lived-in rather than perfectly tight.
Can I sleep in goddess braids?
Yes, but wrap them in a silk scarf to prevent frizzing and maintain the shape.
Variations
- Crown goddess braids: Two braids that wrap around your head like a crown, secured with bobby pins.
- Side-swept goddess braid: One dramatic braid that starts from a deep side part and drapes over one shoulder.
- Double goddess braids: Two thick braids that hang straight down, the most classic goddess braid style.