The Sponge Doesn't Need to Be Expensive. It Needs to Be Thrown Out.
How to actually deep-clean a makeup sponge — and the honest, three-month rule for when to throw it out. The brand matters far less than the schedule.
How to actually deep-clean a makeup sponge — flush the core, don't just rinse the colour — and the honest three-month rule for when to throw it out. The brand matters far less than the schedule; buy an inexpensive multipack and retire the oldest on a calendar.
The makeup sponge is the one tool in most bathrooms that gets replaced on feel rather than on schedule. It gets darker, then a little ragged at the point, then it starts to smell faintly of the inside of a handbag, and at some point after that — usually well after that — it goes in the bin. In the meantime it has been pressed against your face every morning, damp, and then left to dry in a drawer.
I have seen people spend a remarkable amount of money on a single sponge and then keep it for a year. I have done a version of this myself, and I am not proud of it. The expensive sponge, kept too long, is worse than an ordinary one replaced on time. The surface may look fine. It is the middle that matters.
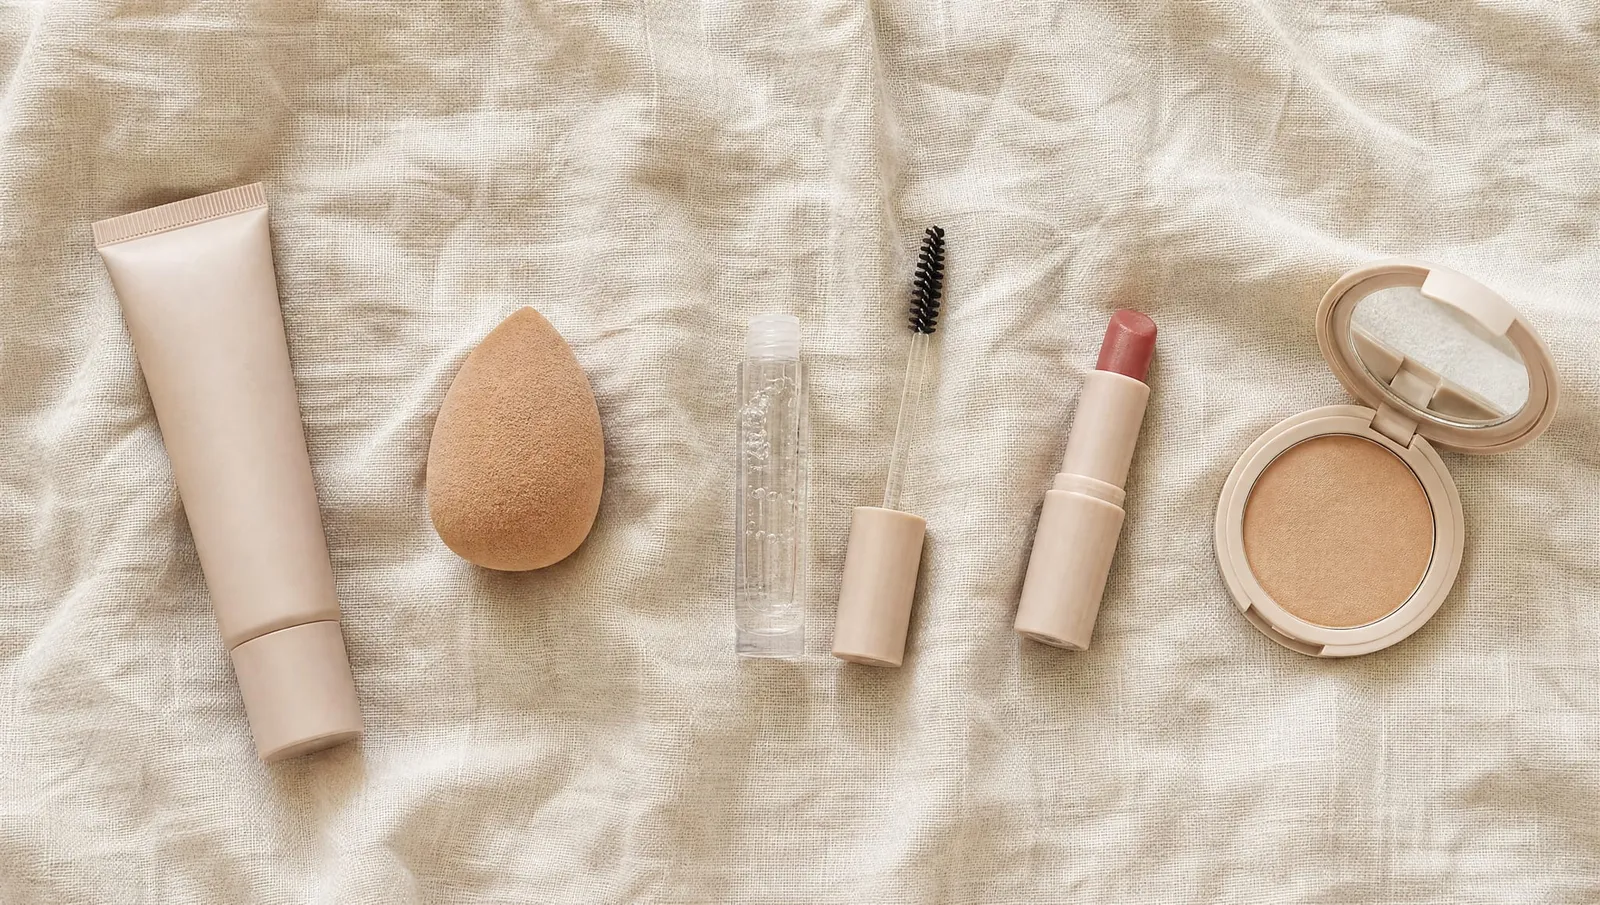
So this is two things. How to clean a sponge properly, which means getting the water through the core and not just the colour off the outside. And when to stop cleaning it and throw it out, which is sooner than you would like and is the part that actually makes the difference.
Beginner · 5 min · A quick rinse after each use, a deep clean weekly · A gentle soap, warm water and a clean towel
A clean surface on a dirty core is a sponge that looks fine and is not.
Flush the core, not just the colour.
After every use · 30 seconds — A rinse and a squeeze.
Run the sponge under warm tap water and squeeze it several times, until the water coming out is no longer tinted with foundation. Then squeeze it as dry as you can and leave it somewhere it can breathe. This is not a clean. It is just stopping the day's makeup from setting into it overnight, and it makes the weekly clean much faster.
If you are in a rush, at least squeeze it out. A sponge left full of wet makeup in a closed bag is the worst version of this tool there is.
Weekly · 60 seconds — Soak it properly first.
Run the sponge under warm water and let it expand fully. Squeeze and release it a few times under the tap so the water reaches all the way into the middle. A dry or half-wet sponge only gets cleaned on the outside, because the soap never gets in.
Weekly · 2 minutes — Soap, and work from the inside.
Use a gentle soap — a plain, unscented bar or a mild liquid cleanser you would use on your own face or hands. Rub a little into the sponge, then squeeze and release it repeatedly in the palm of your hand. You are pumping the soap through the core, not scrubbing the surface. The water that comes out will be cloudy and coloured at first. Rinse, add a little more soap, and do it again.
Work the stained point gently with your thumb rather than scraping it with your nails. Sponges tear at the point first, and a small tear catches makeup and breeds more of it.
Avoid harsh products, bleach and anything strongly scented. Whatever is left in the sponge after rinsing goes on your face next.
Weekly · 60 seconds — Rinse until the water is clear.
Rinse under running water, squeezing and releasing, until what comes out is completely clear and there are no more bubbles. This takes longer than you expect, and it is the step most people stop early. Soap left in the middle of a sponge is irritating, and it dries into the foam and stiffens it.
Squeeze it hard in your fist and look at the water. If it is still faintly coloured or soapy, keep going.
Weekly · Overnight — Dry it in the open.
Press the sponge firmly in a clean towel to take out as much water as you can, then leave it to dry somewhere with air around it: on a clean shelf, on its side, not in a closed case, not in your makeup bag and not in the drawer. A sponge that stays damp in the dark is a sponge that grows things. If it is still damp the next morning, use a different one that day.
This is one of the reasons to own several. You can always have one fully dry.
The three-month rule, kept on a calendar.
Even a sponge you clean well wears out. The foam breaks down, the surface roughens, and the core holds onto things that no amount of washing fully removes. My rule is three months, and I mean it as a maximum rather than a target. Replace sooner if any of the following happen:
- It is torn or crumbling, especially at the point
- It smells, even after a proper clean
- The stains no longer lift at all
- It stays heavy and waterlogged, or dries much slower than it used to
- It has been dropped somewhere you would not put your face
The practical way to keep this rule is to stop relying on memory. Buy an inexpensive multipack. Write the date you open each sponge on a note inside the cupboard, or put a reminder in your phone. When the date comes, the oldest one goes, whatever it looks like. It is a little joyless. It also means you never have to decide.
The shelf — what this actually needs
- An inexpensive multipack of sponges, not one expensive one
- A plain, unscented soap or mild cleanser
- A clean towel you use only for this
- Somewhere open and dry for them to sit
- A date written down
The brand matters far less than the schedule. An ordinary sponge on time beats a precious one kept a year.
How to know it is working.
- After a deep clean, the water from a hard squeeze runs completely clear.
- The sponge smells of nothing.
- It springs back to its full shape and dries within a day.
- Your base goes on as smoothly in week ten as it did in week one.
- You have never had to wonder how old it is.
When it isn't going to plan.
The stains will not come out.
Some staining is normal, especially with long-wear foundations. If the water runs clear and the sponge smells clean, a little colour left behind is cosmetic. If it is getting darker every week, it is time to replace it rather than scrubbing harder.
Can I put it in the microwave or the washing machine?
I do not, and I would not suggest it. Hand washing with soap and water, then drying in the open, is enough, and it is gentle on the foam. Methods that heat or tumble the sponge can damage it and are not worth the risk for something this inexpensive to replace.
Is a silicone sponge better?
It is easier to clean, because nothing soaks in, and it lasts longer. It also applies makeup quite differently and many people do not like the finish. If you prefer a foam sponge, the answer is to keep it clean and replace it on schedule, not to change tools.
I have been breaking out and I wonder if it is the sponge.
It might be one of several things. Replace the sponge, wash your brushes, and keep the new sponge on the schedule above. If the breakouts carry on, or you get redness, soreness or anything that looks infected, see a GP or dermatologist rather than guessing.
Can I share a sponge?
No. Not with a sister, not with a friend before a wedding. Everyone gets their own, which is another reason the multipack makes sense.
“I used to clean my sponge out of guilt. Now I replace it out of habit, and I feel much less guilty.” — Nelly
A clean sponge is only half of it; how it is used matters too. Bounced and pressed, never dragged, is the method in sunscreen under makeup without pilling and in the five-product no-makeup kit, where the damp sponge is there to take product away rather than add it. Both kinds of sponge, the egg and the flat wedge, are filed on the Sound Shelf under the presses.
Filed by Nelly, from the desk · Makeup / Tools