A Winter Guide to Gradual Tanning
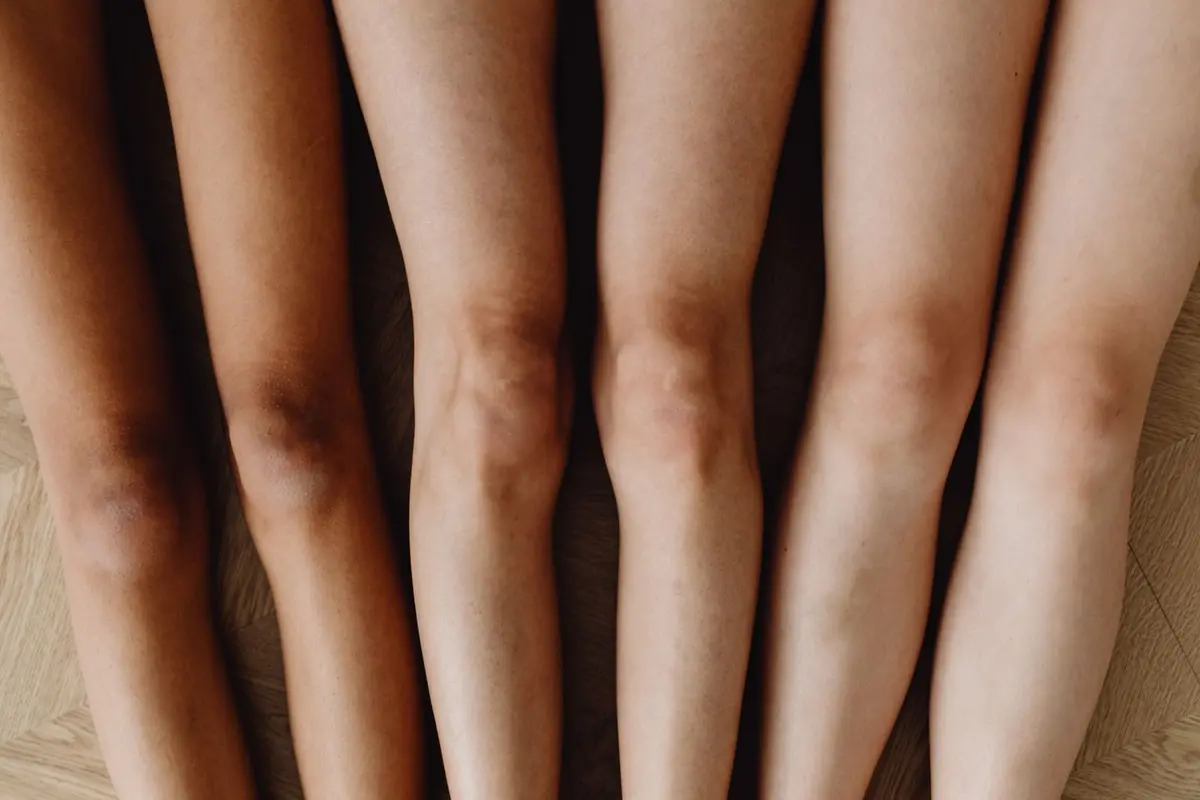
Winter presents a specific challenge for at-home tanning: the lack of natural exposure means skin requires a different cadence. Gradual tan lotions are essentially moisturizers with a low-concentration pigment additive, designed for layering rather than immediate saturation. When the air is dry and clothing is heavy, the primary objective is to maintain color without accumulating residue on fabric or creating uneven patches.
Transitioning to a winter schedule requires patience. By focusing on hydration before pigment application, you ensure the color remains consistent and fades evenly throughout the week.
- Difficulty
- Beginner
- Total time
- 15 minutes per session
- Cost
- Moderate
- Cadence
- 3 times per week
Ingredients
- DHA: The active ingredient that interacts with skin proteins to darken the surface.
Tools List
- Exfoliating mitt
- Fragrance-free moisturizer
- Gradual tanning lotion
Step by step
Exfoliate with intent
Begin with a dry brush or a textured mitt to remove dead skin cells. Focus on the knees, elbows, and ankles where dryness commonly causes pigment to pool. Do not use oil-based scrubs, as these leave a residue that prevents the lotion from adhering properly. Rinse thoroughly and pat dry with a towel.
Tip: Use light, circular motions rather than heavy pressure.Address high-friction zones
Apply a thin layer of plain, fragrance-free moisturizer to the hands, feet, and ankles before applying the tanning lotion. This acts as a buffer for areas that absorb pigment too quickly. If the skin is dehydrated, this prevents the color from deepening unnaturally in those specific spots.
Tip: Do not skip the knuckles and wrists.Distribute the pigment
Apply the gradual tan lotion in sections, starting from the feet and moving upward. Use long, sweeping motions to ensure coverage, as this prevents streaks better than circular rubbing. When you reach the knees and elbows, use the residual product on your hands rather than applying a fresh dollop.
Tip: Use a mirror to ensure no missed spots on the calves.Allow for absorption
Allow the lotion to dry completely before putting on clothes. Avoid tight fabrics for at least thirty minutes post-application. If you feel tacky to the touch, wait five additional minutes. Friction is the enemy of a fresh tan, so prioritize loose-fitting cotton.
Tip: A handheld fan can speed up the drying process.
Trouble
Why is my tan looking orange?
Orange tones usually indicate that too much product has accumulated on the skin surface. Suspend application for two days and exfoliate gently to reset the pigment levels.
How do I avoid streaks on my ankles?
Streaking occurs when the lotion pools in fine lines. Ensure your skin is hydrated hours before application and use a buffer moisturizer on the area immediately before the tan.
Can I use this on my face?
Unless the bottle explicitly states it is formulated for the face, avoid applying body lotions to facial skin. The pores on the face are different and may react poorly to fragrance or heavier emollients.
What if I miss a spot?
If you notice a missed patch, wait until the next application cycle to blend the area. Do not attempt to spot-apply, as this will result in a darker ring around the missed area.
Consistency replaces intensity; the goal is to mimic skin, not paint it.
Preparation is eighty percent of the success; the lotion does the rest.