Mastering Pressure in Dry Brushing
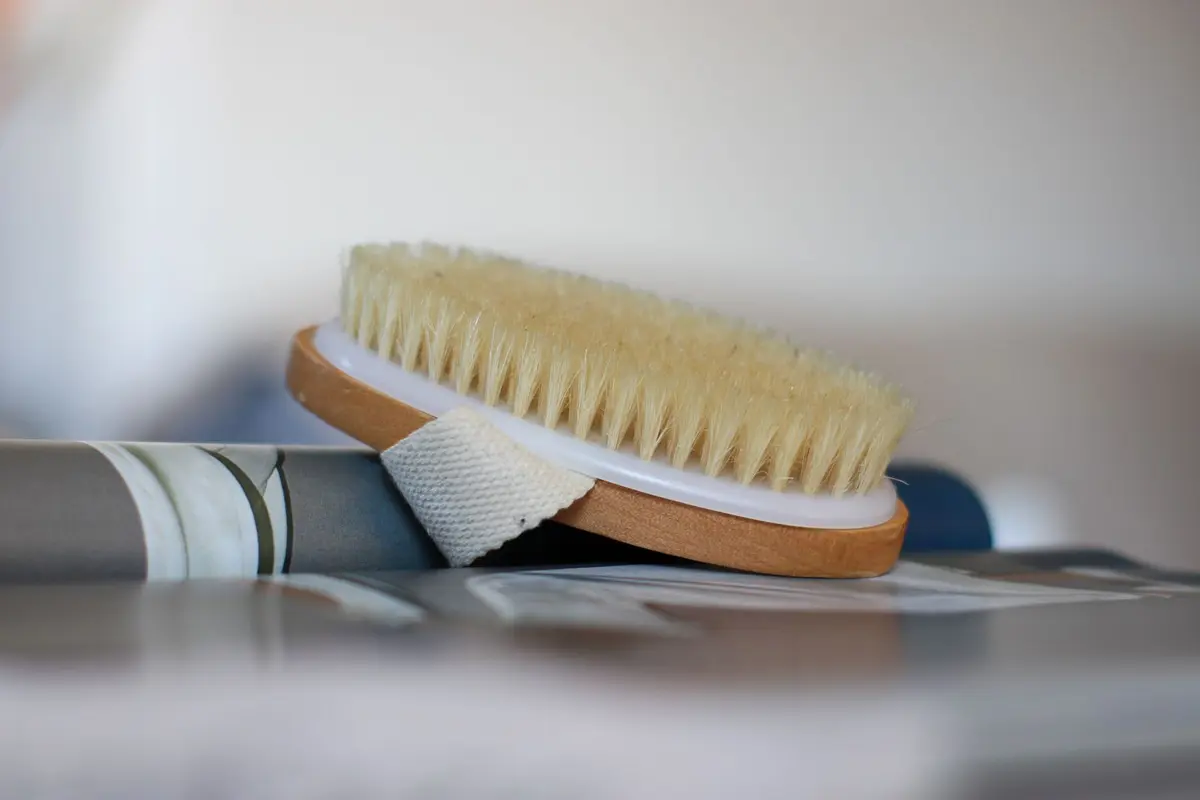
Dry brushing serves a singular purpose: the mechanical removal of surface debris and dead skin cells. The efficiency of this process relies almost entirely on the pressure applied by the hand. Too little force results in zero efficacy, while excessive force compromises the integrity of the stratum corneum.
Finding the middle ground requires attention to the resistance of the bristles against the surface of the skin. This guide establishes the parameters for achieving an even, effective stroke without causing unnecessary friction.
- Difficulty
- Beginner
- Total time
- 10 minutes
- Cost
- Low
- Cadence
- Daily, pre-shower
Ingredients
- None: Dry brushing is a mechanical process requiring no topical additives.
Tools List
- Natural fiber body brush with long handle
Step by step
Establish contact
Begin with the feet, working upward toward the heart. Place the brush flat against the skin surface. Apply only enough pressure to feel the bristles grip the surface without dragging the skin.
Tip: Start with light, perpendicular strokes to test skin sensitivity.Maintain consistent tension
Use long, fluid strokes rather than circular motions. The pressure should be equivalent to the weight of the brush head alone, plus the tension of your wrist. If the brush skips, reduce your speed.
Tip: Keep the wrist loose to ensure the brush follows your body contours.Adjust for delicate zones
As you move to areas with thinner tissue, such as the inner thighs or upper arms, reduce pressure by half. The bristles should barely graze the skin. Monitor for any sign of immediate redness, which indicates excessive force.
Tip: Never repeat strokes over the same patch of skin more than twice.Incorporate center-line strokes
Direct pressure toward the lymphatic drainage points near the collarbone and groin. These areas require the lightest touch of the entire session. Focus on the sensation of the bristles rather than the visual result.
Tip: Use a sweeping motion to finish the stroke.Review and conclude
Examine the surface of the skin. It should appear slightly matte, not polished or flushed. If the skin feels warm to the touch, you have applied too much pressure throughout the session.
Tip: Clean your brush after each session to prevent debris buildup.
Trouble
What if my skin turns bright red?
Redness is an indicator of friction-induced irritation. Cease brushing for 48 hours and resume with 50 percent less pressure in your next session.
How do I know if the brush is too coarse?
If the brush bristles feel sharp rather than firm, the brush may be too aggressive for your skin type. Test the brush on the back of your hand to calibrate your comfort level.
Should I apply water to the brush?
No. The brush must remain strictly dry to function as an exfoliant. Moisture changes the density of natural bristles and alters the pressure threshold.
Is daily brushing required?
Frequency depends on skin feedback. If you experience irritation, decrease to three times per week until the skin adjusts to the mechanical stimuli.
Pressure is the primary variable in dry brushing; control it through the wrist, not the arm.
Dry brushing is not about scrubbing; it is about rhythmic displacement of surface cells.