Mousse Application: The 60-Second Rule
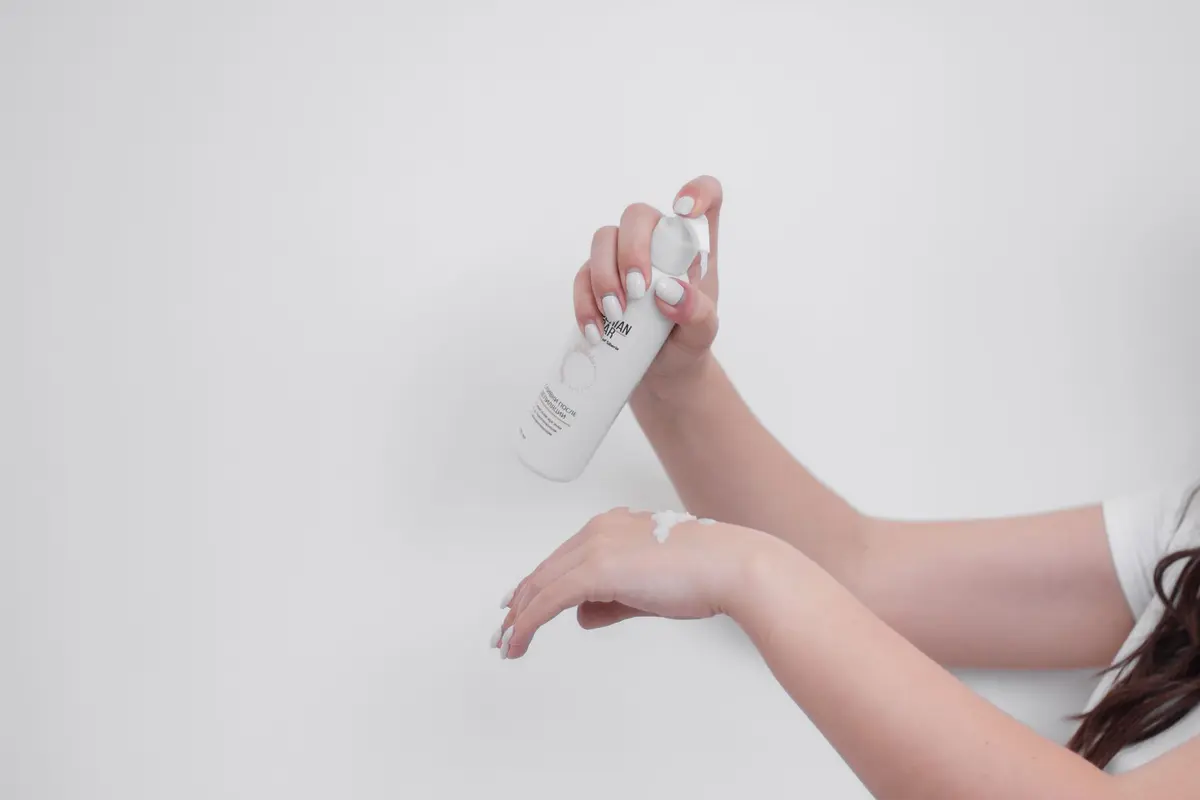
The primary cause of uneven self-tan application is the lapse in time between dispensing product and blending it into the skin. When mousse sits on the surface of the skin before being worked in, it begins to oxidize and set in concentrated patches. This results in the characteristic streaking seen on knees, elbows, and ankles.
The sixty-second rule requires you to apply and buff the product into a specific limb segment within one minute of initial contact. By limiting the window of exposure, you ensure an even distribution before the active ingredients initiate color development.
- Difficulty
- Beginner
- Total time
- 15 minutes
- Cost
- Moderate
- Cadence
- Weekly maintenance
Ingredients
- Dihydroxyacetone: The active molecule that reacts with amino acids in the skin.
Tools List
- High-density velvet applicator mitt
Step by step
Prepare the workspace
Place your mitt on your dominant hand and pump a golf-ball sized amount of mousse onto the velvet surface. Do not apply the product directly to your body. Position your limbs in a neutral, standing posture before starting the timer.
Tip: Use a mirror to monitor your back reach.Distribute and buff
Apply the product in large circular motions, starting at the ankle and working upward. Move quickly to cover the skin surface evenly. Focus on maintaining a consistent pressure that does not drag the skin.
Tip: Maintain a light touch on joints.Refine the edges
Use the residual product remaining on the mitt to blend over the hands, feet, and knees. These areas require significantly less product than the thighs or torso. Ensure you do not add new product when transitioning to these extremities.
Tip: Keep fingers splayed for even coverage.Assess the coverage
Step away from the light source and inspect your skin for missed patches or pooling product. If you detect a darker area, buff the mitt over it immediately to redistribute the liquid. Once you are satisfied, do not touch the area again until the drying period is complete.
Tip: Use a full-length mirror for inspection.Complete the setting
Allow the mousse to become completely touch-dry before dressing in loose-fitting clothing. Avoid bending at the waist or knees during the initial ten-minute window to prevent product transfer. Keep the area moisture-free until the full development time passes.
Tip: Use a fan to accelerate drying.
Trouble
What causes streaks?
Streaks occur when the product begins to dry before it is fully buffed into the skin. Always work in smaller sections to maintain control.
Why is my tan patchy?
Patchiness often results from improper blending or applying too much product at once. Use less product and focus on circular motion.
How do I fix a dark spot?
If the mousse is still wet, you can buff it out with the mitt. If it has set, allow the tan to fade naturally before attempting another application.
Can I use this on my face?
Body mousse is formulated for the thicker skin of the limbs and torso. Use products specifically labeled for facial use to ensure proper absorption.
Consistency in movement is the only way to ensure uniform color development across the body.
Do not rush the buffing process. It is the blending that creates the illusion of a natural tan, not the amount of product applied.