One Brush for Both Dry and Wet Brushing
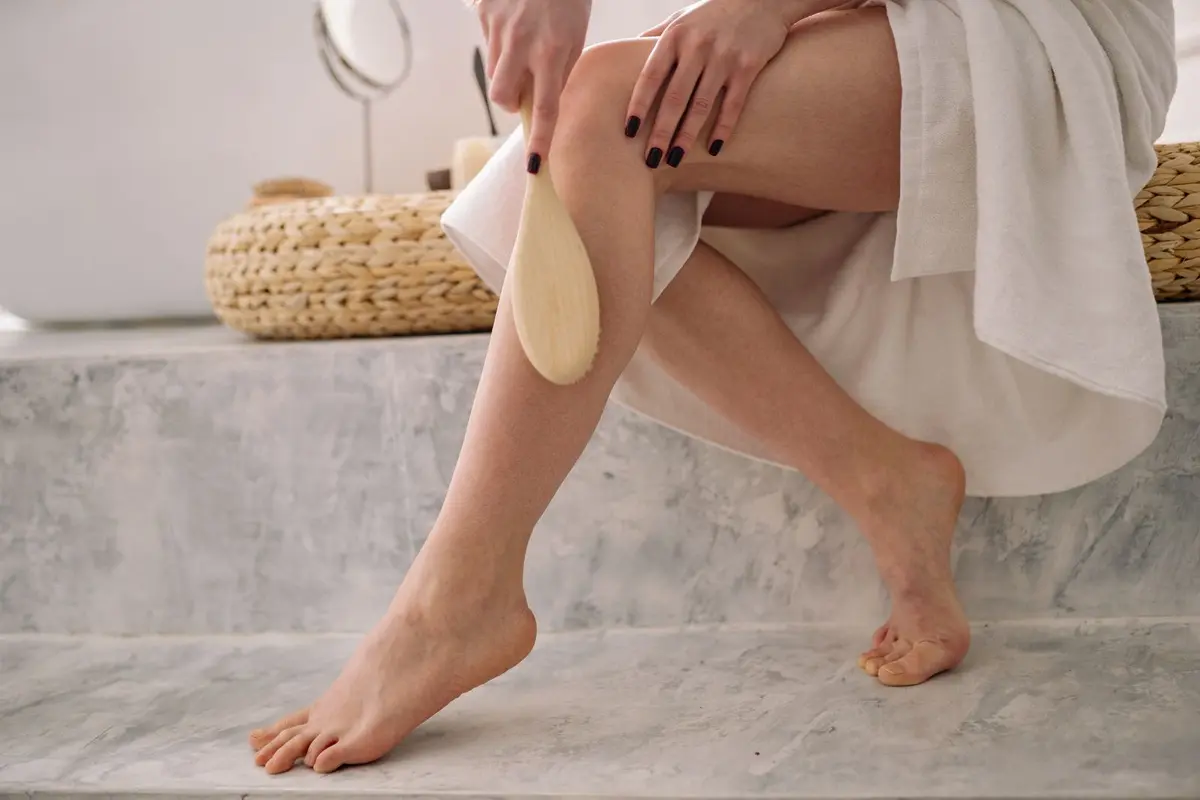
The utility of a single natural fiber brush often invites the question of whether one tool can serve both dry and wet exfoliation. While the physical action of brushing remains constant, the material requirements for each method differ significantly in practice. A brush designated for wet use requires a different maintenance schedule than one intended for dry friction.
Using the same brush for both methods is technically possible provided the hygiene and storage protocols are strictly observed. Neglect in this area leads to fiber degradation and microbial accumulation. This guide outlines the specific steps required to integrate both methods safely.
- Difficulty
- Beginner
- Total time
- 15 minutes per session
- Cost
- Low
- Cadence
- Weekly maintenance
Ingredients
- Mild surfactant: Low-pH cleanser for hygienic maintenance
Tools List
- Natural fiber body brush with wooden handle
Step by step
Inspect the brush condition
Verify the bristles are clean and free of previous debris. If the brush is damp, do not proceed with dry brushing. Use only a completely dry brush for the dry method to avoid friction irritation.
Tip: Store the brush in an area with low humidity.Execute the dry sweep
Begin at the ankles and work upward using long, sweeping motions toward the heart. Keep the pressure light and consistent across the surface of the skin. Avoid sensitive areas or any regions with compromised skin integrity.
Tip: Keep the brush surface flat against the skin.Saturate the bristles
Once dry brushing is complete, prepare the brush for the wet phase. Run the bristles under lukewarm water to soften the fibers. Add a mild, non-scented cleansing agent to the center of the brush head.
Tip: Use a gentle soap to prevent damage.Cleanse with circular motions
Massage the skin using the dampened brush in circular, rhythmic motions. The water-softened bristles provide a different tactile experience than the dry method. Rinse the brush thoroughly after use to remove all residual soap.
Tip: Rinse until the water runs completely clear.Complete the drying cycle
Shake the brush vigorously to remove excess water. Hang the brush in a ventilated space, bristle-side down, to facilitate airflow. Failure to dry the brush vertically will lead to mold growth at the base of the bristles.
Tip: Use a dedicated wall hook for air circulation.
Trouble
The bristles feel slimy after a wet session.
This indicates residual soap or trapped moisture. Rinse the brush under warm water for two minutes and air dry in a high-ventilation area.
Can I use boiling water to disinfect the brush?
No, boiling water will destroy the natural fibers and weaken the brush base. Use only warm water and a mild soap.
The wood handle is darkening.
Excessive water exposure causes wood rot. Keep the wooden base away from standing water and ensure it dries completely after each wet use.
When should I retire the brush?
Replace the brush if the bristles begin to shed, the wood cracks, or if the brush develops a persistent odor despite proper cleaning.
A brush used in the shower must be thoroughly dried before it can return to the dry method.
The longevity of your tool is directly proportional to how well you manage its humidity levels.