Dry Brushing: Long Handle Versus Short
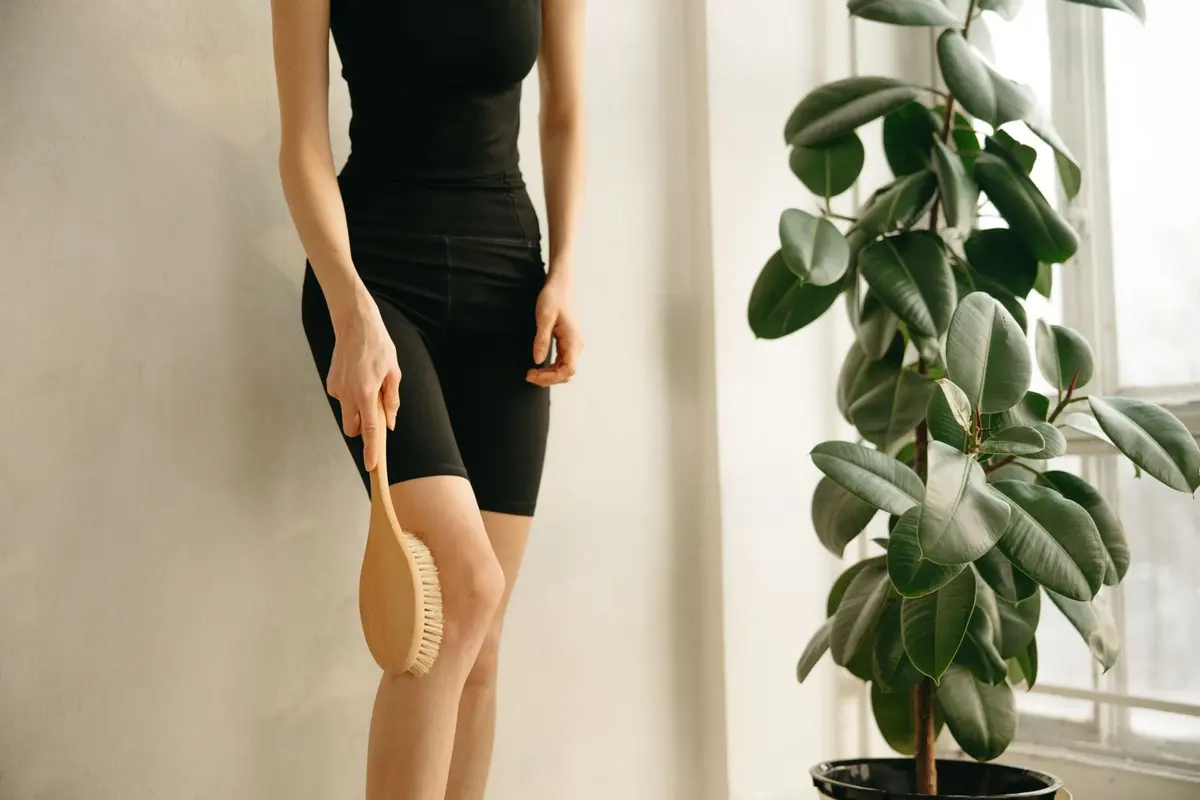
Dry brushing is a mechanical exfoliation practice that relies on consistent pressure and technique to remove dead surface cells. Choosing between a long-handle or short-handle brush depends entirely on your ability to maintain that pressure across your entire reach.
A long handle is intended for full-body coverage, specifically addressing the back and calves. A short handle offers superior wrist control for the limbs and torso.
The primary goal remains uniform stimulation of the skin surface.
- Difficulty
- Beginner
- Total time
- 5 minutes per session
- Cost
- Low
- Cadence
- 3 times per week
Ingredients
- Natural Sisal: Common firm bristle material for dry brushing.
Tools List
- Natural bristle brush with ergonomic handle
Step by step
Assess your reach
Begin by attempting to brush your mid-back with your preferred tool. If you cannot maintain flat contact against the skin without twisting your shoulder, opt for the long-handled variety. Proper alignment prevents uneven pressure.
Tip: Use a mirror to check your range of motion before starting.Start at the extremities
Begin at the feet, using long, firm strokes moving upward toward the heart. Maintain a consistent pace to ensure every patch of skin is covered once. Do not scrub or repeat strokes in the same area.
Tip: Apply gentle pressure.Transition to the legs
Move to the calves and thighs, continuing the upward motion. The long handle is helpful here for reaching the back of the thighs without strain. Keep the bristles perpendicular to the skin for maximum efficiency.
Tip: Keep strokes parallel.Address the torso
Switch to a short-handle brush if available for better control over the stomach and chest areas. Use circular motions on the abdomen, following a clockwise path. For the chest, keep the pressure lighter due to thinner tissue.
Tip: Avoid sensitive areas.Finish the arms
Complete the routine by brushing the hands and arms toward the center of the body. Again, use long, smooth strokes. Once finished, cleanse the skin with lukewarm water to remove the brushed cells.
Tip: Finish with a light moisturizer.
Trouble
My skin looks red after brushing.
You are applying too much pressure or using a brush that is too stiff for your skin type. Decrease the force of your strokes.
Is the long handle necessary for everyone?
No, it is purely an ergonomic aid. If you have full range of motion, a short handle often provides more tactile feedback and control.
Can I use the same brush on my face?
No. The skin on the face is significantly more delicate than that of the body. Use tools designed specifically for facial exfoliation.
How often should I clean the brush?
Clean your brush once a week by washing the bristles with mild soap and water. Allow it to air dry completely with the bristles facing downward.
A tool that causes strain is a tool that will soon go unused.
Consistency is the only metric that produces a meaningful result here.