Winter Dry Brushing: A Functional Approach
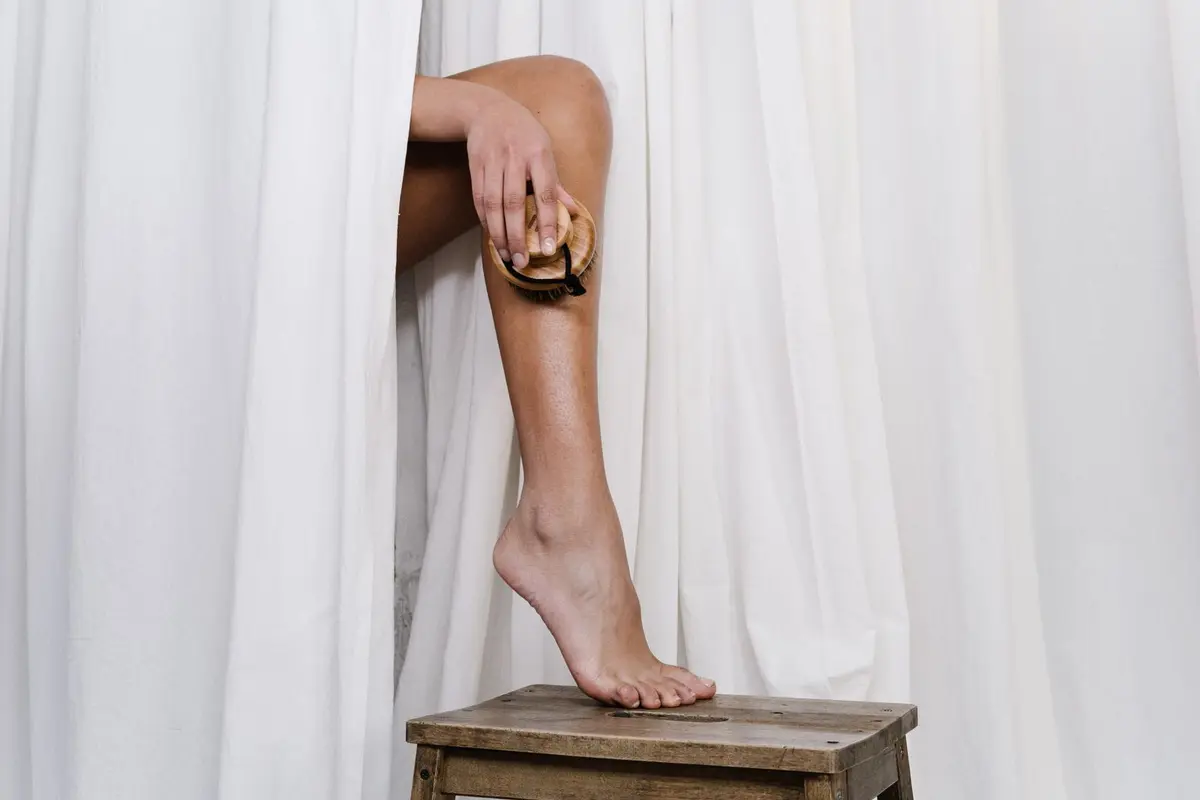
Winter necessitates a change in how we address the skin on our limbs. As humidity levels drop and indoor heating becomes constant, the stratum corneum requires more frequent, deliberate removal of dead cells to maintain a smooth surface. Dry brushing provides a physical method to address this accumulation without the need for additional solvent-based products.
This practice relies on mechanical friction to encourage cell turnover and remove debris. When performed correctly, it prepares the skin to receive hydration more effectively immediately following a shower.
- Difficulty
- Beginner
- Total time
- 10 minutes daily
- Cost
- Low
- Cadence
- Daily before showering
Ingredients
- Natural Boar Bristles: Provides the necessary friction for dead cell removal.
Tools List
- Long-handled natural boar bristle brush
Step by step
Prepare the environment
Ensure your skin is entirely dry before beginning. Do not apply oil or water to the skin prior to the session, as damp skin will tear rather than exfoliate. Stand in a tiled area to catch the shed skin cells.
Tip: Keep the brush clean by tapping it against the edge of a bin.Begin at the extremities
Start at the feet. Use long, fluid strokes moving upward toward the heart. Repeat each stroke three to five times over the same area before moving to the calves.
Tip: Use lighter pressure on thinner skin.Transition to the torso
Move to the hands and arms, brushing upward toward the shoulders. When you reach the stomach and back, switch to circular, clockwise motions. Maintain a consistent, firm pressure that is not painful.
Tip: Avoid brushing over any skin irregularities or moles.Finalize the session
Complete the brushing by focusing on the chest and upper back with light, sweeping motions. The skin should show a mild, uniform pinkness. If you see deep redness, the pressure is too high.
Tip: Move directly to a lukewarm shower after completing the brushing.Hydrate the skin
Once you have showered, pat your skin dry while it is still slightly damp. Immediately apply a thick moisturizer or body oil to lock in hydration. The brush has opened the surface, allowing for better absorption.
Tip: Use fragrance-free emollients during winter months.
Trouble
How much pressure should I use?
Apply only enough pressure to feel the bristles moving across the skin. You should never feel pain or see immediate scratches.
What if my brush feels too sharp?
New brushes can be stiff. Soften the bristles by rinsing them in warm water and letting them air dry for 24 hours before your first use.
Can I dry brush if my skin feels tight?
If your skin feels tight, you are likely over-exfoliating. Skip a day or two and prioritize hydration until the skin barrier feels balanced again.
How often should I replace the brush?
Replace your brush every three to six months. If the bristles begin to clump together or lose their rigidity, they are no longer effective.
Consistency provides more results than intensity in any exfoliation routine.
Dry brushing is a mechanical tool; use it with the same discipline you would apply to any other maintenance task.