How to row without rounding your back
Three setup cues that survive heavy weight. The form-focused breakdown of the chest-supported row, with the common mistakes coaches actually see.
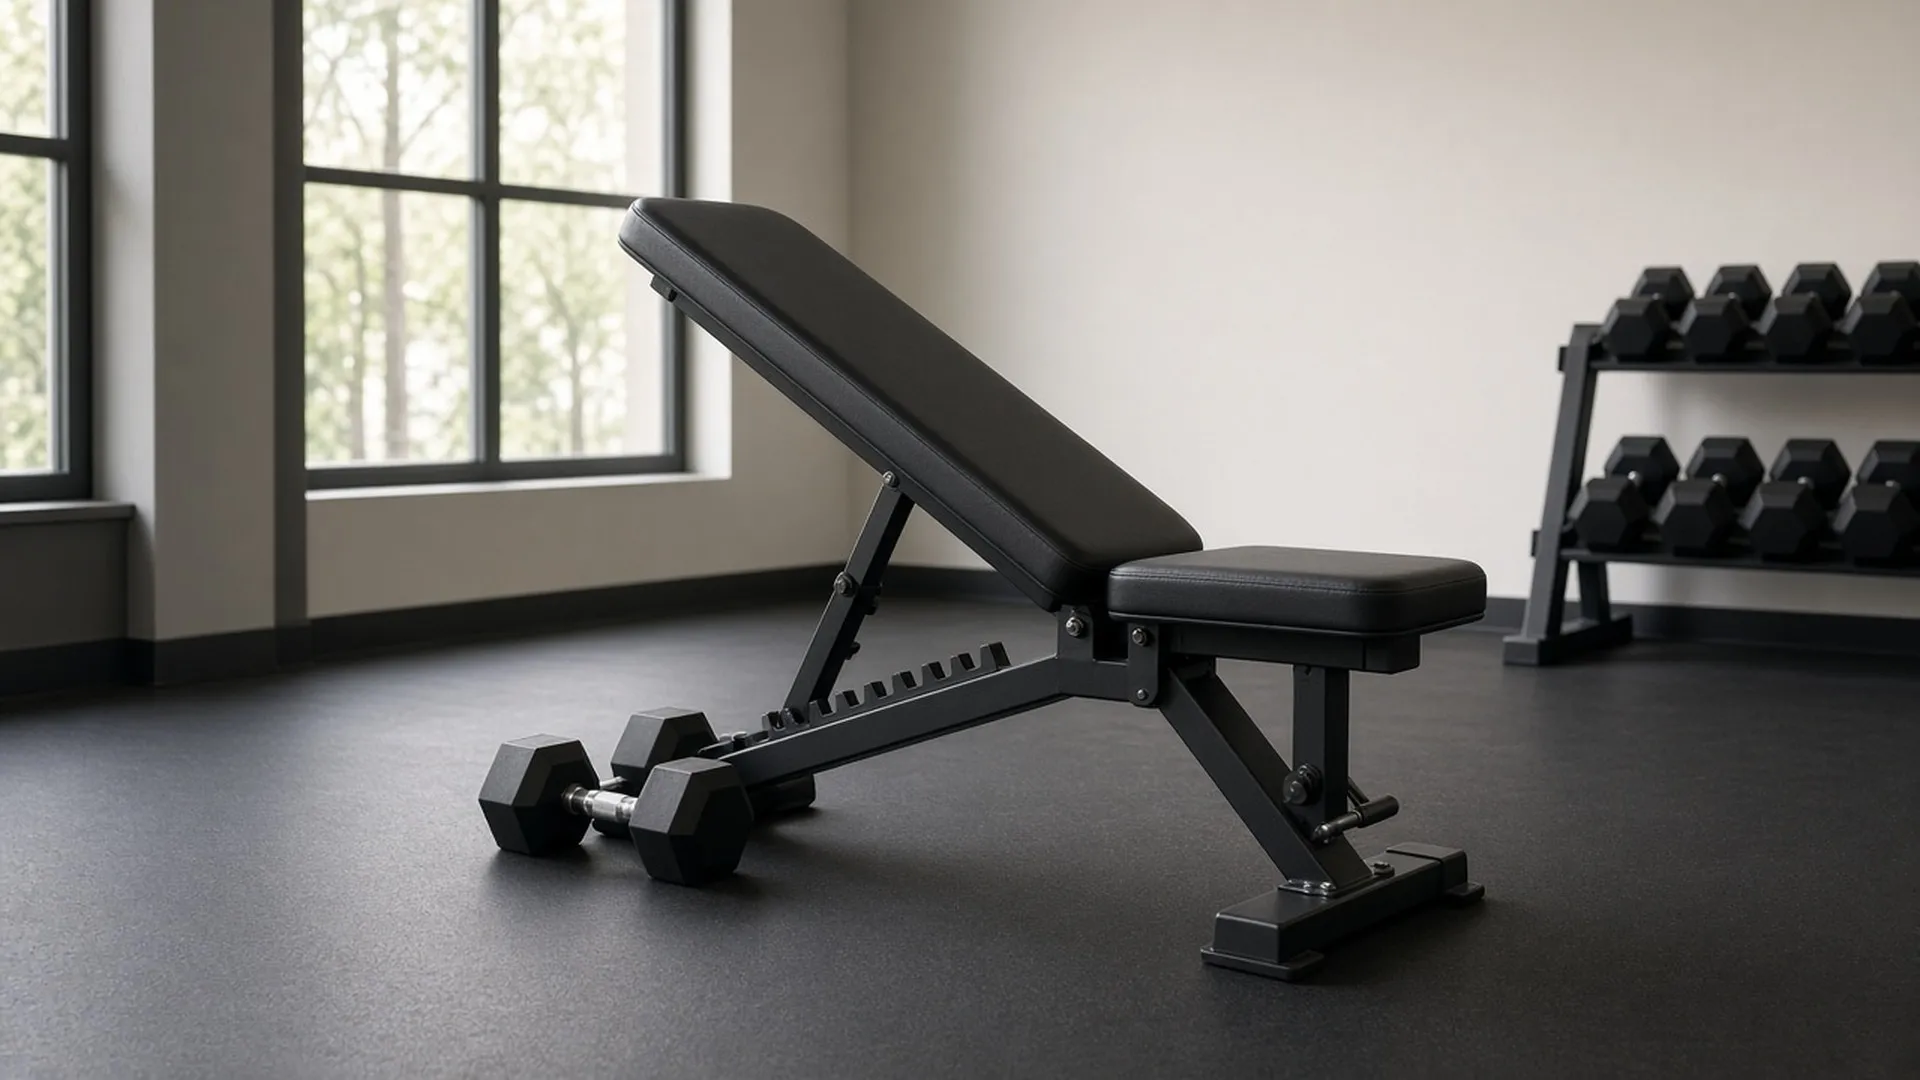
The setup, the order, and two cues that survive heavy weight. Most rounded-back rows aren’t a back problem — they’re a setup problem the lifter inherited from the rack and never noticed.
Eyes Pick a spot four feet ahead. Don’t crane up; don’t tuck down.
Pec Sternum on the pad. Not your collarbone, not your gut.
Hips Knees soft. Hips set against the seat. Don’t hover.
Of every form question I get from people I coach, this one comes up the most: my back rounds when I row, what should I change? Almost always, the answer is not the change they were expecting. It’s not their core. It’s not their flexibility. It’s the way they walked up to the bench and started lifting before they decided what they were doing.
What follows is the three-step setup I use, in order, every time I coach a row. It works for chest-supported rows, for single-arm dumbbell rows, and — with one adjustment — for barbell bent-over rows. It is short on purpose. The cues that work are short.
The three-step setup.
01 Step
Setup
Set the pad before the weight.
Stand to the side of the bench. Put your sternum against the pad. If the pad is below your nipple line, you are about to round. Raise the pad one notch and check again.
LANDMARK Sternum on pad.
NOT Collarbone. Not gut.
FAIL CHECK If your chin tucks, pad is low.
02 Step
Brace
Two words, said out loud.
Set one and set two of every row session, before the first rep, say two words. Proud chest. Long ribs. Proud chest gets the upper back into position. Long ribs stops you from arching the lower back to fake it. You will feel ridiculous. Do it anyway.
CUE 1 Proud chest.
CUE 2 Long ribs.
TIMING Before set, not during.
03 Step
Execute
Pull, pause, return.
Drive the elbows back along your ribs — not flared, not tucked. Pause one full count when the elbows pass your back pockets. Return slow. Two seconds down on every rep. The pause is the lift; the negative is the work; the start is just the breath in between.
TEMPO 1-up · 1-pause · 2-down.
PATH Elbows along ribs.
RIR Two in the tank.
Six mistakes I see weekly.
Cranking the neck up.
When the eyes drift up, the lower back drifts with them. The cervical spine pulls the lumbar spine in the same direction.
Fix → Pick a spot four feet ahead and let it be boring.
Hovering off the pad.
Trying to “engage your core” by lifting the chest off the pad. The pad is the brace. That’s why it’s there.
Fix → Sternum on, every rep. Pretend it’s glued.
Yanking with the biceps.
If your forearms are screaming and your back is silent, you’re curling, not rowing. The bicep is a passenger here, not the driver.
Fix → Drive elbows back, not weight up.
Skipping the pause.
Touch-and-go reps look fast on Instagram and feel fine in the moment. They build no end-range strength and they hide bad form.
Fix → One-count pause when elbows pass ribs.
Letting the negative go.
Most lifters dump the weight back down in half a second. That half-second is half the lift. Eccentrics build the back.
Fix → Two full seconds on every rep down.
Loading too heavy too soon.
The cure for a rounded back is rarely lighter cues. It’s often lighter weight. Drop ten percent for two weeks and the rest fixes itself.
Fix → Earn the weight back over four sessions.
The chest-supported row is slot 02 on Jenna’s forty-five-minute pull day, which is a good place to practise these cues under a real session clock. If the row is part of your build toward a bar, pair it with the ladder in how to do your first pull-up. More form guides are on Torrie’s contributor page.